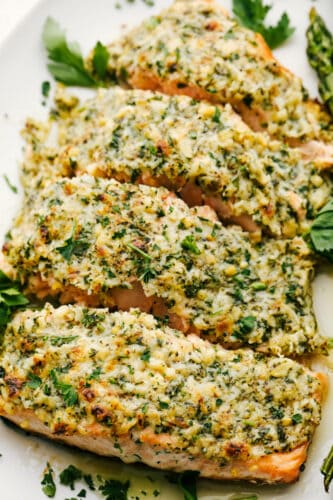
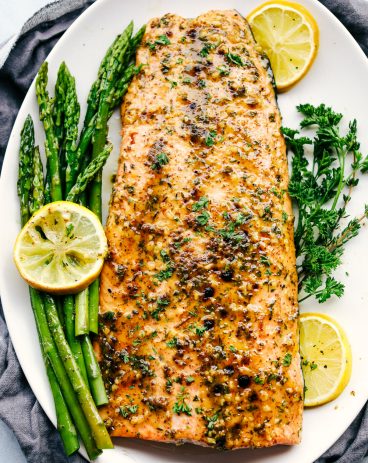
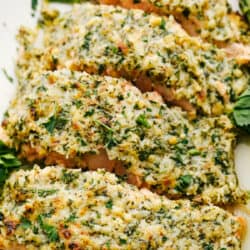
Parmesan Garlic Herb Salmon is baked in foil and brushed in a Parmesan Garlic Herb Marinade. It seals in the amazing flavor and cooks the salmon to tender and flaky perfection!
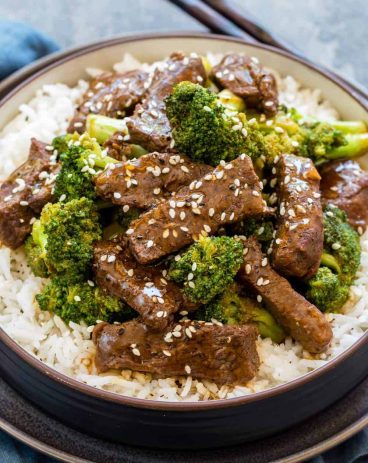
I LOVE salmon. It isn’t very fishy in flavor, it’s flakey, delicate, and good for you. You have to try these tried and true favorites like Air Fryer Salmon, Croquettes, and Garlic Brown Sugar Glazed Salmon!

Baked Salmon in Foil
I love baking salmon in foil! We are all busy and this made it so easy to seal the salmon, cook it for 15 minutes and serve it to my family. And the best part, afterward I just crumbled up the foil and threw it all away. Easy peasy and it made the most impressive meal in no time. A five-star baked salmon meal that is sure to wow your family! With salmon always on the brain (I love salmon, I truly do), I am constantly thinking of new things to make. Making the salmon in foil keeps the flavors and moisture in for a fool-proof dinner that is luscious.
I LOVED the flavor that the parmesan garlic herb gave to this salmon. It turns out tender and flaky and full of all of my favorite flavors. I swear the butter made it more tender and the salmon literally fell apart with a fork it was so amazing. As soon as it came out of the oven I broiled the top for a couple of minutes to crisp the edges a bit. It roasted the garlic on top and turned it to pure melt in your mouth goodness. This baked parmesan garlic herb salmon in foil instantly became a new favorite!
What You Need For Foil Salmon with Parmesan and Garlic Marinade
Super easy without a bunch of complicated instructions or ingredients, you will love this salmon in foil. The ingredients amounts are in the recipe card below. All the ingredients can be pantry staples that you already have on hand.
- Salmon of choice: This works for all varieties of salmon and cuts.
- Butter softened: You want it good and soft but not melted.
- Lemon Juice: Lemon and salmon just go together.
- Olive oil: Adds moisture and helps everything stick together.
- Garlic minced: Fresh minced garlic will taste best but you can use jarred in a pinch.
- Grated Parmesan Cheese: Grate your own cheese for the best flavor and melting ability.
- Italian Seasoning: A perfect blend of several herbs that taste amazing together.
- Salt and pepper: Add to taste.
- Fresh parsley chopped: Adds color and a bit of freshness.
Making The Best Parmesan Garlic Encrusted Salmon Ever!
Fast and easy you can make this on any night of the week for a fancy delicious meal. Enjoy this high class baked parmesan garlic salmon in foil
- Prep: Preheat the oven to 425 degrees. Layout a piece of foil long enough to fold up the salmon inside.
- Spread Ingredients: In a small bowl combine the softened butter, lemon juice, olive oil, garlic, parmesan cheese, Italian seasoning, salt, pepper, and parsley.
- Salmon ready: Place the salmon skin-side down on the foil. Spread the mixture evenly on top of the salmon.
- Bake: Place in the oven and bake for 10-12 minutes or until the salmon is firm. Broil the top for the last 1-2 minutes to brown. Remove from the oven and garnish with additional chopped parsley and sprinkle with additional parmesan if desired.

All About Baked Salmon in Foil
It is so easy to find good salmon in the stores, the hard part is picking what you want and knowing the differences between them. Baked salmon in foil is easy to make and tastes amazing with my marinade.
- Wild, Farm or International: These are all types of salmon that can be found in the stores today. There are so many pros and cons to all, it would take a book to talk about them. I would highly recommend doing your own research and I would highly recommend avoiding international caught or farmed salmon at all costs. They are not regulated like they are in the US and so often use antibiotics, and pesticides which are not allowed in US. Also they often misuse waste water, potentially contaminating the fish.
- There are 3 types of Salmon cuts: The whole filet, small filet and salmon cuts. The whole and small filets are the most common and easiest to cook and find. Salmon steaks are U-shaped with part of the spine in the middle.
- What to Look For In Buying Salmon: When buying fresh salmon look for glossy, firm to touch meat that is bright and saturated in color. They should not be chalky, dry or sticky and soft to the touch. Avoid salmon that has cracks or breaks in the muscle or collagen sheaths. Fish should smell fresh and clean and slightly briny like the ocean, never fishy. Also avoid packages that have pooling water in them.
- Fresh vs Frozen: Buy fresh if you are using the fish in the next two days, other wise stick to frozen. Salmon is often frozen immediately after being caught and preserves the nutrients and freshness.

What to Serve with Salmon
Salmon is rich and buttery in flavor, so it is a great main dish that goes with just about anything. We love it with vegetables and a carb for a hearty nutritious meal.
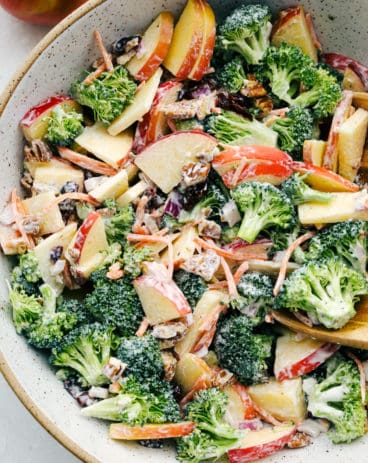
Side Dishes
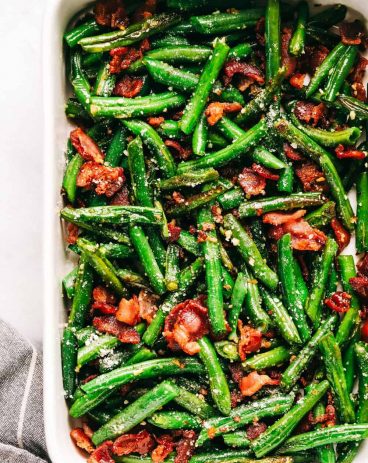
Garlic Parmesan Green Beans with Bacon
Side Dishes
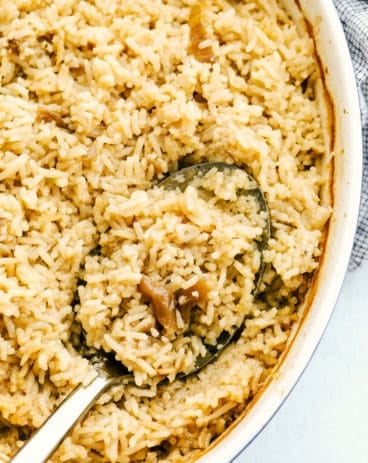
Stick of Butter Baked Rice
Side Dishes
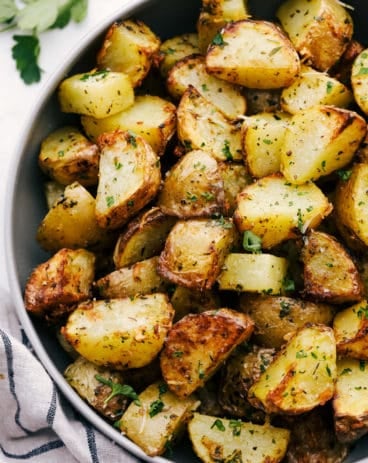
The BEST Air Fryer “Roasted” Potatoes
Side Dishes
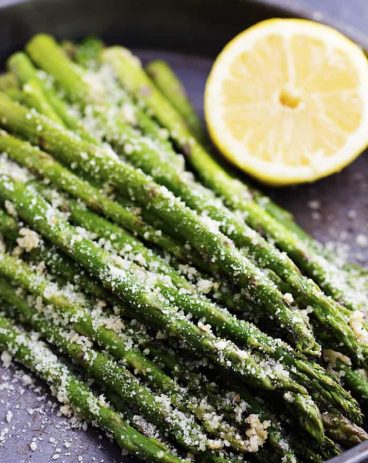
Roasted Lemon Parmesan Garlic Asparagus

Tips and Variations to make Foil Salmon Amazing
So juicy and so full of flavor these tips are going to help make an amazing foil salmon!
- Crusty: When the salmon is just about done, open the foil and broil for the last 2-3 minutes. This will create a crust on top of the salmon that is absolutely magical.
- When is the Salmon Done: The best way to tell if salmon is done is to look at it. If the flesh of the salmon flakes, and separates easily along the white lines, it is finished cooking. Salmon will also change from translucent, (red and raw) to opaque (pink) it is done. Salmon can be removed from the heat right before it is done because it will continue to cook as it rests. Internal temperature should be 135 degrees.
- Do not Over Cook: It is easy to overcook salmon and then it becomes tough and dry. It is better to undercook it slightly and let it finish cooking as it rests than to overcook it.
- Using Frozen: I use frozen salmon filets all the time and they work beautifully. Thaw them overnight in the fridge or in a bowl of cold water that you change every 10-15 minutes till it is thawed.
- Can I leave the Skin on: Yes if your salmon has the skin on, you can leave it on and even eat it. It has many nutrients within. Be sure to rinse your salmon and pat dry with a paper towel before placing in the skin side down on the foil.

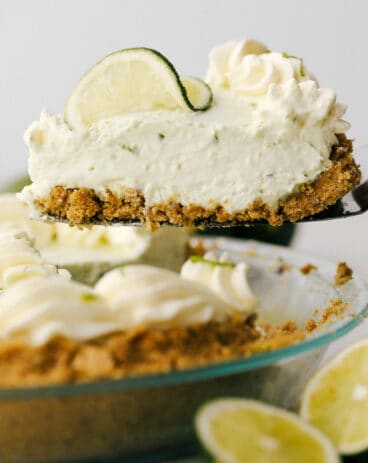
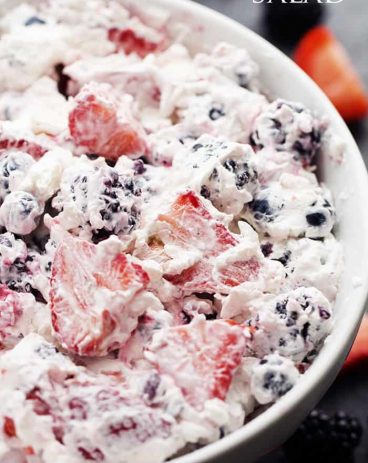
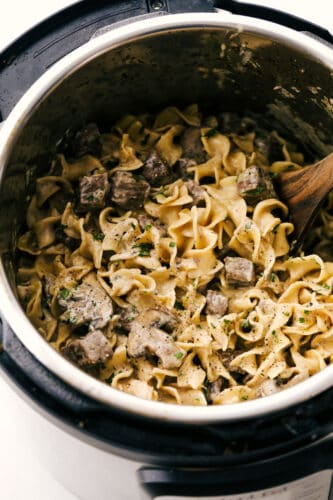
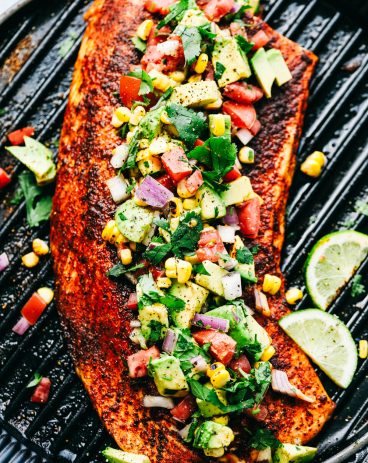
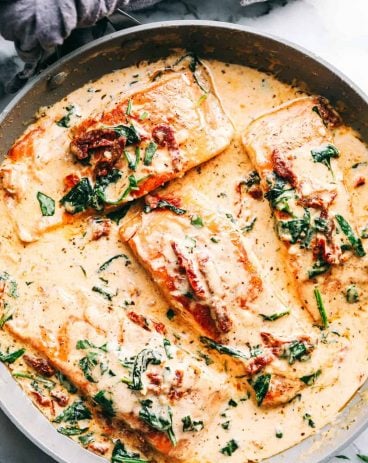
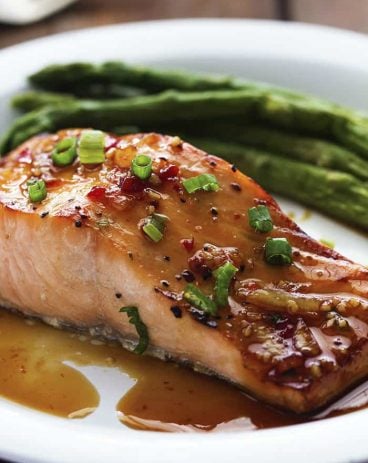
More Salmon Recipes To Love
Baked Parmesan Garlic Herb Salmon in foil
Ingredients
- 1 1/2 pound salmon of choice
- 4 Tablespoons butter softened
- 1 Tablespoon Lemon Juice
- 1 tablespoon olive oil
- 4 cloves garlic minced
- 1/2 cup Grated Parmesan Cheese
- 1/2 teaspoon Italian Seasoning
- 1/2 teaspoon salt
- 1/4 teaspoon pepper
- 2 Tablespoons fresh parsley chopped
Instructions
-
Preheat the oven to 425 degrees. Lay out a piece of foil long enough to fold up the salmon inside. Place the foil on a baking sheet.
-
In a small bowl combine the softened butter, lemon juice, olive oil, garlic, parmesan cheese, italian seasoning, salt, pepper and parsley.
-
Place the salmon skin side down on the foil. Spread the mixture evenly on top of the salmon.
-
Place in the oven and bake for 10-12 minutes or until the salmon is firm. Broil the top for the last 1-2 minutes to brown. Remove from the oven and garnish with additional chopped parsley and sprinkle with additional parmesan if desired.
Video
Notes
Nutrition
source https://therecipecritic.com/baked-parmesan-garlic-herb-salmon-in-foil/