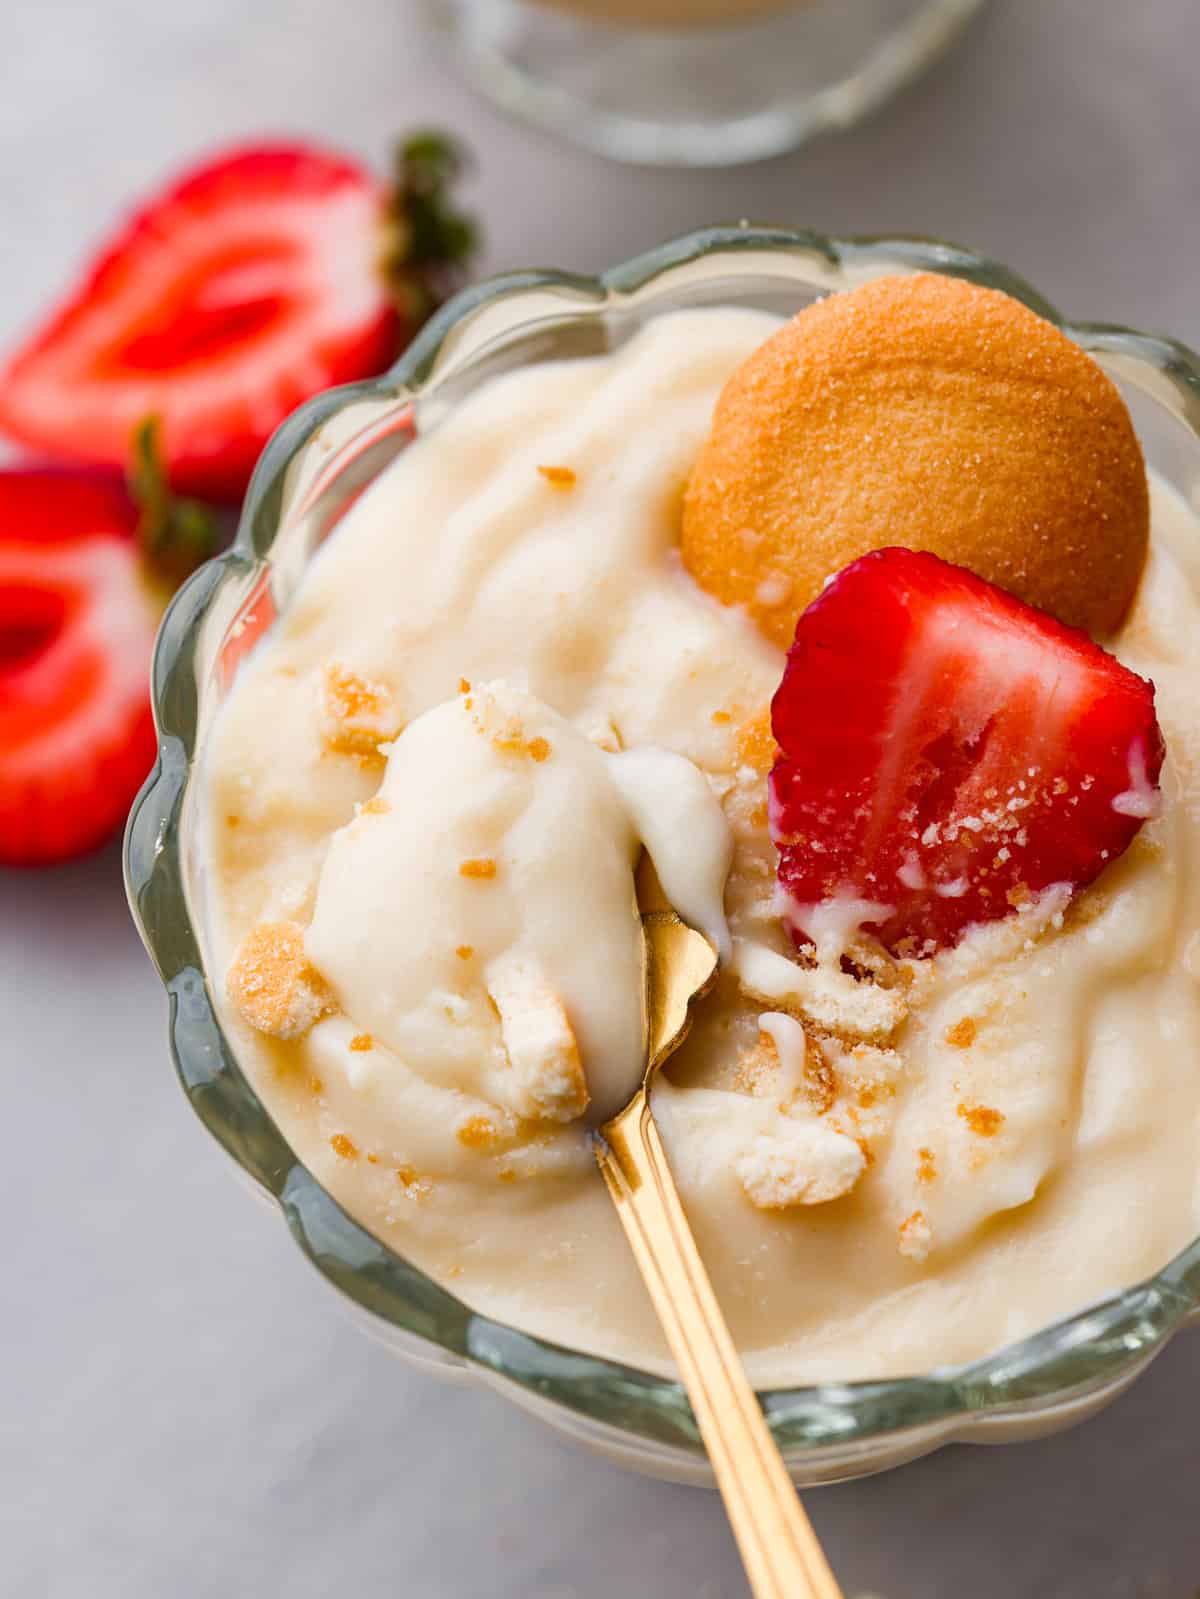
If you’re looking for a tried and true vanilla pudding recipe, this is it! This homemade vanilla pudding is perfectly sweet, silky smooth, and really easy to make!
When you’re craving something sweet, nothing is quite as satisfying as some creamy homemade pudding! Try this homemade tapioca pudding, rice pudding, or copycat Magnolia Bakery banana pudding next!

The Best Homemade Vanilla Pudding Recipe
I admit, one of my guilty pleasures is snacking on those little pudding cups you get from the store. I always get them for my kids’ lunches but end up eating them when I get a craving for something sweet. Today, we’re moving on from the pudding cups and making something a million times better. A good old batch of creamy, delicious homemade vanilla pudding. If you’ve never tried making it from scratch, here’s your sign to! It’s so easy and will knock your socks off with its smooth texture and sweet flavor.
This homemade vanilla pudding is amazing on its own or served with some berries, cookies, or chopped nuts! It’s a classic dessert that will have the whole family wanting more. As simple as it may be, it’s so irresistible! Vanilla is a highly underrated dessert flavor and deserves more love! These vanilla cupcakes and vanilla fudge are a couple more sweet treats that you’re going to want to add to your dessert lineup.
Ingredients You’ll Need
Given how simple these ingredients are, you probably have everything you need to make yourself a batch of vanilla pudding in your pantry right now! Measurements for each ingredient can be found below in the recipe card. You’re going to LOVE the flavor and silky-smooth texture these ingredients create.
- Sugar: Granulated sugar adds sweetness to your pudding.
- Cornstarch: Cornstarch acts as a thickening agent to create the perfect texture. You can also use all-purpose flour as a substitute.
- Salt: You only need a pinch to enhance the overall flavor of the pudding.
- Whole Milk: The fat content in whole milk gives the pudding a creamier texture.
- Egg Yolks: Add smoothness and help the ingredients to bind together.
- Unsalted Butter: A must-add for vanilla pudding that is rich and delightfully creamy!
- Vanilla Extract: Since vanilla is the main flavor here, I recommend using pure vanilla extract for best results!

How to Make Homemade Vanilla Pudding
Trust me, it’s as easy as making store-bought pudding mix! (Save your box of instant pudding mix for these amazing chocolate chip cookies!) One thing to keep in mind is that this homemade vanilla pudding needs plenty of time to chill so it’s not the best dessert to make if you need something last minute!
- Mix Ingredients Together: Mix the sugar, cornstarch, and salt together in a heavy-bottomed medium saucepan. Whisk in the milk and egg yolks.
- Cook: Heat over medium, whisking constantly until the mixture thickens and bubbles, which takes about 5-8 minutes. Once thickened, continue to cook for an additional 1-2 minutes all while still whisking constantly.
- Add Butter and Vanilla Extract: Remove from the heat and whisk in the butter and vanilla. Pour into a heat-proof container and press a layer of plastic wrap to the top of the pudding, making sure the plastic wrap makes contact with all of it in order to prevent a film forming as it cools.
- Chill: Chill in the fridge for 4 hours, or overnight.
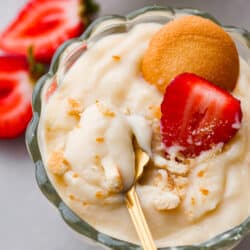
- Serve: Before serving, stir the pudding well. Transfer to serving bowls, if desired. Top with toppings of your choice. I always like serving it with fresh berries and Nilla Wafers!

Extra Tips and Tricks
Keep these simple tips in mind with your next batch of homemade vanilla pudding and you’ll be cooking like a pro!
- Mix, Mix, Mix! Whisk constantly while on the heat to avoid the eggs and milk burning.
- Let Your Pudding Thicken: Once the mixture begins to bubble, be sure to continue to cook for a minute or two to ensure the pudding thickens properly. Undercooked pudding will turn out soupy.
- Cover With Plastic Wrap: Press the plastic wrap directly to the surface of the pudding (careful, it’s going to be hot!) to prevent a film from forming on top of it as it cools. Once it is completely cooled, it won’t need the plastic wrap directly on it again.
- The Best Vanilla Flavor: High-quality vanilla will lend a richer flavor to your pudding! If you feel adventurous, add some vanilla bean paste or the caviar from inside a vanilla bean.
- Topping Ideas: Sliced strawberries, sliced bananas, raspberries, blueberries, blackberries, granola, mini chocolate chips, shredded coconut, Nilla Wafers, and graham crackers are just a few of my many favorites! The possibilities are endless. If you really want to make your pudding indulgent, try a drizzle of chocolate sauce or caramel on top!

Storing Leftover Pudding
The best thing about making a big batch of homemade vanilla pudding is that you can keep it in the fridge and enjoy it for days to come!
- In the Refrigerator: Store in the fridge in an airtight container for up to 5 days.

More Tasty Pudding Recipes
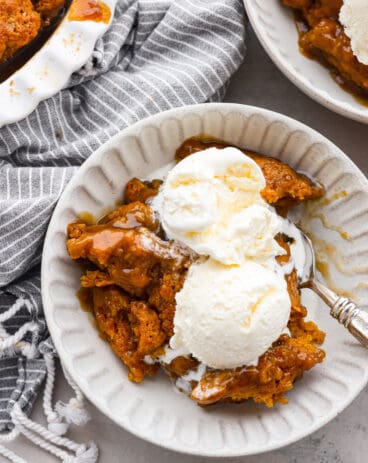
Desserts
Pumpkin Pudding Cake
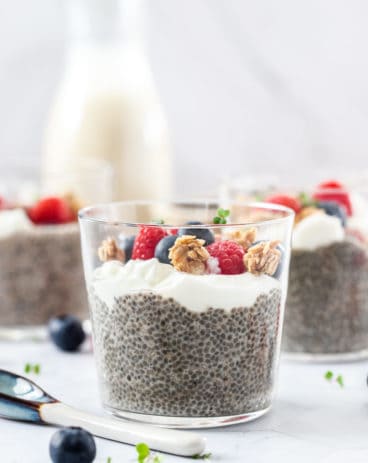
Breakfast
Easy Chia Pudding
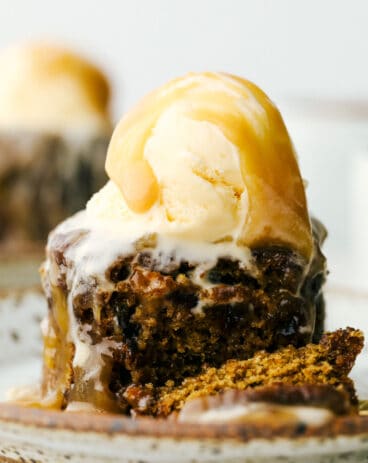
Desserts
Sticky Toffee Pudding
Desserts
Lemon Pudding Cake
Homemade Vanilla Pudding
Ingredients
- ½ cup granulated sugar
- 3 tablespoons cornstarch
- ¼ teaspoon salt
- 2 ¼ cup whole milk
- 2 large egg yolks
- 2 tablespoons unsalted butter
- 1 ½ teaspoons vanilla extract
Instructions
-
Mix the sugar, cornstarch, and salt together in a heavy-bottomed medium saucepan. Whisk in the milk and egg yolks.
-
Heat over medium, whisking constantly until the mixture thickens and bubbles, which takes about 5-8 minutes. Once thickened, continue to cook for an additional 1-2 minutes all while still whisking constantly.
-
Remove from the heat and whisk in the butter and vanilla. Pour into a heat-proof container and press a layer of plastic wrap to the top of the pudding, making sure the plastic wrap makes contact with all of it in order to prevent a film forming as it cools.
-
Chill in the fridge for 4 hours, or overnight.
-
Before serving, stir the pudding well. Transfer to serving dishes, if desired. Top with toppings of your choice.
Nutrition
source https://therecipecritic.com/homemade-vanilla-pudding/