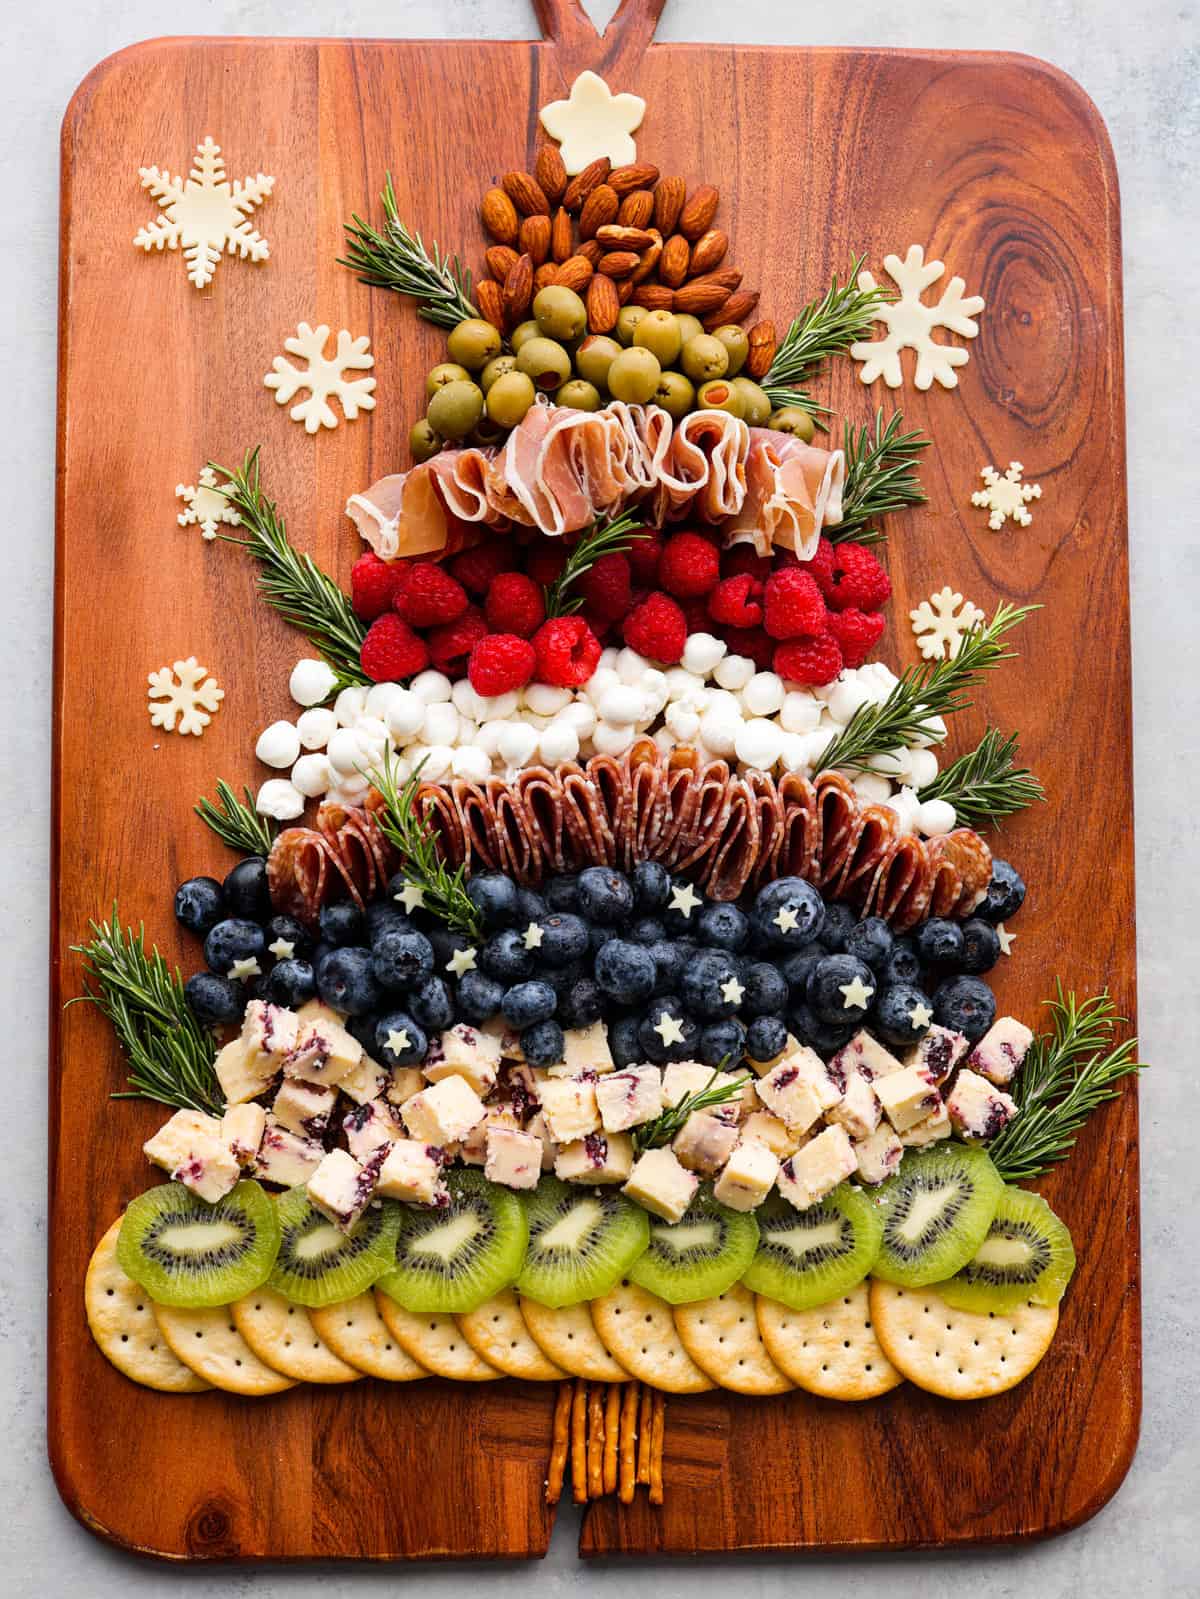
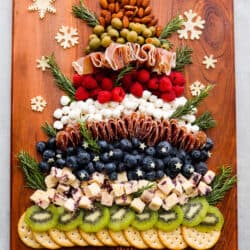
The cutest addition to any holiday party, this Christmas tree charcuterie board is both festive and delicious! It features a delicious mix of salami, prosciutto, cheese, fruits, and nuts, with rosemary sprigs as tree branches! It almost looks too good to eat.
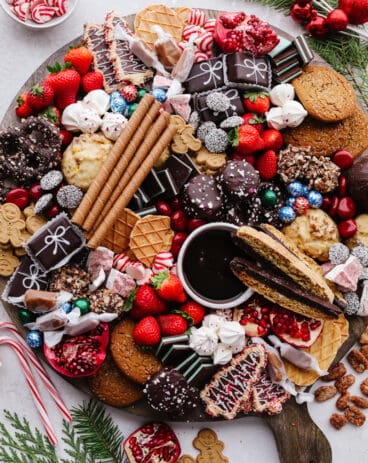
I know it can be tricky trying to figure out what appetizers to serve for holiday parties. When in doubt, make a charcuterie board! You really can’t go wrong! Because they feature so many kinds of treats, there’s something for everyone. This Christmas wreath charcuterie board is a must-make, as well as this fruit charcuterie board! And for Christmas morning- this breakfast charcuterie board is the best thing to wake up to.

Christmas Tree Shaped Charcuterie Board
Nothing screams Christmas quite like a Christmas tree. The shape is instantly recognizable and will add a little festive charm to all of your holiday parties! Themed charcuterie boards are some of my all-time favorite things to make. They’re fun to assemble, and even more fun to eat! Now, I know that when you see one completed it can sometimes be hard to know where to begin, but making this Christmas tree charcuterie board is actually really easy!
I’ve included all of the steps you need to get started, as well as some ideas of what fruits, nuts, meats, and cheeses to use! The great thing about charcuterie boards, though, is that you can easily customize them to your liking! So feel free to swap out any of the items below for your favorite holiday treats! Whether you’re a seasoned charcuterie veteran or it’s your first time making a board, it’s sure to be a hit. It’s a surefire way to impress your guests (and make their stomachs happy).
Let’s Start With the Board!
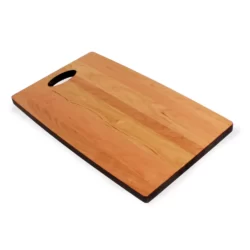
First and foremost, you’re going to need the board itself. I would recommend using a rectangular charcuterie board to match the size and shape of the Christmas tree. You can also use a rectangular cutting board!
Rectangular Charcuterie Board
Work From the Top Down
Let’s start! To begin making your Christmas tree charcuterie, add a narrow layer of almonds at the top. You can also use other nut varieties, such as walnuts or pecans.
Use Cinnamon Almonds for Your Christmas Tree Charcuterie
If you really want to be festive, try using cinnamon almonds! These are one of my favorite Christmas treats. It’s impossible to stop at one with their sweet flavor and caramelized texture. You can easily make a batch in your slow cooker using my recipe here.
Add Meat and Olives
To continue creating the shape of the Christmas charcuterie, add layers of green olives and prosciutto under the almonds. These are the meats I used, but feel free to swap these out for your favorite kind!
- Italian Dry Salame
- Prosciutto
Prosciutto is soft and savory, whereas Italian dry salame is loaded with delicious spices! Both add great complimentary flavors with the rest of the items on the board. If you can’t find prosciutto, you can also use pepperoni slices.
The Next Layer for Your Christmas Tree Charcuterie Board – Fruit!
You can never go wrong with fresh fruit! This is usually what my family will go for to tide themselves over while dinner is still cooking. To add a pop of color and fresh flavor, here are the fruits I used. Again, feel free to switch these out for your favorites! Grapes and sugared cranberries are great options for the holidays.
- Kiwis
- Blueberries
- Raspberries
- Green Olives

Give Me the Cheese!
Adding cheese to your Christmas tree charcuterie board is a great way to play with flavors and textures. (And if you’ve been eyeing a delicious, fancy cheese at the grocery store, here’s an opportunity to use it!)
- Wensleydale With Cranberries
- Small Mozzarella Cheese Pearls
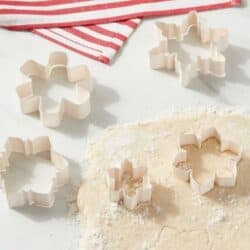
- Muenster Cheese Slices (cut into snowflake and star shapes)
Christmas is the perfect time to use everything cranberry. Wensleydale is a firm, nutty cheese and the tart flavor of cranberry complements it perfectly! Mozzarella balls are a must-add (hello, creamy milky goodness!) and muenster slices are perfect for cutting shapes out of. The stars are the cutest finishing touch to your charcuterie tree!
Star-Shaped Cookie Cutters

Don’t Forget the Crackers!
Here are a few more things I used for the layers of this Christmas tree! I love adding crackers, chips, and pretzels to my charcuterie boards because of their salty flavor and delicious crunch.
- Round Crackers
- Pretzel Sticks
Salty things like crackers, chips, and nuts are great for adding to your charcuterie board because they balance out the sweetness of the fruit. You can swap out the round crackers for another variety like Triscuits, Club crackers, or pita chips. If you want more sweets on your board, you can also use cookies or biscuits!
The Finishing Touch- Rosemary Sprigs!
Not only do rosemary sprigs smell AMAZING, but they’re the cutest finishing touch to this Christmas tree charcuterie board! They look like little tree branches!

Assembling Your Christmas Tree Charcuterie Board
Here are all of the steps together so that your charcuterie-making process is seamless! Trust me, once you make your first charcuterie board, you’ll be addicted. It’s so fun! And the end result is delicious, which definitely doesn’t hurt.
- Start With Almonds: On a large rectangular wooden board start with the top of the tree with almonds.
- Green Olives: Then create layers underneath creating a Christmas tree shape followed with the green olives.
- Prosciutto Slices: Add prosciutto underneath.
- Fruit: Next, add your raspberries.
- Cheese: Follow with a layer of mozzarella pearls.
- Repeat Layers: Add layers of salame, blueberries, Wensleydale cheese with cranberries, kiwis, and then round crackers at the bottom.
- Cut Out Star Shapes: Cut the sliced muenster cheese with snowflake and star shapes and then add it to the board.
- Finish With Rosemary: Then garnish the tree with rosemary.

More Holiday Charcuterie Boards
Appetizers
Simple Charcuterie Board

Charcuterie Boards
Veggie Charcuterie Board
Beverages
Hot Chocolate Charcuterie
Desserts
Christmas Dessert Charcuterie Board
Christmas Tree Charcuterie Board
Ingredients
Meats:
- Italian Dry Salame
- Prosciutto
Fruits:
- 2 Kiwis
- Blueberries
Cheese:
- Wensleydale with Cranberries
- Small Mozzarella Cheese Pearls
- Muenster Cheese Slices cut into snowflake and star shapes
- Green olives
- Almonds
- Round Crackers
- Pretzel Sticks
- Rosemary for garnish
Instructions
-
On a large rectangular wooden board start with the top of the tree with almonds. Then create layers underneath creating a tree shape followed with the green olives, prosciutto, raspberries, mozzarella pearls, Salami, blueberries, Wensleydale cheese with cranberries, kiwis, and round crackers.
-
Cut the sliced muenster cheese with snowflake and star shapes and add it to the board. Garnish the tree with rosemary.
source https://therecipecritic.com/christmas-tree-charcuterie-board/