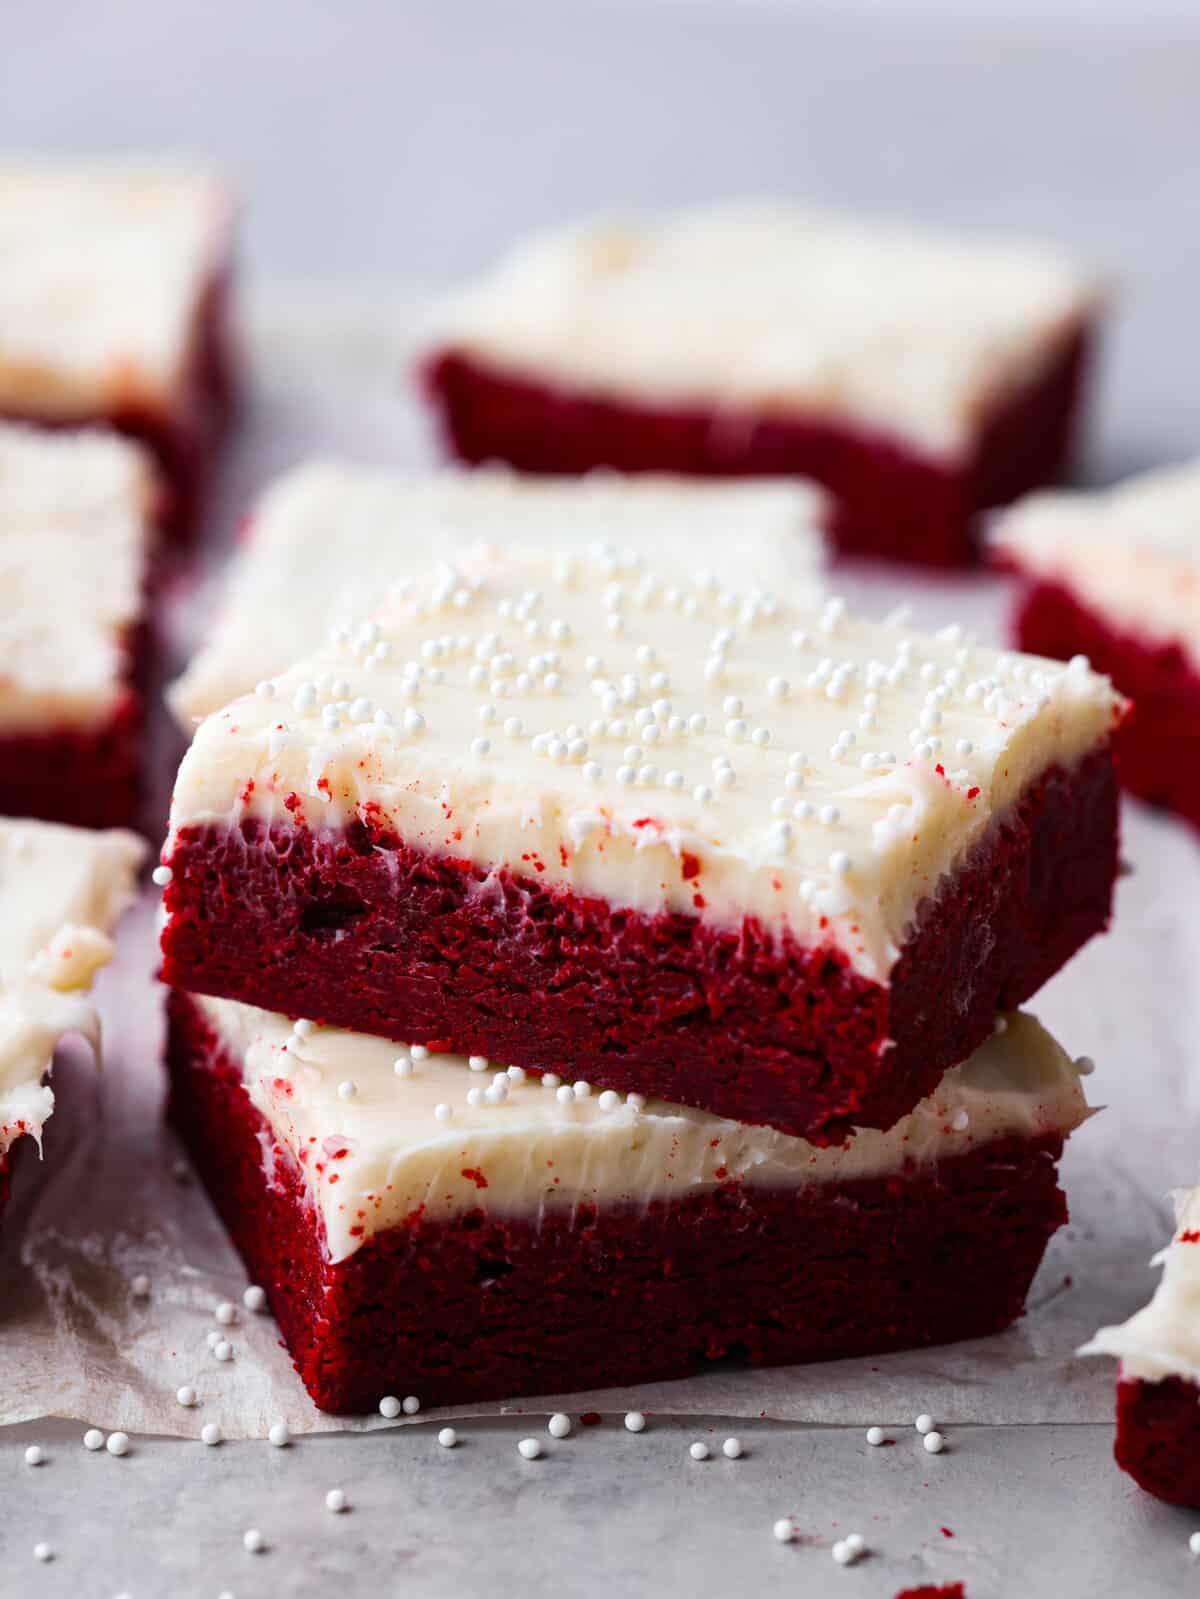
These decadent red velvet sugar cookie bars with cream cheese frosting are so divine. This is the best of both worlds, all the goodness of red velvet cake in an easy-to-make cookie bar form.
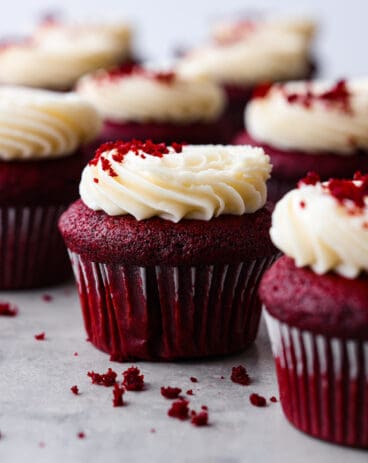
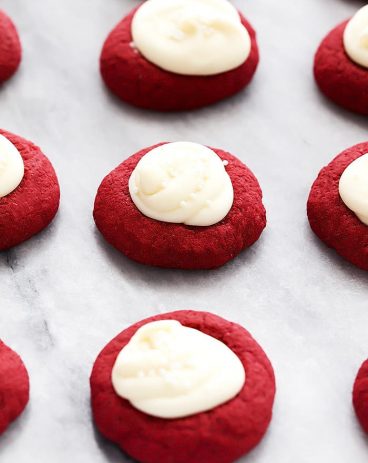
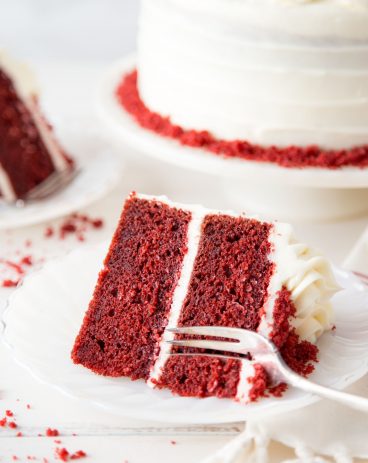
Red velvet is one of my favorite dessert flavors. It’s rich and chocolatey with the best hint of tang! If you love it as much as I do, here are a few more recipes you need to try: red velvet cheesecake, red velvet pound cake, and red velvet white chocolate chip cookies.

Red Velvet Sugar Cookie Bars
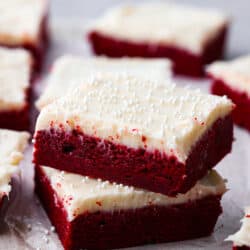
These could quite possibly be the best cookie bars that I have ever made. They’re thick, dense and slightly crisp on the edges. It’s a perfect cross between a cookie and dessert bar. Topped with a decadent cream cheese frosting, these are going to be you new go-to favorites. They’re everything you love about red velvet cake but in a moist, fudgy dessert bar form. Psst- they’re also a great option for Valentine’s Day!
These bars though. They’re so moist and heavenly! The tangy flavor of the cream cheese frosting perfectly complements the sweetness of the red velvet, making every bite a burst of flavor in your mouth. These sugar cookie ebars are so good, you’ll find yourself reaching for another one before you even finish the first! Perfect for a sweet snack, a party dessert, or even as a special breakfast treat, these bars are sure to become a favorite in no time. So go ahead, give them a try and taste the yummy goodness for yourself!
Ingredients for Red Velvet Cookie Bars and Frosting
These red velvet sugar cookies are scrumptious and easy to make. You are going to love how fast both the cookie bars and frosting come together. If you’re looking for exact measurements, they can all be found in the recipe card below.
- Flour: All-purpose flour works great here!
- Unsweetened Cocoa: If you have non-alkalized (also known as Dutch process) cocoa powder, use that!
- Salt: Balances out the sweetness of the cookie bars.
- Baking Powder: A necessary rising agent.
- Butter: Bring the butter to room temperature before using it. This way, you will end up with a smoother batter.
- Sugar: Just regular granulated sugar works fine!
- Eggs: Give the cookies texture and lift.
- Vanilla: Adds a little extra flavor. Use pure vanilla extract if you can!
- Red Food Coloring: For that signature red color.
Cream Cheese Frosting
- Cream Cheese: Make sure your cream cheese is at room temperature so your frosting ends up nice and smooth.
- Butter: Should also be at room temperature.
- Powdered Sugar: For thickness and sweetness.
- Vanilla: Adds an extra pop of flavor!

How to Make Red Velvet Sugar Cookie Bars
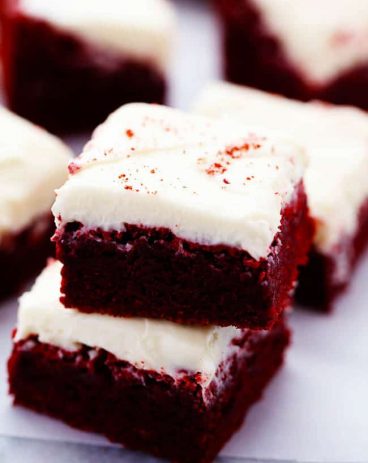
As easy as cookies but faster and more hands-off. These will be a winner when you’re short on time, but need big flavor and big wow factor. Red velvet makes everything just a bit more special! These sugar cookie bars almost look too good to eat.
- Preheat Oven, Prep Pan: Preheat oven to 350 degrees. Have a 9×13 inch pan ready. I like to line mine with aluminum foil or parchment paper and spray it with cooking spray so that the bars easily lift out and are easy to cut.
- Mix Dry Ingredients: In a medium bowl, whisk together flour, cocoa, salt, and baking powder. Then set aside.
- Mix Wet Ingredients: In a mixing bowl, cream together 1 cup butter softened and sugar until light and creamy. About 2-3 minutes. Beat in the eggs, vanilla, and food coloring until combined.
- Combine and Bake: Add the flour mixture until a soft dough forms. Press into the bottom of the 9×13 inch pan. Bake for about 20 minutes until the edges start to pull away from the sides and a toothpick entered into the center comes out clean. Allow to completely cool before frosting.
- Prepare Frosting and Enjoy: To make the cream cheese frosting, Beat together the cream cheese and butter. Add the powdered sugar and vanilla. Beat together until smooth. Frost the top of the bars and enjoy!

Tips and Tricks
These heavenly red velvet sugar cookie bars are a cinch to make. Here are a few extra tips to keep in mind so they turn out perfectly!
- Prep Your Pan: Line your pan with aluminum foil and spray it with cooking spray so that the bars easily lift out and are easy to cut.
- Room Temperature Ingredients: The butter and cream cheese should be brought to room temperature naturally, not in the microwave. This will ensure the creamiest texture. The butter and cream cheese will incorporate more evenly.
- Batter Thickness: Don’t panic if the batter is thick, it’s definitely a cookie batter, not a cake batter.
- Press: When you put the cookie bars into the pan use a spatula to press down evenly. It will bake up nice and chewy and amazing!
- Add Toppings: Use your imagination to decorate these red velvet sugar cookie bars! Use sprinkles and candies to make them festive, for whatever holiday or occasion you’re making them for! You can also add a drizzle of chocolate or white chocolate sauce for extra decadence.

Storing Leftovers
Red velvet sugar cookie bars with cream cheese frosting will last for 3-5 days if stored properly. To keep them fresh, it’s best to store leftovers in an airtight container in the refrigerator. When you’re ready to eat them, simply take the bars out of the refrigerator a few minutes before serving to allow them to reach room temperature. This way, they will be nice and soft and taste as good as they did on the first day!

More Red Velvet Desserts
Red Velvet Sugar Cookie Bars
Ingredients
- 2 1/2 cups flour
- 1/4 cup unsweetened cocoa
- 1/2 teaspoon salt
- 1 teaspoon baking powder
- 1 cup butter softened
- 1 1/2 cups sugar
- 2 eggs
- 2 teaspoons vanilla extract
- 2 Tablespoons red food coloring
Cream Cheese Frosting:
- 8 ounces cream cheese softened
- 1/2 cup butter softened
- 2 cups sifted powdered sugar
- 1 teaspoon vanilla
Instructions
-
Preheat oven to 350 degrees. Have a 9×13 inch pan ready. I like to line mine with aluminum foil or parchment paper and spray it with cooking spray so that the bars easily lift out and are easy to cut.
-
In a medium bowl, whisk together flour, cocoa, salt, and baking powder. Set aside.
-
In a mixing bowl, cream together 1 cup butter softened and sugar until light and creamy. About 2-3 minutes. Beat in the eggs, vanilla, and food coloring until combined.
-
Add the flour mixture until a soft dough forms. Press into the bottom of the 9×13 inch pan. Bake for about 20 minutes until the edges start to pull away from the sides and a toothpick entered into the center comes out clean. Allow to completely cool before frosting.
-
To make the cream cheese frosting, Beat together the cream cheese and butter. Add the powdered sugar and vanilla. Beat together until smooth. Frost the top of the bars and enjoy!
Notes
Nutrition
source https://therecipecritic.com/red-velvet-sugar-cookie-bars-cream-cheese-frosting/