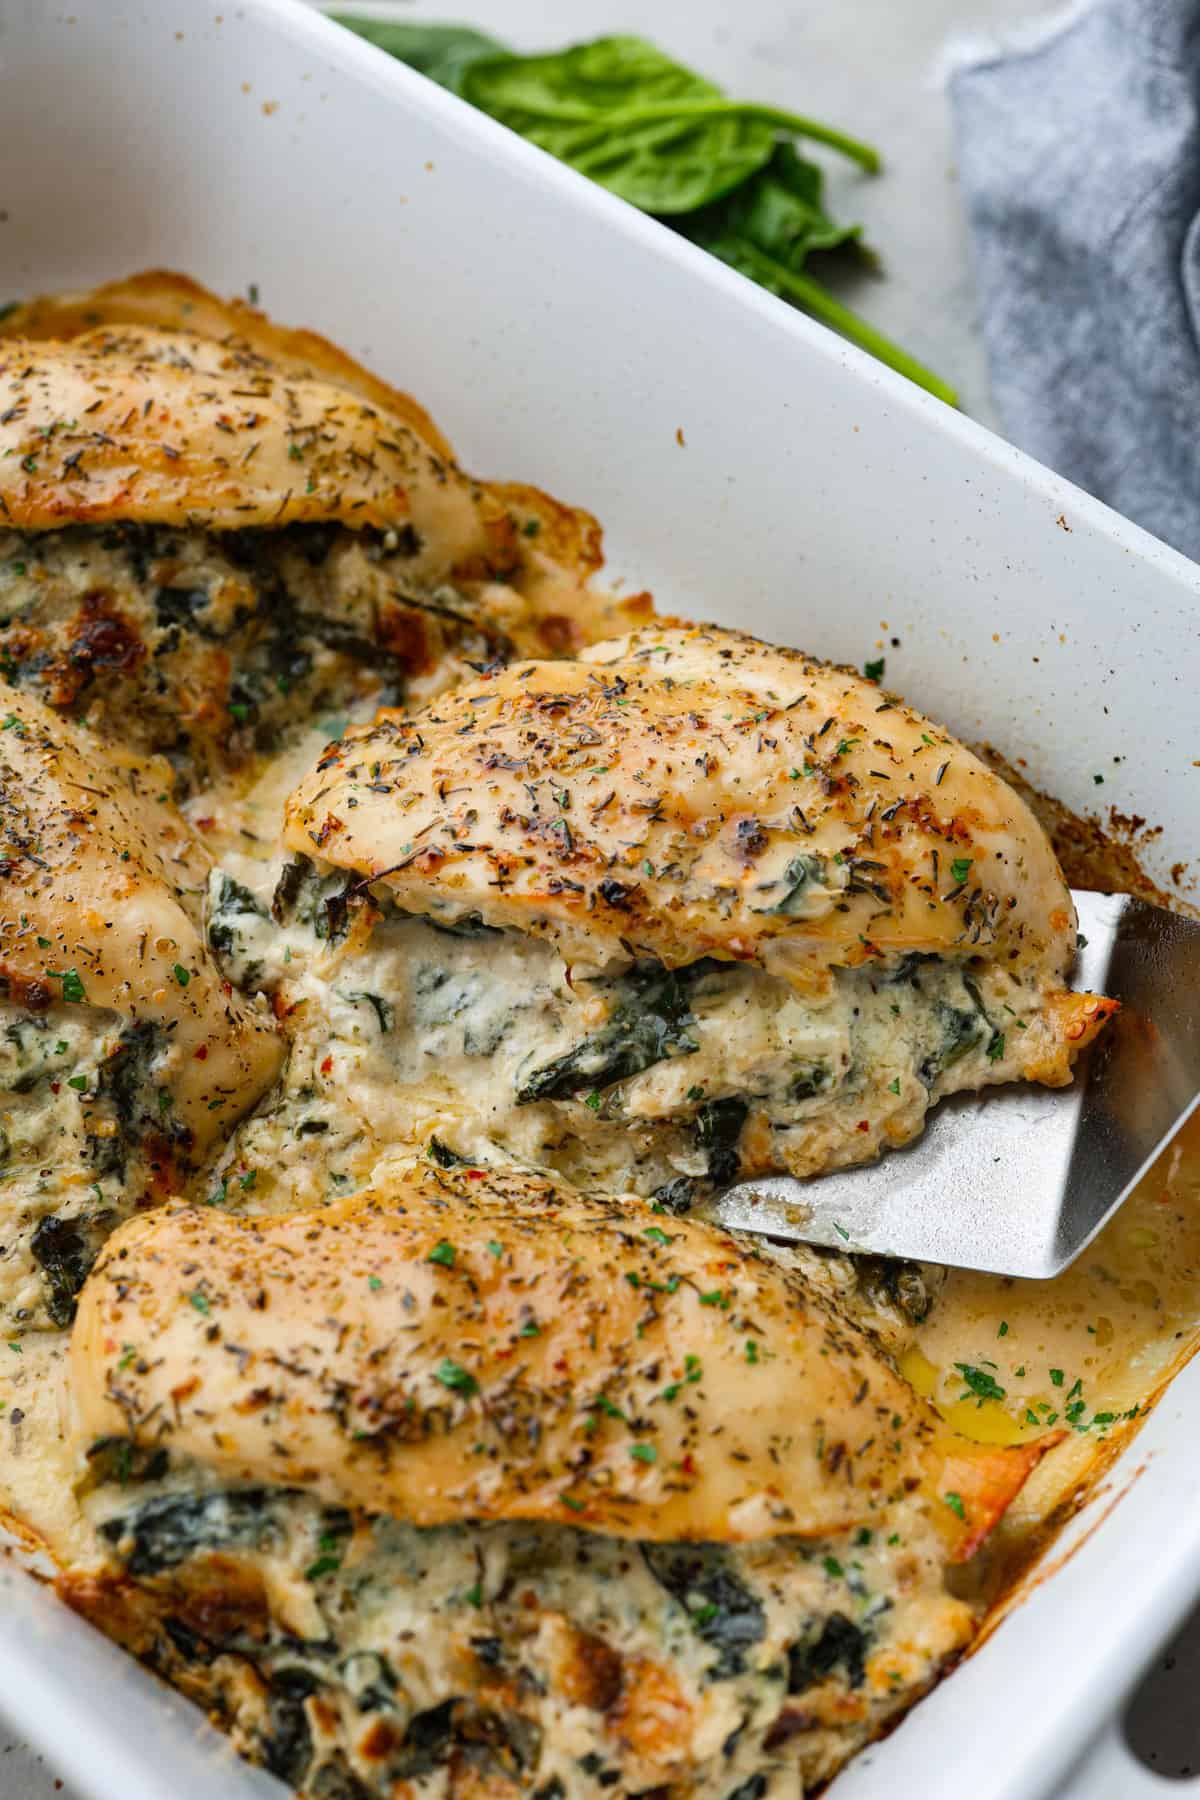
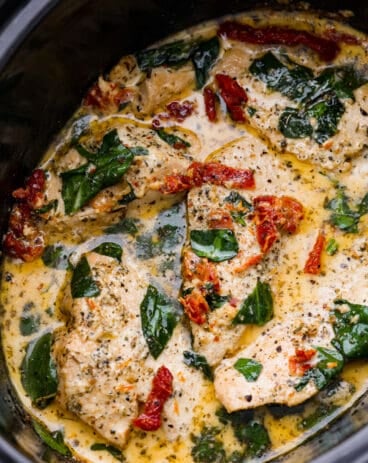
Spinach stuffed chicken breast is flavorful, filling, quick, and easy to whip up! Filled with tender spinach, cream cheese, and freshly grated Parmesan cheese, there is nothing boring about this chicken breast recipe.
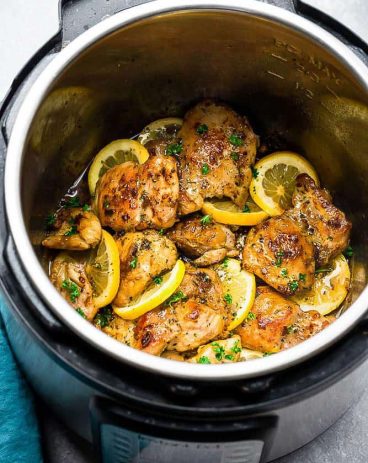
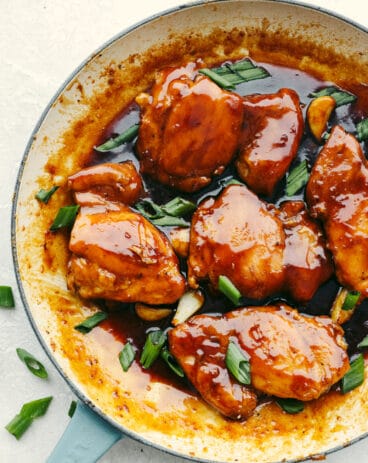
I love chicken for dinner! What can I say, it’s a cheap and easy protein that can be used in so many different ways. If you are in the mood for more chicken recipes, you’ve got to try this Creamy Tuscan Garlic Chicken, this Crockpot Apricot Chicken, and this Chicken Francese.

Stuffed Chicken Breast with Spinach
You guys! The flavor on this spinach stuffed chicken breast is off the charts! Maybe you don’t always think of flavor when you hear chicken breast, but this recipe is about to break the mold. It’s easy, low carb, and yet so flavorful and filling. Not to mention you are getting plenty of veggies in with fresh spinach. This is not my first stuffed chicken breast recipe (try this stuffed Tuscan garlic chicken), but it might just be the best!
If you are new to the stuffed chicken scene, get ready for a real treat! It’s so much more fun to eat than a regular chicken breast. I feel like I’ve pretty much mastered moist chicken breast (just try this honey butter baked chicken recipe), but no matter how amazing the sauce is, nothing compares to cutting into a chicken breast that is FILLED with cream cheese. I mean, just total bliss! I absolutely love baked chicken, and this recipe is just to die for.
Ingredients
Here’s the good news, this spinach stuffed chicken breast recipe has really simple easy to come by ingredients. You can switch up the seasoning on this chicken however you like, I talk about other seasoning options down below in the tip box. You can find the measurements in the recipe box.
- Chicken Breasts: You will need 4 chicken breasts for this recipe.
- Olive Oil: I prefer the flavor of olive oil, but you can use whatever oil you prefer.
- Shallots: They are sweet and have a subtle flavor that you’ll love! You could use an onion instead.
- Garlic: Fresh garlic cloves bring out so much flavor in this chicken.
- Spinach: You will cook fresh spinach until it’s perfectly soft, then add it to the cream cheese filling.
- Salt and Pepper: To enhance all the flavors in the filling.
- Oregano: I love the amazing smell and earthy flavor it adds.
- Thyme: I think it pairs perfectly with chicken breast!
- Red Pepper Flakes: This is optional, but I love the punch of flavor and heat that they add.
- Cream Cheese: It’s the perfect option for the filling because it bakes really well and it’s tangy and sweet.
- Parmesan Cheese: I love freshly grated Parmesan cheese in this recipe.

Spinach Stuffed Chicken Breasts
It’s so easy to make! You are going to be able to whip up this spinach stuffed chicken breast and have it in the oven in about 20 minutes. Make sure you plan just over an hour for the total cook time and preparation. Let’s get making this delicious chicken!
- Prep: Preheat your oven to 375 degrees fahrenheit and prepare your chicken by drying each one off and cutting a pocket into each one. Set aside.
- Cook Spinach: In a medium skillet over medium high heat, heat 1 tablespoon of oil and saute your shallots for about 3 minutes. Add in your garlic and chopped spinach. Then cook until your spinach has wilted. Then remove from heat.
- Make Seasoning: In a small bowl, mix your salt, pepper, oregano, thyme, and red pepper flakes. Then divide this mixture in half.
- Make Filling: In a medium bowl add your softened cream cheese, parmesan cheese, cooked spinach and shallots and half of your spice mix. Mix well to combine.
- Season and Stuff Chicken: Rub the remaining 2 tablespoons of oil onto each chicken breast and then season each one with the remaining spice mix. Stuff each chicken evenly with the spinach and cream cheese mixture until it has all been used.
- Bake: Place the stuffed breasts onto a 9X13 inch baking dish. Bake uncovered for 30-45 minutes, or until the chicken is cooked through and there is a nice brown crust on the top of each one.
- Enjoy: Remove the chicken from the oven and serve fresh!

Tips for Making Spinach Stuffed Chicken Breast
The thing I love most about cooking chicken is you can really flavor it any way you like! Here are some ways that you can switch up this recipe to fit what you already have in your pantry, or just suit your tastebuds more.
- Switch Up Seasonings: You can absolutely switch things up! Don’t stick to just oregano and thyme, you can go with garlic powder and paprika! You could also do your favorite chicken seasoning, or even switch things up with a seasoning blend like Italian seasoning or Cajun seasoning.
- Customize Stuffing: You can switch up the cheeses to make things your own! Try feta cheese, mozzarella cheese or even cheddar instead! I really love swiss cheese with chicken. You could try gouda, havarti, or really anything you are in the mood for!
- Covering Chicken While Baking: I mention that you will cook the chicken uncovered. If you do check the chicken and see any burning, you can cover the chicken with aluminum foil for the rest of the cook time. Make sure that your chicken is fully cooked by checking the internal temperature.

Storing Leftovers
I love making spinach stuffed chicken breast as a meal prep dish because they make fantastic leftovers! Here is how to store them.
- In the Refrigerator: Store your leftovers in an airtight container in the refrigerator for up to 5 days.
More Chicken Recipes


Spinach Stuffed Chicken Breast
Ingredients
- 4 boneless skinless chicken breasts
- 3 tablespoons olive oil divided
- 2 shallots finely chopped
- 2 cloves garlic minced
- 3 heaping cups spinach chopped
- 1 teaspoon salt
- 1 teaspoon ground black pepper
- 1 teaspoon oregano
- 1 teaspoon thyme
- ½ teaspoon red pepper flakes
- 4 ounces cream cheese softened
- 1 cup freshly grated parmesan cheese
Instructions
-
Preheat your oven to 375 degrees fahrenheit and prepare your chicken by drying each one off and cutting a pocket into each one. Set aside.
-
In a medium skillet over medium high heat, heat 1 tablespoon of oil and saute your shallots for about 3 minutes. Add in your garlic and chopped spinach. Cook until your spinach has wilted. Remove from heat.
-
In a small bowl, mix your salt, pepper, oregano, thyme, and red pepper flakes. Divide this mixture in half.
-
In a medium bowl add your softened cream cheese, parmesan cheese, cooked spinach and shallots and half of your spice mix. Mix well to combine.
-
Rub the remaining 2 tablespoons of oil onto each chicken breast and season each one with the remaining spice mix. Stuff each chicken evenly with the spinach and cream cheese mixture until it has all been used.
-
Place the stuffed breasts onto a 9X13 inch baking dish. Bake uncovered for 30-45 minutes, or until the chicken is cooked through and there is a nice brown crust on the top of each one.
-
Remove the chicken from the oven and serve fresh!
Nutrition
source https://therecipecritic.com/spinach-stuffed-chicken-breast/