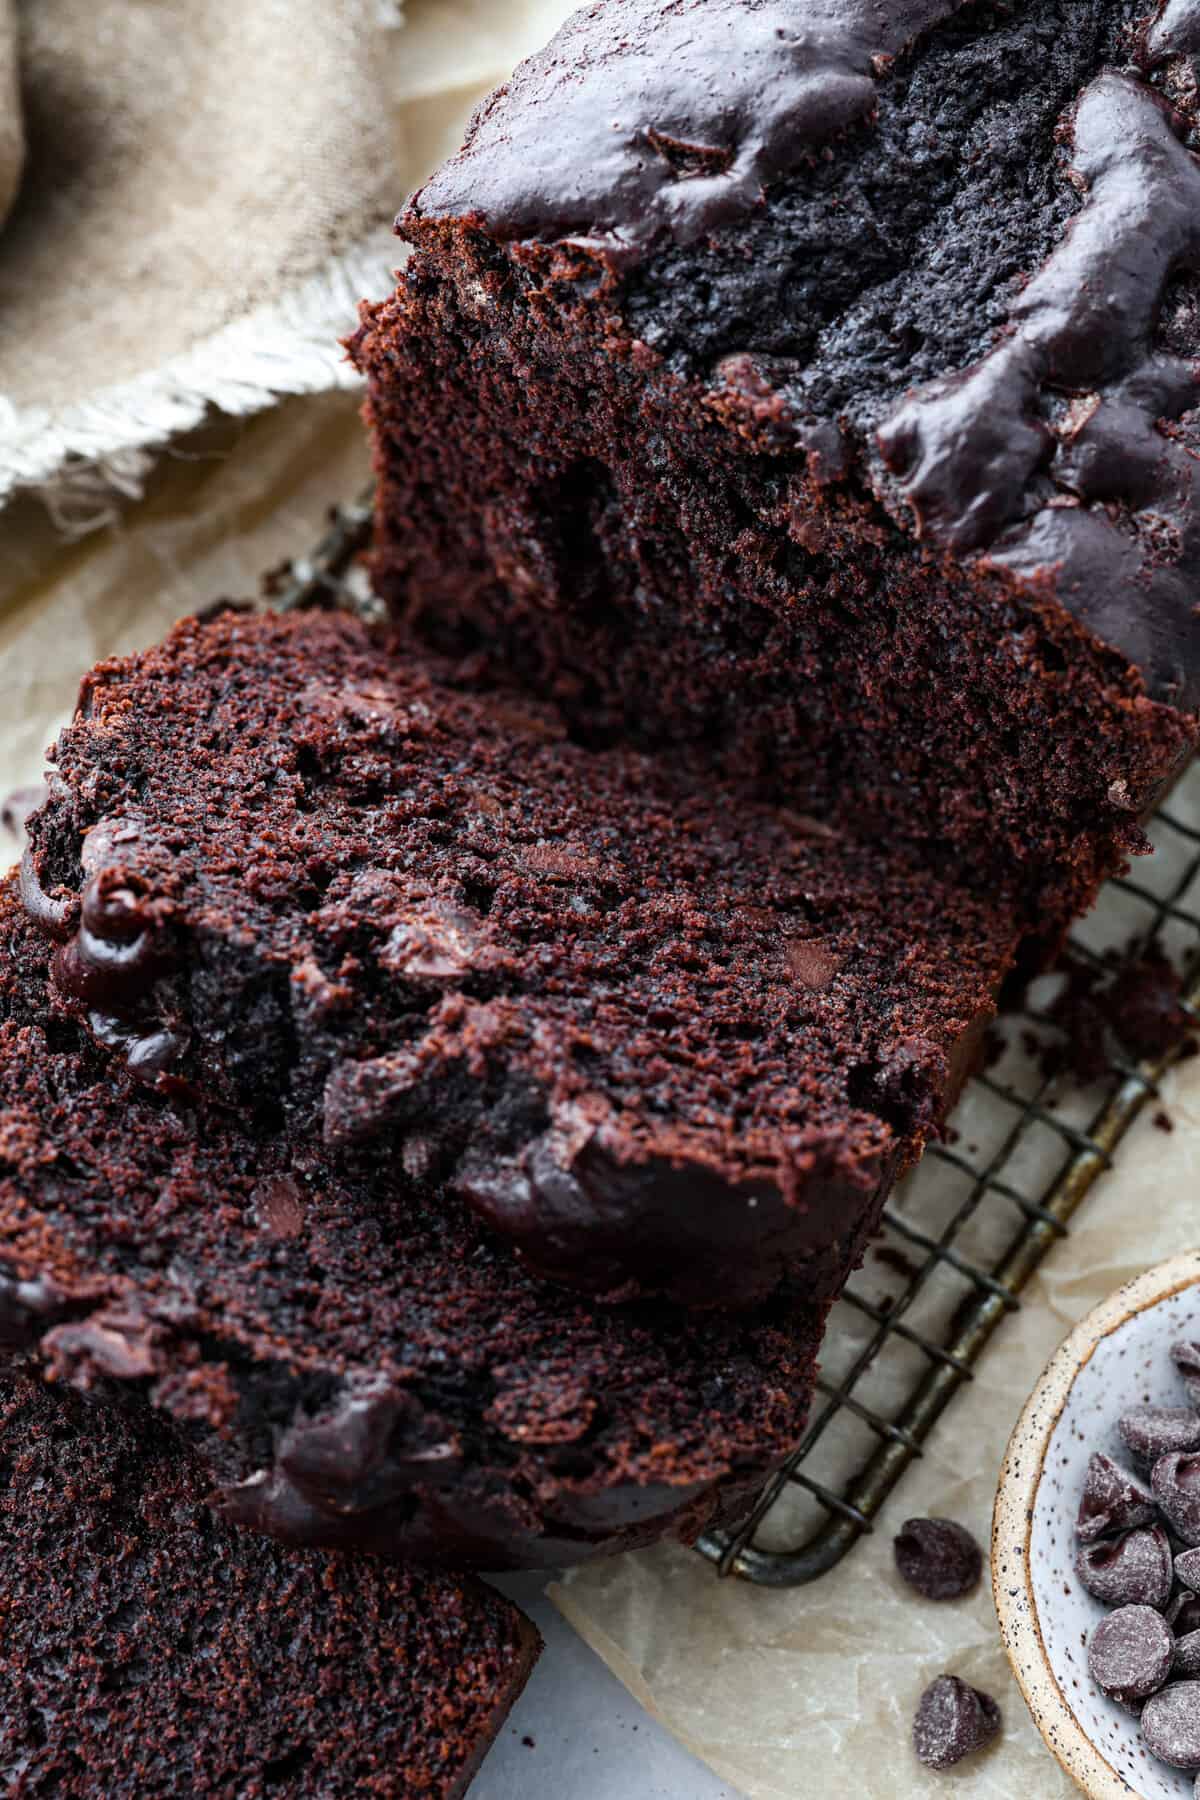
This bread is every chocolate lover’s dream! Moist and soft with deep chocolatey flavor, you won’t be able to stop at one slice!
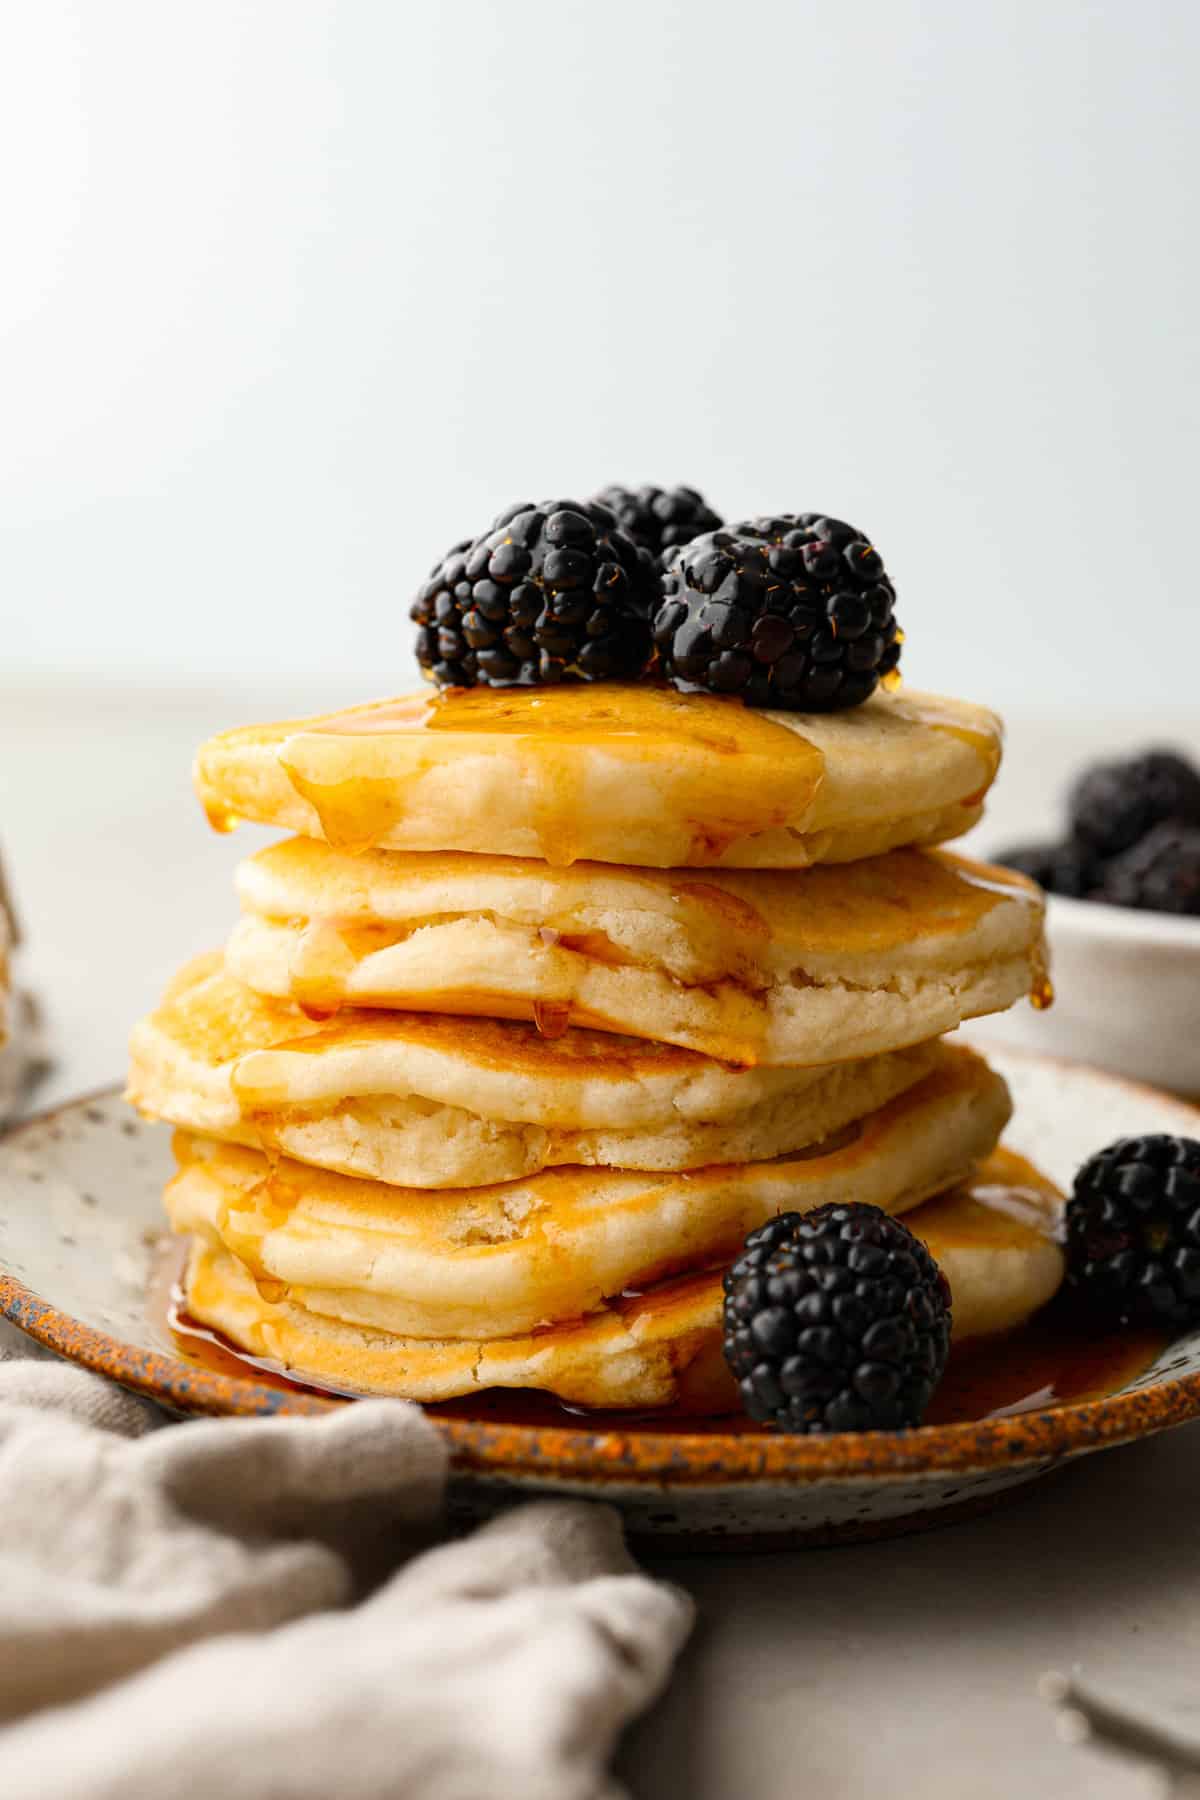
Homemade sweet breads are my absolute favorite. A few of my other go-to recipes are this award-winning banana bread, chocolate chip zucchini bread, and cinnamon swirl bread! You’ve got to try them all!

Easy Chocolate Bread Recipe
Who needs a bakery when you can make your own chocolate sweet bread at home? This chocolate bread is honestly one of the best desserts I’ve made recently. If you love all things chocolate, this is the recipe for you! Not only is this chocolate bread the most delicious thing on the planet, but it’s also surprisingly easy to make. This is a sweet bread similar to zucchini or banana bread, so all you have to do is mix up your ingredients and pop it in the oven!
The flavor of this bread is sublime. Each bite tastes like rich, dark chocolate heaven! Paired with how moist and soft the bread itself is, you’re going to want to finish the whole loaf by yourself. Honestly, it tastes great on its own but you can also serve it warm with a little butter on top! It’s the perfect dessert but also works for breakfast or a quick snack! This chocolatey delight is always a hit whenever I make it for my family. I know yours will love it just as much!
Ingredients Needed
This easy chocolate bread uses a lot of standard baking ingredients. I’m sure you’ll have most of them on hand! My one tip here is to make sure you’re using high-quality cocoa powder and chocolate chips. It makes all the difference in the flavor of this bread!
- Dutch-Process Cocoa: This is a type of cocoa powder that has been alkalized to make it less acidic. This way, it has a more mellow flavor. It gives the chocolate bread a rich, deep chocolate flavor and color.
- All-Purpose Flour: Provides the structure and texture for the chocolate bread.
- Dark Brown Sugar and Granulated Sugar: These two types of sugar add sweetness and moisture to the chocolate bread. They also help to create a slightly crispy crust on the outside.
- Baking Powder and Baking Soda: These ingredients work together to make the bread rise and become light and fluffy.
- Salt: Just a pinch to enhance the flavor of the bread.
- Buttermilk: Helps to tenderize the chocolate bread.
- Eggs: Eggs provide structure and moisture to the chocolate bread, and also help it to rise. I used room temperature eggs so they mix into the batter smoothly.
- Vegetable Oil: Keeps the chocolate bread moist and tender!
- Vanilla Extract: Vanilla adds flavor to the bread and complements the chocolate.
- Semi-Sweet Chocolate Chips: Chocolate chips are added to the batter to provide pockets of melty goodness throughout the bread. The divided portion is sprinkled on top of the batter before baking to create a delicious chocolatey crust. I used semi-sweet chocolate chips, but you can also use milk or dark chocolate chips.
How to Make Chocolate Sweet Bread
Break out your loaf pan, it’s time to make some delicious chocolate bread! This bread is beyond easy to make. Just mix up all of the ingredients and pop it in the oven for an hour! I know it may be tempting to open the oven door to check on it while it bakes, but this will let all of the heat out. Trust me, it’s well worth the wait!
- Preheat Oven, Prep Pan: Preheat the oven to 350 degrees Fahrenheit. Then spray a 9×5 bread pan with cooking spray and set aside.
- Dry Ingredients: In a large bowl, whisk together the cocoa, flour, both sugars, baking powder, baking soda, and salt.
- Add Wet Ingredients: Add the buttermilk, eggs, oil, and vanilla. Then mix until combined. Fold in ½ cup of the chocolate chips.
- Transfer to Pan: Pour the batter into the prepared pan and then top with the remaining ¼ cup of chocolate chips.
- Bake: Bake for 55-60 minutes, until a toothpick comes out clean from the center.
- Cool and Serve: Let chocolate bread cool completely before slicing.

Extra Tips
To make sure your chocolate bread turns out perfectly, I’ve added a few tips and variations for you! You’re going to absolutely love this bread. If sweet breads are your thing, another great recipe to try out next is this chocolate zucchini bread!
- Cocoa Powder: Be sure to use Dutch process cocoa powder. You can use regular cocoa powder, but the flavor and color will be quite a bit lighter and not as rich or full.
- Add Nuts: Nuts and chocolate are the perfect combo! Feel free to add in chopped walnuts, pecans, or slivered almonds.
- Swap Chocolate Chips: You can omit the chocolate chips completely or switch them out for milk or white chocolate. I personally love adding chocolate chips because they add extra flavor and melty goodness.
- Homemade Buttermilk: If you don’t have buttermilk on hand, make your own using this recipe here! It’s perfect for all of your baking needs.

How Long Does Chocolate Bread Last?
As long as it’s stored properly, chocolate bread should stay soft, moist, and absolutely delicious throughout the week. It’s the perfect snack to have when you’re craving something sweet!
- At Room Temperature: Store in an airtight container for up to 5 days.
- In the Freezer: Wrap in plastic wrap followed by foil. Then freeze for up to 2 months. Let come to room temperature before slicing.

More Delicious Sweet Bread Recipes
Bread
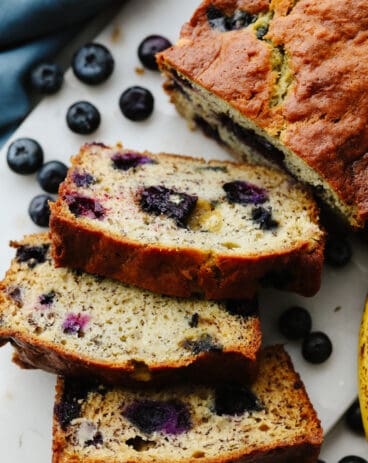
Blueberry Banana Bread
Bread
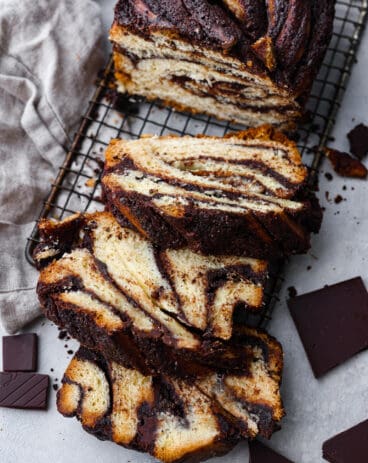
Chocolate Babka Bread
American
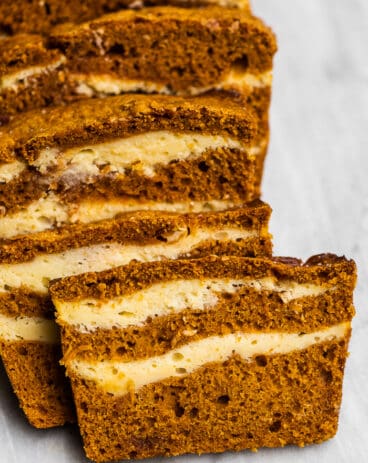
Cream Cheese Pumpkin Bread
Quick Bread
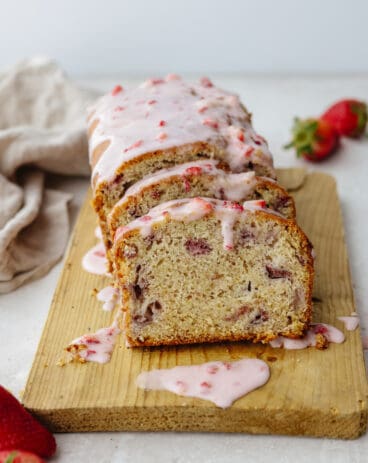
Strawberry Quick Bread
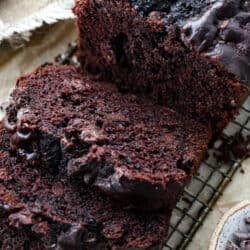
Chocolate Bread
Ingredients
- ½ cup dutch process cocoa
- 1 ¾ cups all purpose flour
- 6 tablespoons dark brown sugar
- 6 tablespoons granulated sugar
- 1 ½ teaspoons baking powder
- ¾ teaspoon baking soda
- ¼ teaspoon salt
- 1 cup buttermilk
- 2 large eggs room temperature
- ½ cup vegetable oil
- 1 teaspoon vanilla extract
- ¾ cup semi sweet chocolate chips divided
Instructions
-
Preheat the oven to 350 degrees Fahrenheit. Spray a 9×5 bread pan with cooking spray and set aside.
-
In a large bowl, whisk together the cocoa, flour, both sugars, baking powder, baking soda, and salt.
-
Add the buttermilk, eggs, oil, and vanilla. Mix until combined. Fold in ½ cup of the chocolate chips.
-
Pour the batter into the prepared pan and top with the remaining ¼ cup of chocolate chips.
-
Bake for 55-60 minutes, until a toothpick comes out clean from the center.
-
Let cool completely before slicing.
Nutrition
source https://therecipecritic.com/chocolate-bread/