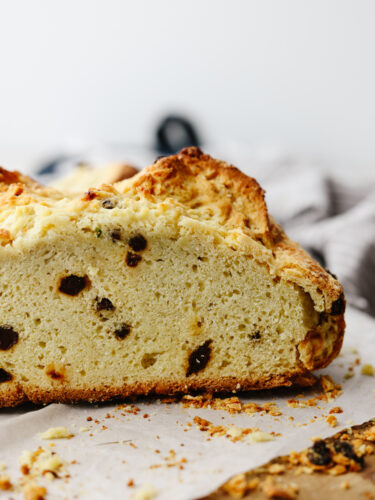
Traditional Soda Bread

This traditional no yeast bread recipe is a crumbly dense bread with a slightly sweet taste. With only a few pantry and refrigerator staples required, this delicious traditional soda bread can be made easily and is one everyone will enjoy.

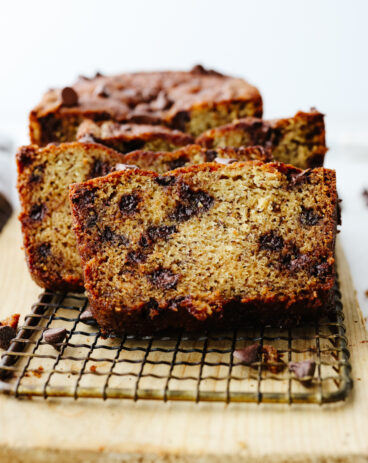
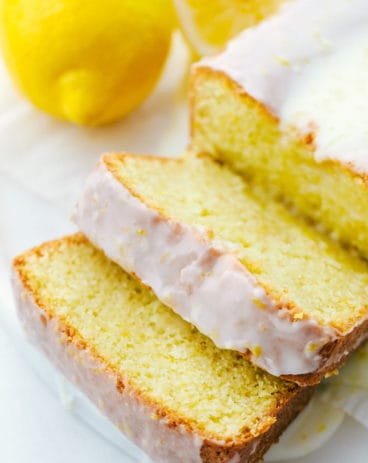
Bread is a perfect pairing for just about any meal and sometimes it tastes even better if it’s easy to prepare like this banana bread, this cheesy garlic bread, or even these biscuits.
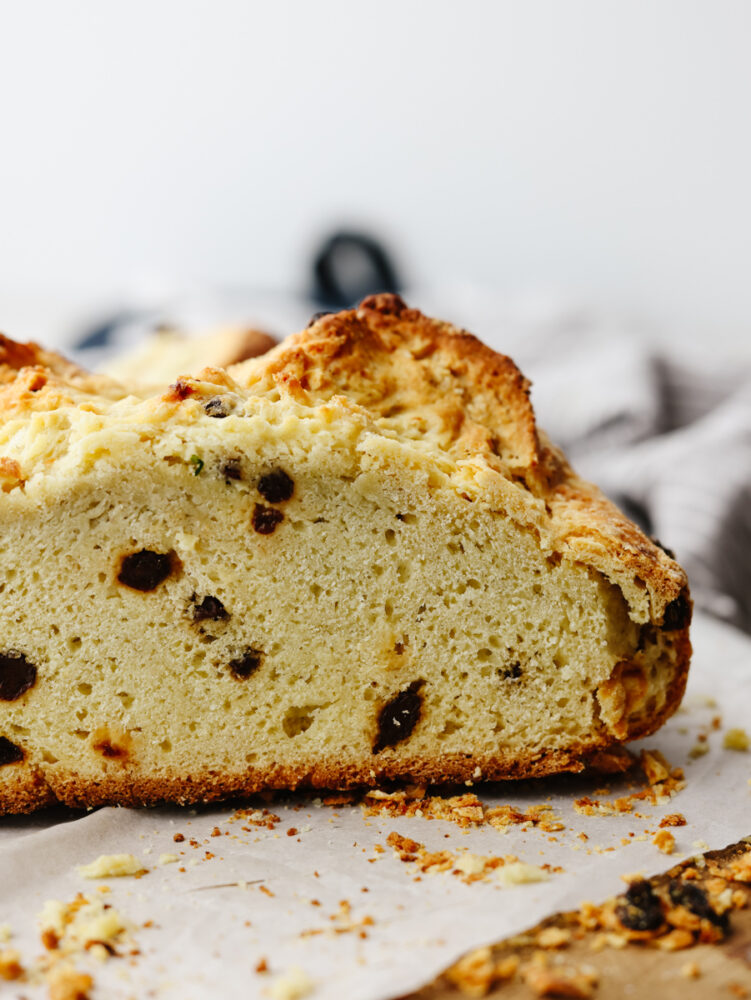
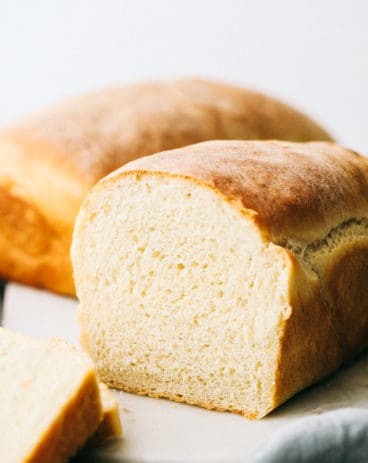
A close up side view of a load of soda bread.

What is Soda Bread?

This yummy soda bread recipe is one of my very favorite bread recipes to prepare because of its simplicity and it’s also one that my kids love to make with me! In the United States, soda bread is commonly called “Irish Soda Bread” which is a sweet bread that is made with baking soda. The baking soda leavens the bread (helps it rise without yeast). So this bread is perfect for beginners because there is no kneading or rising time involved!

This dense and unleavened bread is made with simple pantry ingredients. Known as a table bread, which is a bread that can be toasted with butter for breakfast, cooked at lunch with cheese, or with dinner as a side at the table to your main dish! This bread is sweet and “soda-licious” (I couldn’t resist that pun)! Your family will absolutely love it.

Ingredients in Soda Bread

Traditional soda bread uses baking soda of course! Plus a few other ingredients that you probably already have in your pantry. See the recipe card at the bottom of the pot for exact measurements.

  • Buttermilk: You can use storebought or Homemade Buttermilk for this recipe!
  • Egg: A large egg will bind the dough together.
  • Flour: I used all purpose flour for this recipe.
  • Granulated Sugar: This makes this bread sweet!
  • Baking Soda: The baking soda acts as a leavening agent to make the bread rise.
  • Salt: This will enhance all of the flavors in the bread.
  • Butter: Use chilled and unsalted butter when making the dough.
  • Currants: You can use these or raisins instead. Either are optional.

How to Make Traditional Soda Bread

Get ready for a super easy bread that will impress all of your guests! It’s delicious and simple to make.

  1. Preheat: Preheat the oven to 400°. Get out a 10 to 12-inch cast-iron skillet or line a baking sheet with parchment paper. You can also use a 9-10 inch cake pan (lightly grease it) if you don’t have a cast-iron skillet.
  2. Combine Wet Ingredients: In a small bowl, beat the buttermilk and egg together until combined and set aside.
  3. Whisk Dry Ingredients: In a large bowl whisk together the flour, sugar, baking soda, and salt until combined. Add the cubed butter to the flour mixture and cut in using a pastry cutter or fork. Then, work the butter into the flour until it becomes crumbly. Stir in currants or raisins.
  4. Combine: Pour the buttermilk mixture into the flour mixture and fold using a spatula until the dough becomes thick. Lightly flour your hands and remove the dough from the bowl onto a floured surface. Incorporate the flour by kneading the dough for about 1 minute.
  5. Cut Dough: Place the dough onto the cast iron skillet or prepared pan and then use a very sharp knife to cut an X on top.
  6. Bake: Bake for 45 minutes until the bread becomes a nice golden-brown color all over. If it begins to brown too quickly, place a loose tent of foil over the top. The internal temperature should be 190-200F. 
  7. Let Cool: Remove from the oven and let cool for at least 10 minutes before slicing.

Why is it Crumbly?

Using too much flour and too little buttermilk can cause your traditional soda bread to turn out more crumbly than it should be. Make sure to spoon and level the flour when measuring it.
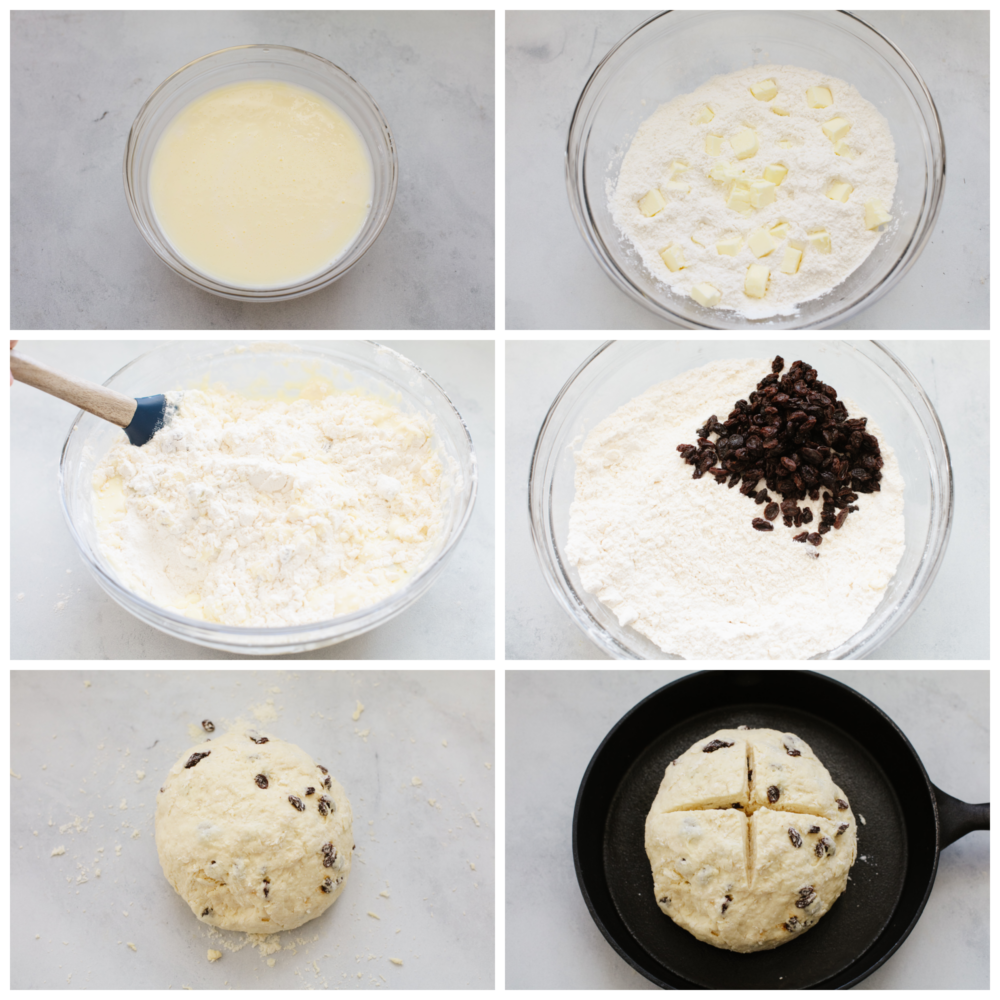
6 pictures showing how to mix ingredients together to make dough.

Why is My Bread Raw in the Center?

There are a few reasons that cause traditional soda bread to not fully cook leaving a raw center. The fixes are simple though!

  • First, check your oven temperature. Chances are it could be too high. If you don’t have a thermometer to check the internal temperature of your oven then try lowering it. Place a loose tent of foil over the bread to avoid it from overcooking the outer later and continue cooking on the lower temperature so the middle can fully bake.
  • Second, make sure you’re using the correct pan size. If your pan is too small and the dough ball too high it will take longer to cook.
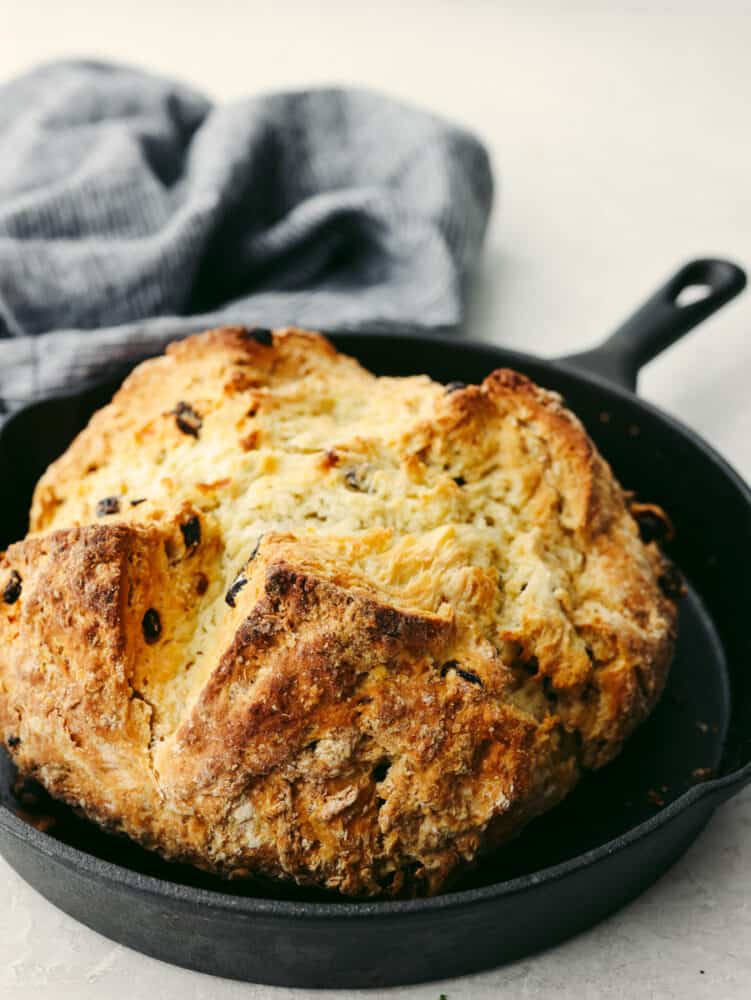
Soda bread all baked in a skillet pan.

What Does Traditional Soda Bread Taste Like?

Similar to biscuits, the flavor is subtle with slight hints of sweetness. This bread is not meant to be served alone, but with butter or jam. To add additional flavor to soda bread you can mix in some dried fruits such as currants, or even something sweet like chocolate chips.
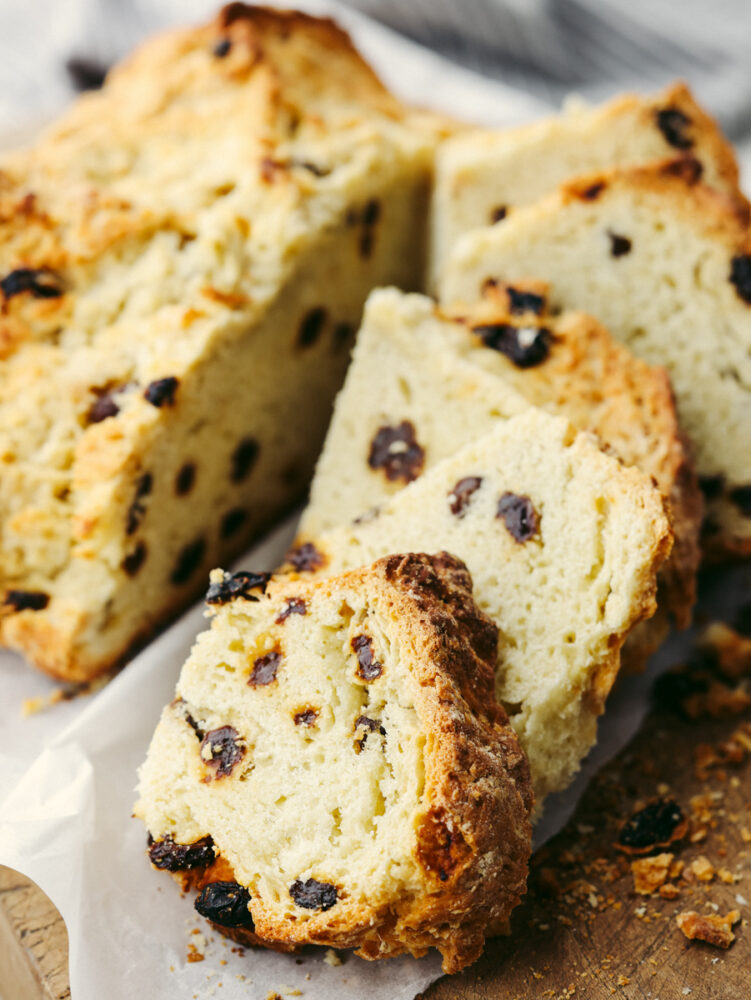
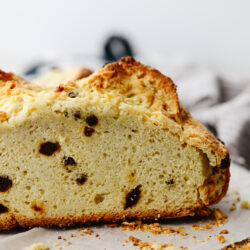
A loaf of soda bread sliced and ready to eat.

How to Store Soda Bread

Wrap the bread in plastic wrap, foil, or store in an air-tight container for up to 4 days. It does not need to be refrigerated. This bread can also be stored in the freezer by covering it with plastic wrap and then a layer of foil. It will keep the freezer for up to 2 to 3 months.

Print

Traditional Soda Bread

This traditional no yeast bread recipe is a crumbly dense bread with a slightly sweet taste. With only a few pantry and refrigerator staples required, this delicious traditional soda bread can be made easily and is one everyone will enjoy.
Course Bread, Side Dish
Cuisine Irish
Keyword soda bread
Prep Time 15 minutes
Cook Time 45 minutes
Resting Time 10 minutes
Total Time 1 hour 10 minutes
Servings 12 Slices
Calories 238kcal
Author Alyssa Rivers

Ingredients

  • 1 ¾ Cup Buttermilk
  • 1 Large Egg
  • 4 ¼ Cup all-purpose flour
  • 2 Tablespoons Granulated Sugar
  • 1 Teaspoon Baking Soda
  • 1 Teaspoon Salt
  • 5 Tablespoons Unsalted Butter chilled and cubed
  • 1 Cup Currants or Raisins optional

Instructions

  • Preheat the oven to 400°. Get out a 10 to 12-inch cast-iron skillet or line a baking sheet with parchment paper. Alternatively, you can use a 9-10 inch cake pan that has been lightly greased.
  • In a small bowl, beat the buttermilk and egg together until combined and set aside.
  • In a large bowl whisk together the flour, sugar, baking soda, and salt until combined. Add the cubed butter to the flour mixture and cut in using a pastry cutter or fork. Work the butter into the flour until it becomes crumbly. Stir in currants or raisins.
  • Pour the buttermilk mixture into the flour mixture and fold using a spatula until the dough becomes thick. Lightly flour your hands and remove the dough from the bowl onto a floured surface. Gently knead the dough for about 1 minute until all the flour has been incorporated.
  • Place the dough onto the cast iron skillet or prepared pan and use a very sharp knife to cut an X on top.
  • Bake for 45 minutes until the bread becomes a nice golden-brown color all over. If it begins to brown too quickly, place a loose tent of foil over the top. The internal temperature should be 190-200F.
  • Remove from the oven and let cool for at least 10 minutes before slicing.

Notes

Originally Posted on June 17, 2020
Updated on March 2, 2022

Nutrition

Serving: 1slice | Calories: 238kcal | Carbohydrates: 38g | Protein: 6g | Fat: 7g | Saturated Fat: 4g | Polyunsaturated Fat: 1g | Monounsaturated Fat: 2g | Trans Fat: 1g | Cholesterol: 30mg | Sodium: 328mg | Potassium: 101mg | Fiber: 1g | Sugar: 4g | Vitamin A: 223IU | Calcium: 50mg | Iron: 2mg


source https://therecipecritic.com/soda-bread/
Share:

5 Minute Black Bean Dip

This black bean dip flavored with garlic, lime, and spices is going to be the star of your next party! It whips up in minutes and is absolutely irresistible.

No party is complete without a tasty dip! Hot spinach artichoke, jalapeno popper, and hot crab dips are just a few of my reader-favorite recipes that I know you’ll love!

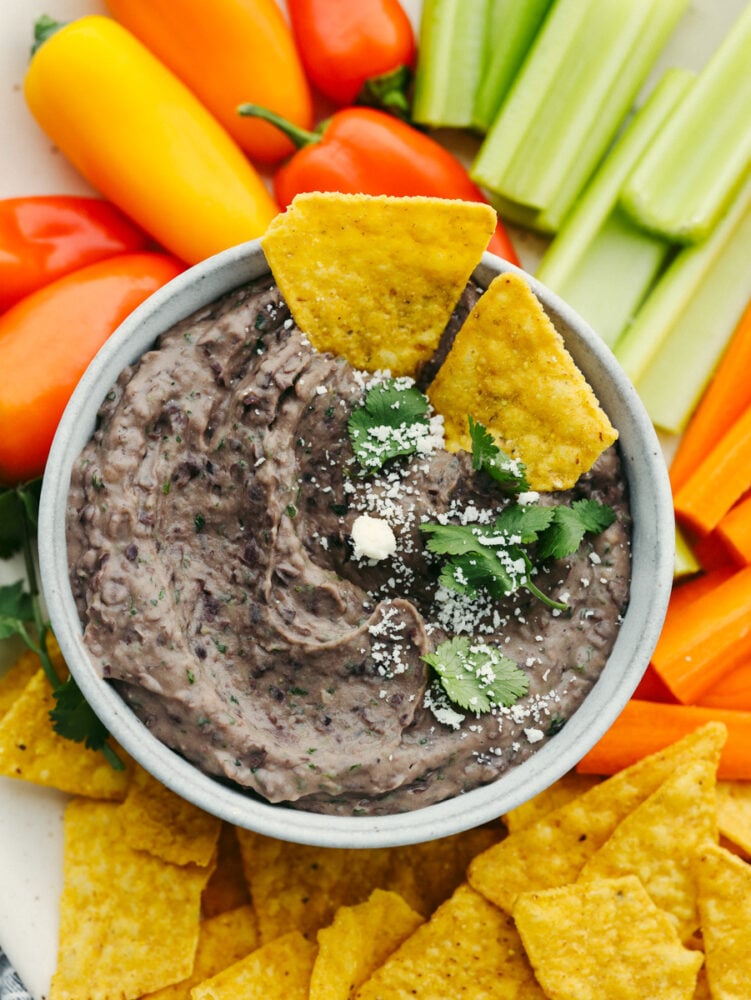
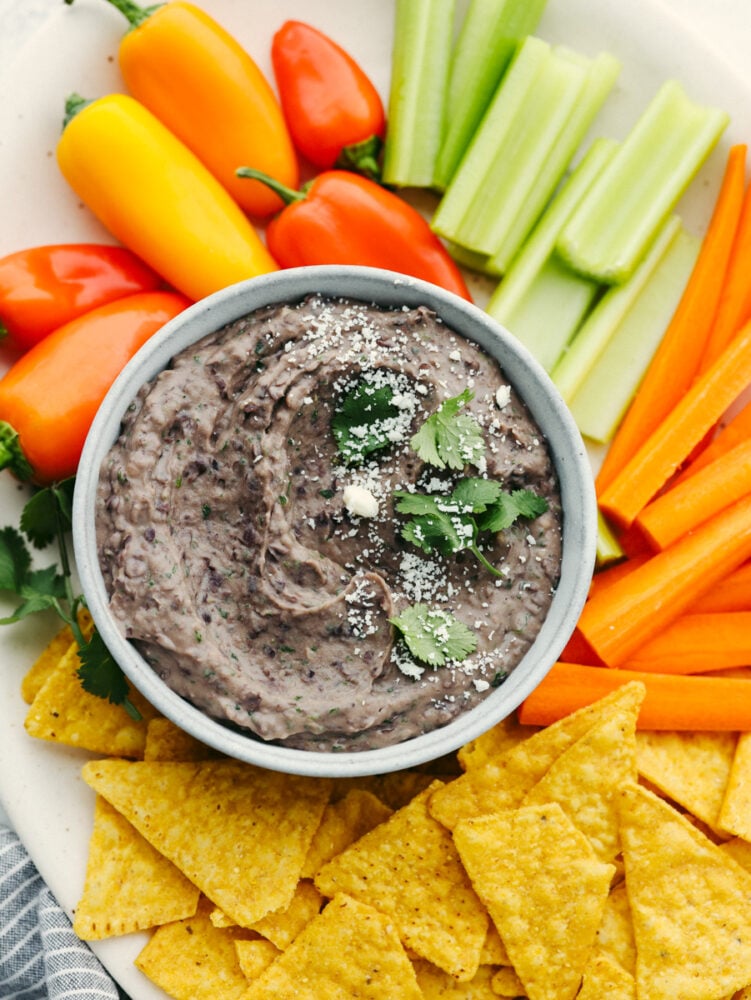
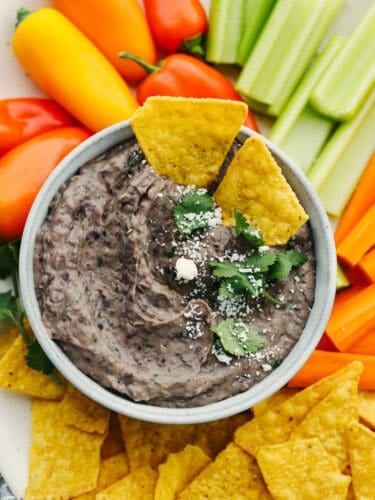
Closeup of black bean dip surrounded by an assortment of chips and vegetables.

Quick and Easy Black Bean Dip Recipe

Dips are one of my favorite snacks to prepare because they’re so easy, and so delicious! No matter what flavors you’re craving, there’s a dip to satisfy it! I’ve posted quite a few dip recipes on my blog over the years, but I have to say- I think bean dips are some of my all-time favorites! They’ve just got the best texture. Thick, rich, and loaded with flavor! Everyone seems to love this refried bean dip whenever it’s around, so I decided to give it a go with black beans instead!

You’re going to love how easy this recipe is to throw together. All it takes is a can of black beans, cilantro, garlic, and spices from your cupboard. And did I mention it’s vegan? It’s a tasty appetizer that everyone can enjoy! You won’t be able to stop at just one taste. This easy, healthy black bean dip is dangerously binge-able! Need more inspo for parties and game days? Find my full list of favorite dips here!

Everything You’ll Need to Make It

This black bean dip is full of so much flavor but only needs a few pantry staples to throw it together! Because it only uses a handful of ingredients, it’s a great last-minute option for parties and potlucks. Find all measurements below in the printable recipe card.

  • Black Beans: Canned works great! Make sure these are drained and rinsed before adding to your food processor.
  • Olive Oil: Adds an earthy flavor and helps everything to mix together smoothly.
  • Cilantro: Cilantro adds a punch of sharp, minty flavor that pairs really well with lime.
  • Garlic Cloves: The more garlic the better! It adds the perfect base flavor to this dip.
  • Cumin: Cumin adds a delicious, nutty flavor to your black bean dip.
  • Lime Juice: I used fresh lime juice here, but a squeeze of bottled lime juice works too!
  • Salt and Pepper: Add both to your liking!

How to Make Black Bean Dip

It doesn’t get easier than this. It may be super simple to prepare, but trust me, it’s a crowd-pleaser! Serve it up with the most delicious dippables (I’ve got recommendations below!) and you’ll be the talk of the neighborhood.

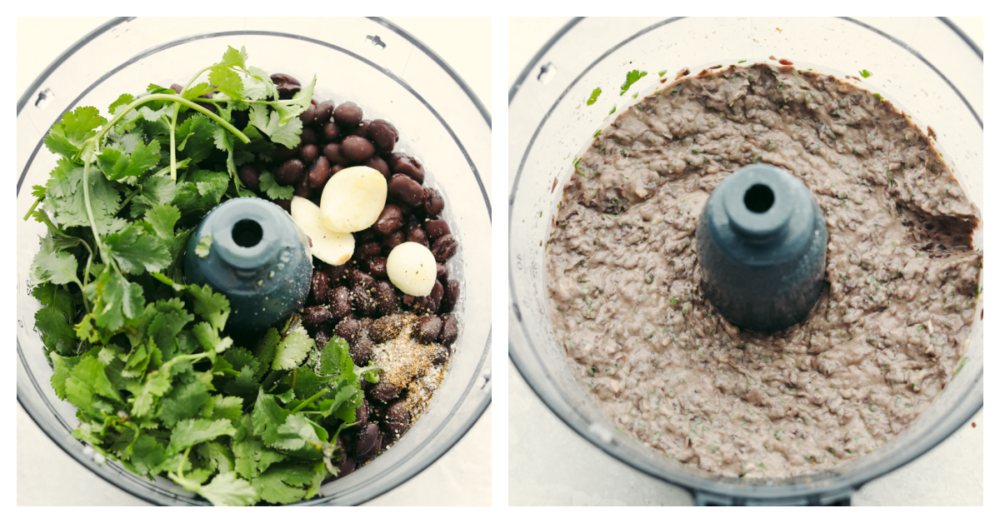
  1. Blend: In a food processor, add the black beans, olive oil, cilantro, garlic, cumin, and lime. Pulse until it reaches desired consistency. Salt and pepper to taste.
  2. Serve: Then, all you have to do is serve with chips and veggies!
2 photos of blending dip ingredients together.

Delicious Dippables

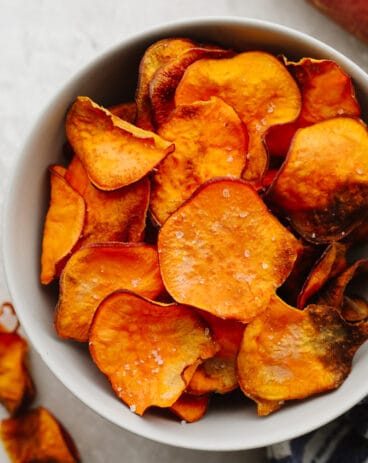
Yeah, dips are great, but what would they be without chips? Here are a few of my favorite recipes that you can make at home to get the full experience! No dip is complete without a tasty variety of dippables! Black bean dip also tastes great alongside crackers and fresh veggies like carrots and celery.

Black bean dip in a white bowl, surrounded by chips and vegetables.

Storing Leftover Dip

You’re going to love having this black bean dip in the fridge to snack on. It’s the perfect thing to pair all of your favorite chips with!

  • In the Refrigerator: Store your black bean dip in an airtight container for up to 4 days.
  • In the Freezer: As if you needed any more reason to make this dip, it can be frozen for 2-3 months! Simply thaw overnight in the fridge when you’re ready to enjoy it.
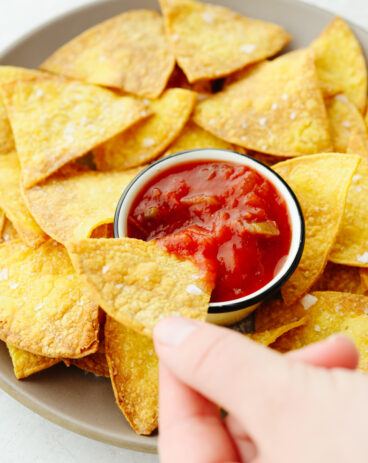
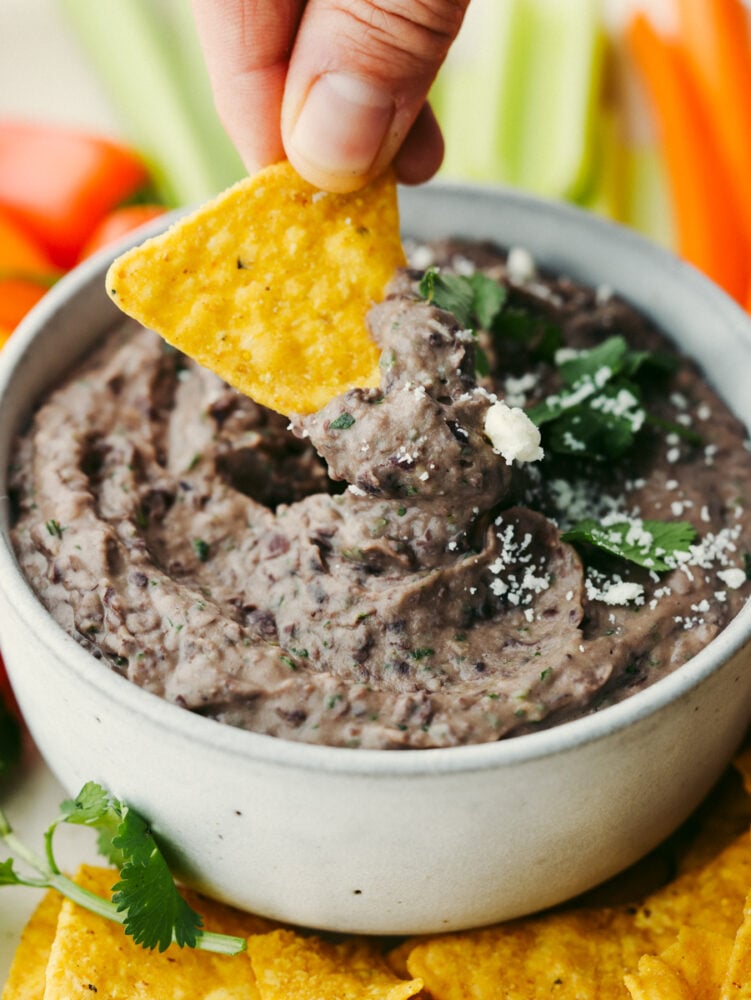
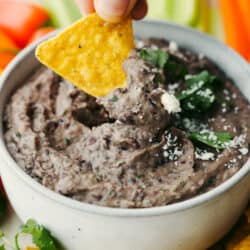
Dipping a chip into a bowl of bean dip.
Print

Black Bean Dip

Prep Time 5 minutes
Servings 6
Calories 110kcal
Author Alyssa Rivers

Ingredients

  • 2 15 ounce cans black beans, drained and rinsed
  • 1/3 cup olive oil
  • 1/4 cup cilantro
  • 3 garlic cloves
  • 1 teaspoon cumin
  • juice of half a lime
  • salt and pepper to taste

Instructions

  • In a food processor, add the black beans, olive oil, cilantro, garlic, cumin, and lime. Pulse until it reaches desired consistency. Salt and pepper to taste.
  • Serve with chips and veggies!

Nutrition

Calories: 110kcal | Carbohydrates: 1g | Protein: 1g | Fat: 12g | Saturated Fat: 2g | Polyunsaturated Fat: 1g | Monounsaturated Fat: 9g | Sodium: 1mg | Potassium: 16mg | Fiber: 1g | Sugar: 1g | Vitamin A: 49IU | Vitamin C: 1mg | Calcium: 6mg | Iron: 1mg


source https://therecipecritic.com/black-bean-dip/
Share:

Glazed Orange Scones

Soft on the inside with a browned outside edge, these glazed orange scones are delightful for any breakfast or brunch! Bake them up for your next early morning meal, and everyone will go crazy over them.

You can’t beat having a delicious breakfast meal, and these scones sure do hit the spot! For more yummy breakfast items, try this french toast, these easy cinnamon rolls, or this delicious blueberry breakfast cake!

A picture of two scones stacked, the top one with a bite taken out of it.

A Reader’s Review

Nailed it! I’ve tried several orange scone recipes and this one can’t be beat.
-Whitney

Orange Scones with a Creamy Orange Glaze

There are many different types of scones out there, and I am here for all of them! I have yet to find a scone that I didn’t like. Then again, I enjoy all kinds of food a bit more than the average person! These glazed orange scones are the perfect contribution to any breakfast meal or brunch. The dough has fresh orange zest, so the flavor is not too overpowering but so fresh and delicious. Plus, there is a subtle hint of orange flavor in the icing is really the cherry (icing!) on top.

Not only do they go perfectly with just about everything (because who doesn’t want orange at breakfast?!) and taste terrific, but they aren’t too hard to make either! Even the most beginner of bakers can whip these up like a pro. They take just over 40 minutes, and that includes the baking time! It’s time for you to grab these ingredients a make a batch or two… Your whole family will thank you later!

What Ingredients are in Orange Scones?

Glazed orange scones are filled with delicious ingredients and have some sugar in them! So if you’re looking for a healthy option, this isn’t it, but man, these sure do taste good! See the recipe card at the bottom of the post for exact ingredient measurements.

  • Flour: I used all purpose flour for this recipe!
  • Granulated Sugar: The suagr will sweeten up the scones.
  • Baking Powder: Baking powder will give your scones that breadlike texture.
  • Salt: The salt enhances all of the flavors in the recipe.
  • Orange Zest: Use the zest from fresh oranges and you will see that this is the secret ingredient that makes these scones stand out!
  • Butter: I used unsalted butter that was chilled so that it could be grated easily.
  • Heavy Cream: Leave your cream in the fridge until you are ready to use it.  
  • Egg: The egg will bind the dough together.
  • Vanilla Extract: This will bring out the sweet flavors in the scone.
  • Sugar Crystals: These are used for topping on the scones.

Icing

  • Powdered Sugar: This will dissolve easily making the glazed nice and smooth.
  • Orange Juice: The orange juice gives it that subtle orange flavor to go with the orange scone.
  • Heavy Cream: Heavy cream will bind the icing so that it mixes up well.

How to Make Glazed Orange Scones

Glazed orange scones are delicious and easy to make. I can’t wait for you to try them! Once you make this recipe, it will for sure become a family favorite!

Dough

  1. Preheat and Prep: Preheat the oven to 375° and line a baking sheet with parchment paper. Set aside.
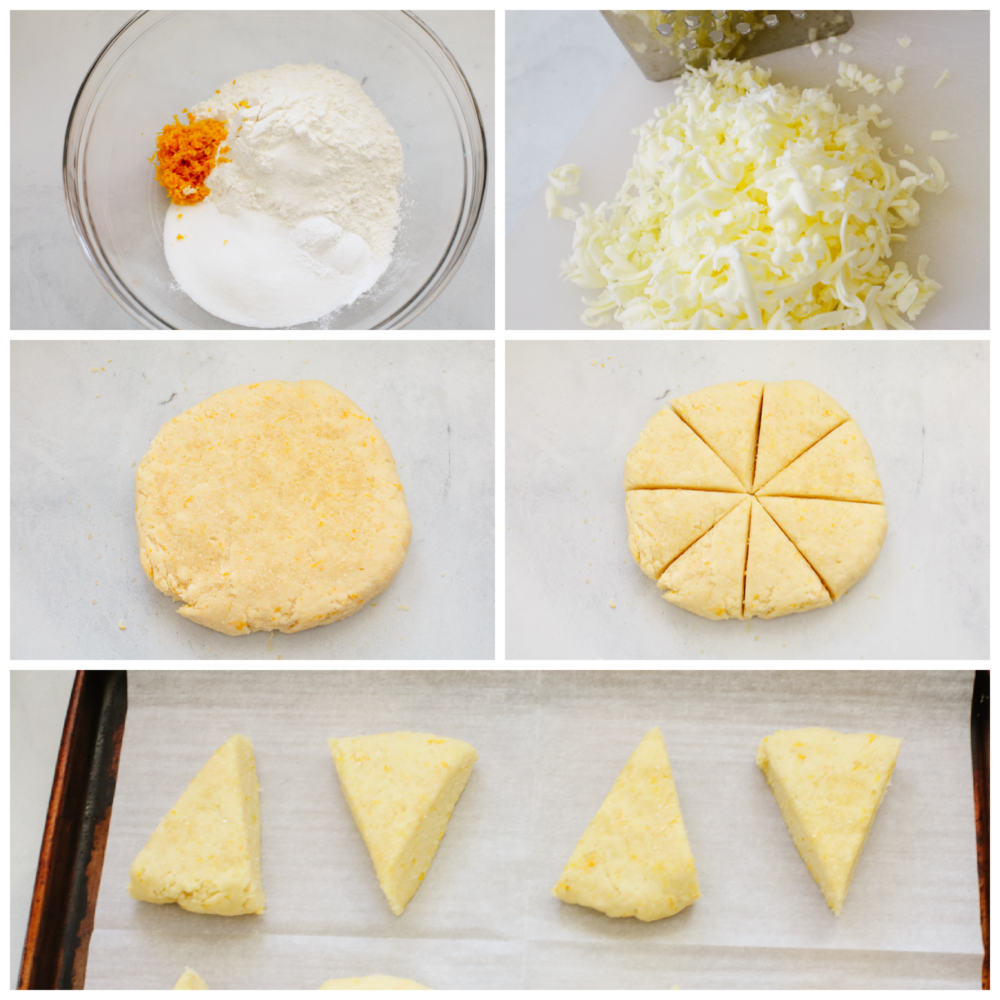
  2. Whisk Dry Ingredients: In a large bowl, whisk the flour, sugar, baking powder, salt and then the orange zest together.
  3. Grate the Butter and Mix: Use a box grater to grate the cold butter into the dry ingredients. Use your hands to lightly mix the butter into the flour.
  4. Form the Dough: In a medium bowl, combine the cream, egg and vanilla extract. Then, pour it over the butter and dry ingredients and stir to combine. Trying to work the dough as little as possible, turn out onto a lightly floured surface and work into a ball. Flatten into an 8-9 inch disc. Then, use a sharp knife to cut into 6-8 equal pieces.
  5. Bake: Arrange the pieces on the prepared baking sheet, leaving about 2 inches between each one. Bake for 22-25 minutes, or until nice and golden brown. If you find the scones are browning too quickly, lay a sheet of foil over top of them to prevent them from burning while they finish baking. Allow to cool for at least 5-10 minutes before drizzling the icing over the top.

Icing

  1. Whisk: In a small bowl whisk together the powdered sugar, orange juice and heavy cream. If needed then you can thin it with more orange juice 1 teaspoon at a time.
5 pictures showing how to make orange scone dough.

Tips for Baking Scones

Try out some of my tips and tricks so that your orange-glazed scones turn out perfectly! These are so good, it will be love at first bite!

  • Cold Ingredients: It’s important that your ingredients (like your butter and cream) are chilled and cold when you bake. Because, if your butter mets too soon while it’s baking then you won’t get that soft and flakey crust.
  • Don’t Overmix: You don’t want to overwork your dough. Make sure that everything is thoroughly combined and then leave it alone. It will make your scones be hard and not soft and flakey.
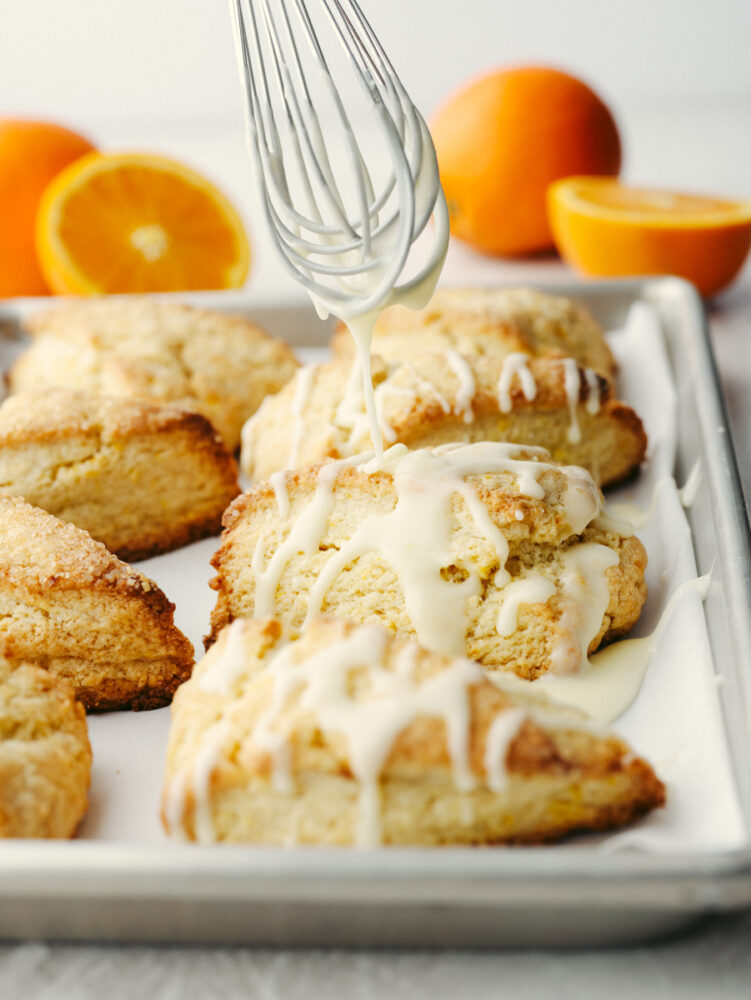
Orange glaze being drizzled with a whisk onto an orange scone.

How to Store Leftover Scones

Orange glazed scones make a fantastic breakfast the next day! Here is how you can store them properly and then you can enjoy them for a few days in a row!

  • At Room Temperature: Once your scones have coole then place them in an airtight container. They will keep for about 3 days.
  • To Reheat: Simply pop your scones in the oven at 300 degrees farenheight for about 5 minutes. They will come out perfectly warm and fresh!
The top view of orange scones on a baking sheet topped with orange glaze.
Print

Glazed Orange Scones

Soft on the inside with a browned outside edge, these glazed orange scones are delightful for any breakfast or brunch! Bake them up for your next early morning meal, and everyone will go crazy over them. 
Course Breakfast
Cuisine American
Keyword glazed orange scones, scone recipes, scones
Prep Time 20 minutes
Cook Time 22 minutes
Total Time 42 minutes
Servings 8 Scones
Calories 277kcal
Author Alyssa Rivers

Ingredients

  • 2 cups all purpose flour
  • ½ cup granulated sugar
  • 2 tsp baking powder
  • ½ tsp salt
  • 3 tbsp orange zest
  • ½ cup unsalted butter (chilled)
  • ½ cup heavy cream (chilled)
  • 1 large egg
  • 1 tsp vanilla extract
  • sugar crystals (for topping)

Icing

  • 1 cup powdered sugar
  • 2 tbsp orange juice
  • 1 Tablespoon heavy cream

Instructions

  • Preheat the oven to 375° and line a baking sheet with parchment paper. Set aside.
  • In a large bowl, whisk the flour, sugar, baking powder, salt, and orange zest together.
  • Use a box grater to grate the cold butter into the dry ingredients. Use your hands to lightly mix the butter into the flour.
  • In a medium bowl, combine the cream, egg, and vanilla extract. Pour over the butter and dry ingredients and stir to combine. Trying to work the dough as little as possible, turn out onto a lightly floured surface and work into a ball. Flatten into an 8-9 inch disc. Use a sharp knife to cut into 6-8 equal pieces.
  • Arrange the pieces on the prepared baking sheet, leaving about 2 inches between each one. Bake for 22-25 minutes, or until nice and golden brown. If you find the scones are browning too quickly, lay a sheet of foil over the top of them to prevent them from burning while they finish baking. Allow them to cool for at least 5-10 minutes before drizzling the icing over the top.

Icing

  • In a small bowl whisk together the powdered sugar, orange juice and heavy cream. If needed, thin with more orange juice 1 teaspoon at a time.

Notes

Originally Posted on June 11, 2013
Updated on March 1, 2022

Nutrition

Calories: 277kcal | Carbohydrates: 35g | Protein: 4g | Fat: 13g | Saturated Fat: 8g | Cholesterol: 68mg | Sodium: 113mg | Potassium: 162mg | Fiber: 1g | Sugar: 14g | Vitamin A: 497IU | Vitamin C: 3mg | Calcium: 66mg | Iron: 1mg


source https://therecipecritic.com/glazed-orange-scones/
Share:

Popular

Archive

Slider Tag

Facebook

Header Ads

Recent in Food

Blog Archive

Recent Posts

Unordered List

  • Lorem ipsum dolor sit amet, consectetuer adipiscing elit.
  • Aliquam tincidunt mauris eu risus.
  • Vestibulum auctor dapibus neque.

Pages

Theme Support

Need our help to upload or customize this blogger template? Contact me with details about the theme customization you need.