Easy Pizza Quesadillas

These cheesy and crispy pizza quesadillas are a family favorite! They are packed with delicious pizza toppings and flavor, plus they are quick and easy and make the best on-the-go weeknight meal!

Easy meals are always a hit at our house, but that doesn’t mean they have to lack flavor! Try out these delicious Quick Korean Ground Beef and Rice Bowls, this super easy Air Fryer Grilled Cheese, and this yummy and classic American Goulash.
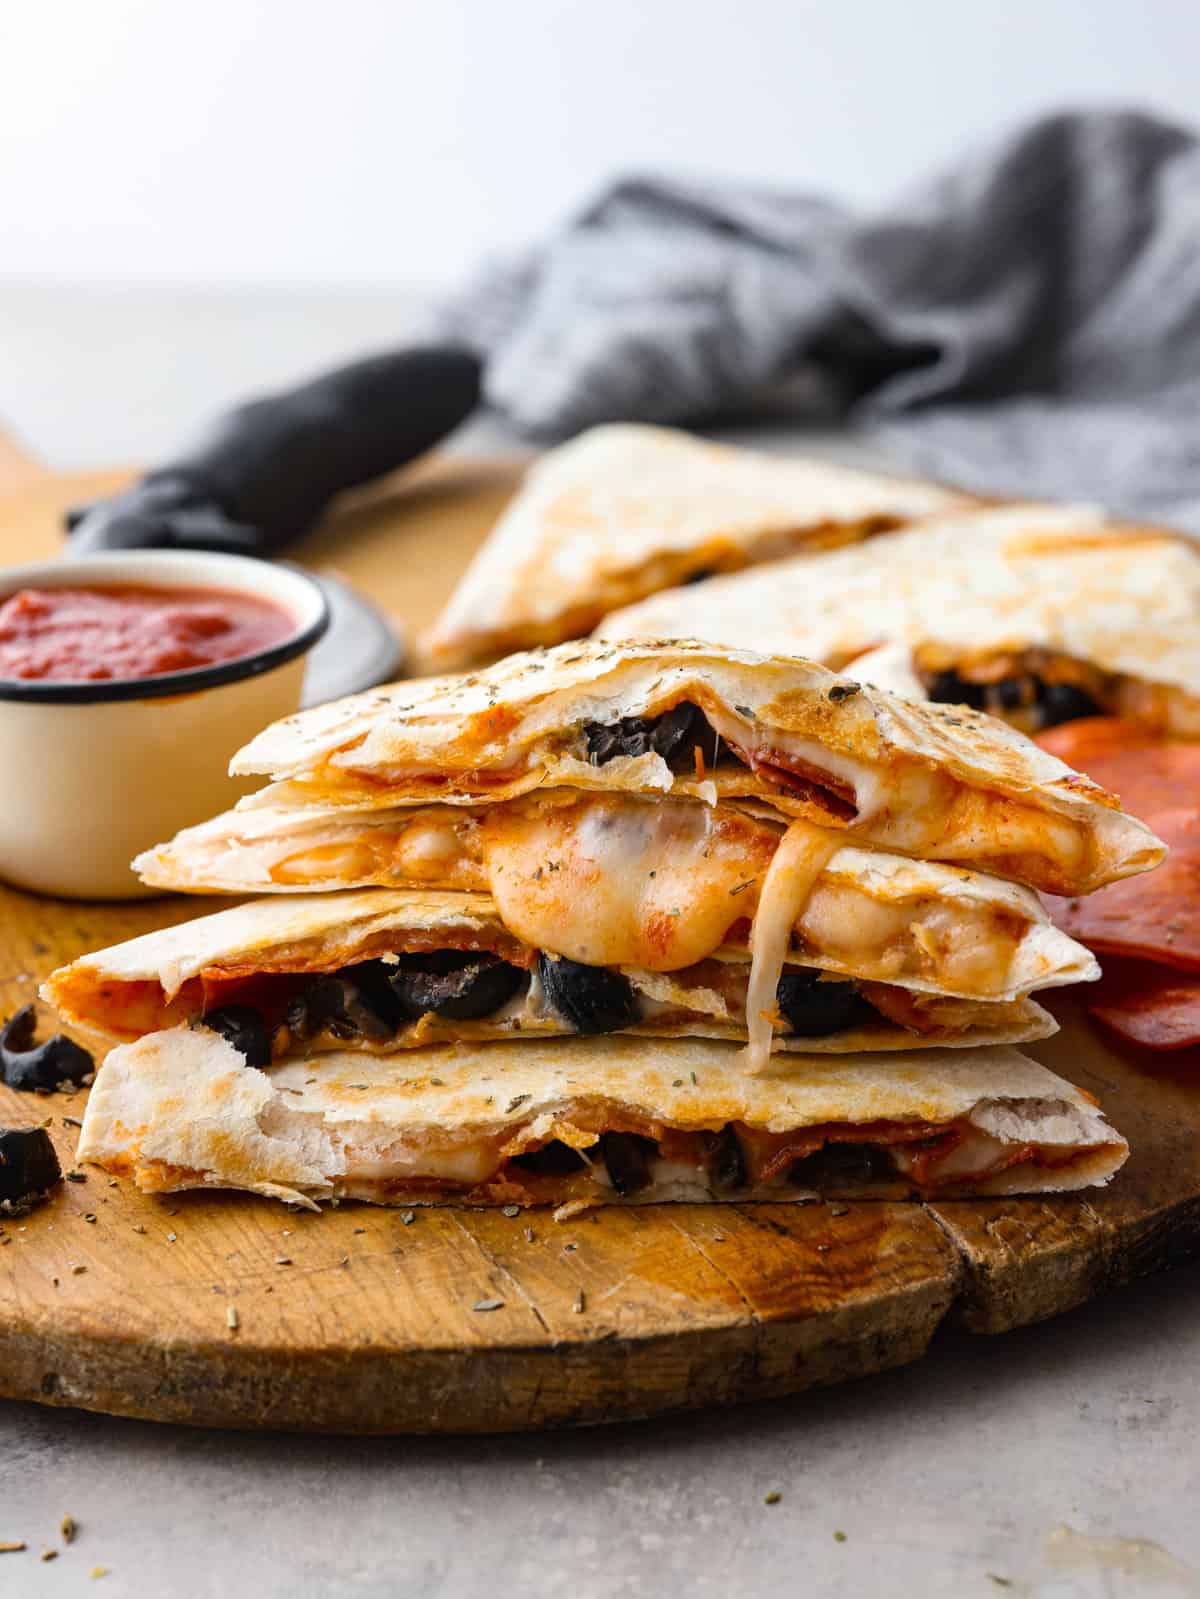
A stack of slices of a pizza quesadilla next so some marinara dippin sauce.

Pepperoni Pizza Quesadilla Recipe

If you know me, then you know that I am a huge fan of a quick and easy meal! I am on the go constantly with all of my kid’s activities and errands and work and life… Aren’t we all?? So whenever I can make a meal that tastes delicious and takes less than 30 minutes, you can count me IN! These pizza quesadillas are cheesy and full of flavor, and sometimes my kids actually prefer these to regular pizza!

The great thing about these quesadillas is the fact that you can easily change up the ingredients to work for you! My kids love making their own and adding in their favorite ingredients. We’ve tried bacon, sausage, ham, veggies, and every pizza topping that you can think of, and they all taste so delicious! This meal makes a great on-the-go meal for busy weeknights, especially once school has started!

Ingredients You Need to Make Pizza Quesadillas

Like I said before, you can use whatever ingredients that you have on hand for toppings on this pizza. Although I must say, this combo I have here is just about perfect! Check out the recipe card at the bottom of the post for exact measurements.

  • Tortillas: I like to use flour tortillas because they are the most flexible and won’t break. But corn tortillas are a great option for those who are looking to make this recipe gluten-free!
  • Pizza Sauce: You can buy a jar of this at the store, or you can easily make it at home using this recipe of mine!
  • Mozzarella Cheese: I like to use freshly shredded mozzarella cheese from a block but to save time, you can use pre-shredded cheese from the store!
  • Pepperoni Slices: You can only use pepperoni if you want to keep this recipe classic!
  • Olives: To save time, I like to buy a can of pre-sliced olives. It makes this recipe even easier.
  • Additional Toppings: Get creative and make this recipe perfect for you! Try adding in some peppers, mushrooms, or sausage.

How to Make Pizza Quesadillas

You are going to love this new go-to meal! It’s perfect for lunch or dinner and is so versatile that no one will have any complaints! I always keep the ingredients on hand so that my kids can make these for themselves whenever they want something quick and delicious to eat.

  1. Spread Sauce: Spread a thin layer of pizza sauce on half of a large tortilla.
  2. Add Cheese: Sprinkle shredded mozzarella cheese on top of the pizza sauce.
  3. Layer on Toppings: Layer on the sliced pepperoni and sprinkle with Italian seasoning for extra flavor! Add any other pizza toppings you desire at this time.
  4. Cook: Heat a large skillet or griddle over medium-high heat. Fold the tortilla over and cook for about 2 minutes on each side. Cook until the cheese is melted and the tortilla is golden brown.
  5. Cut: Remove the cooked quesadilla from the pan and use a pizza cutter to slice it into triangles and enjoy! Serve with additional marinara sauce on the side for dipping.
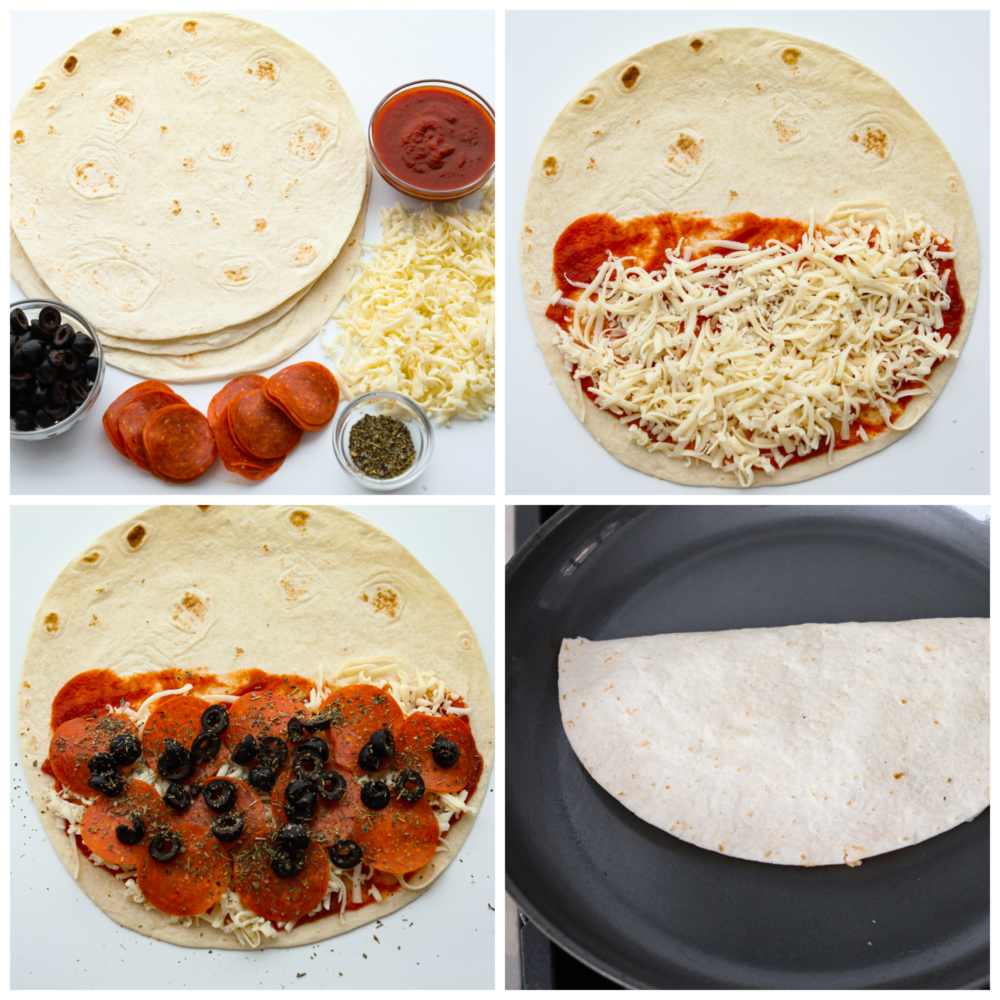
4 pictures showing how to assemble a pizza quesadilla and cook it on a skillet.

Toppings and Variations

Switch up these pizza quesadillas by adding on your very favorite pizza toppings! Here are a couple of ideas that you can try out to make these your own.

  • Fruit and Vegetables: Try adding on some bell peppers, some pineapple, some purple onions, or even some delicious zucchini!
  • Protein: I love adding on a little bit more meat to my quesadillas. I like bacon, ham, or even some delicious shredded chicken. Sprinkle cheese on top (try adding a layer of parmesan cheese) to really make this extra delicious!
  • Dipping Sauce: I like to dip these in some marinara sauce and my kids love dipping them in ranch.
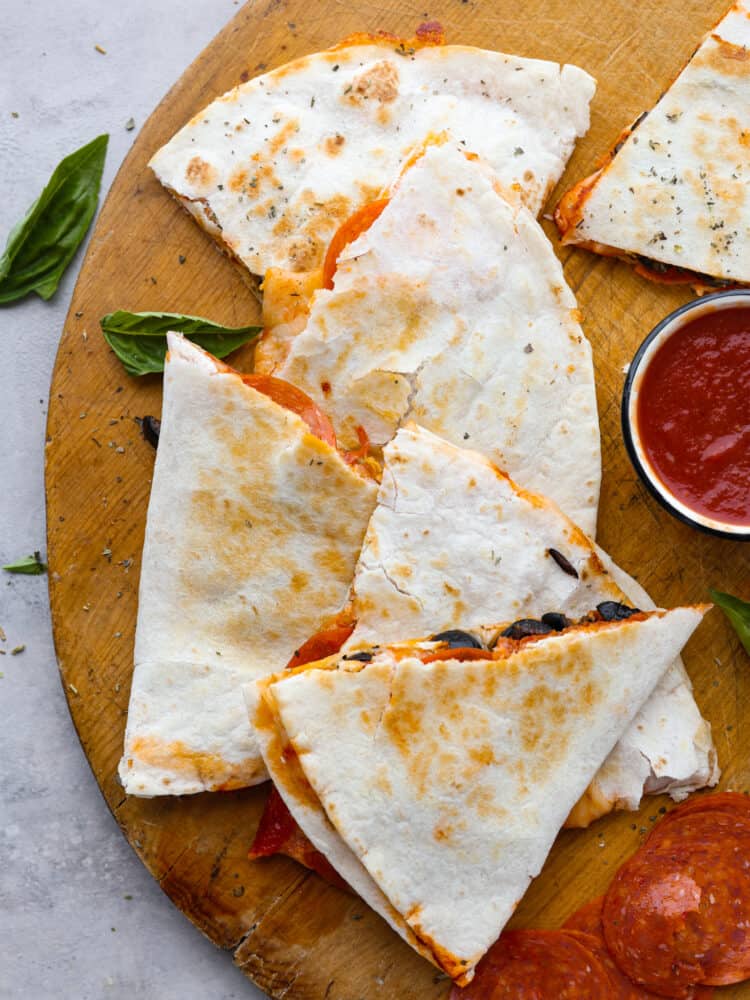
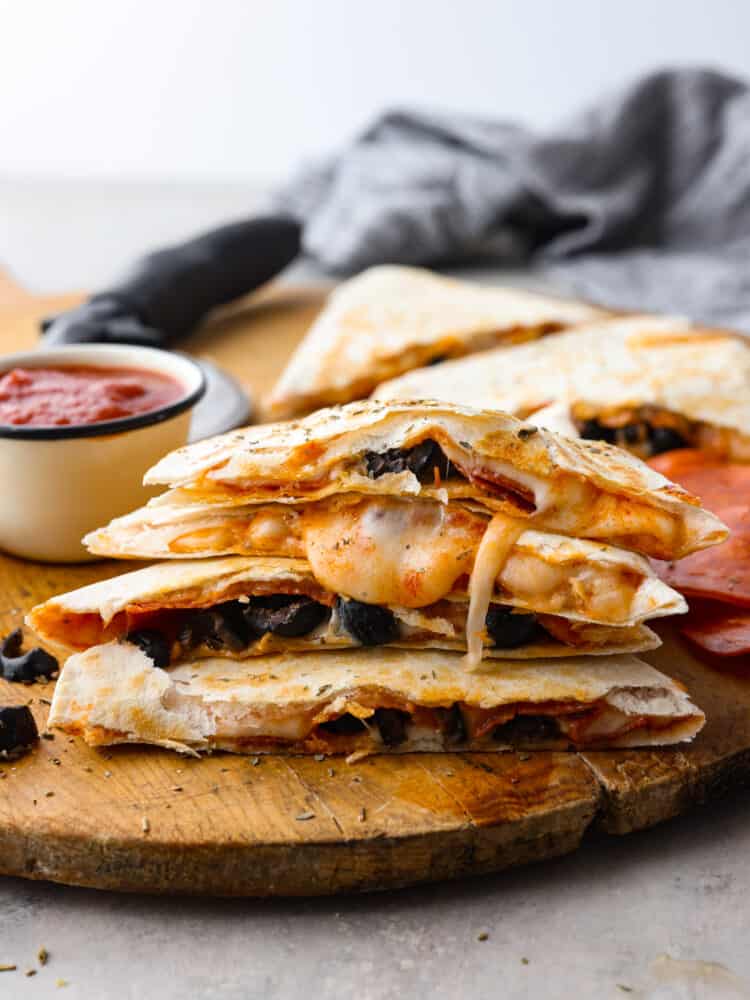
Slices of a pizza quesadilla on a wooden cutting board next to some marinara dipping sauce.

How to Keep Leftover Quesadillas Crispy

These leftover pizza quesadillas are easy to store, and you can make your leftover quesadillas taste as crispy and fresh as if you just made them! Pop any leftovers in the oven at 325 degrees Fahrenheit on a baking sheet that is lined with foil. Cook them for about 10-12 minutes or until the cheese is all melted.
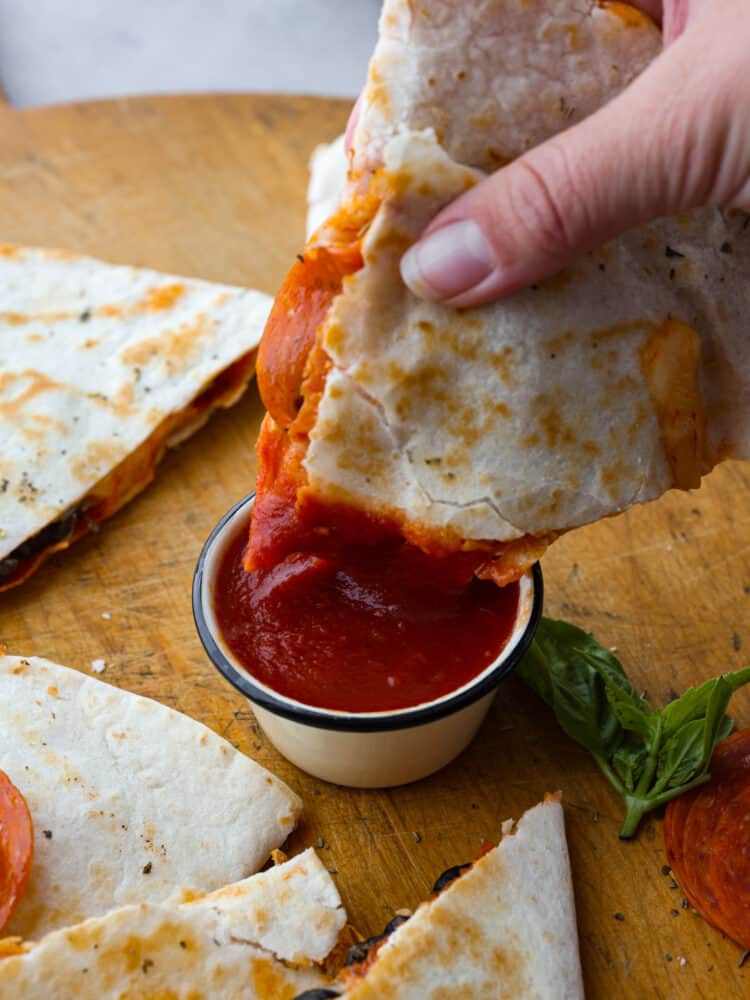
A triangle slice of pizza quesadilla being dipped in some marinara sauce.
Print

Easy Pizza Quesadillas

These cheesy and crispy pizza quesadillas are a family favorite! They are packed with delicious pizza toppings and flavor, plus they are quick and easy and make the best on-the-go weeknight meal!
Course Dinner
Cuisine American
Keyword 10 minute, pizza quesadillas
Prep Time 5 minutes
Cook Time 5 minutes
Total Time 10 minutes
Servings 2
Calories 186kcal
Author Alyssa Rivers

Ingredients

  • 1 large flour tortilla
  • 3 tablespoons pizza sauce
  • 1/2 cup mozzarella cheese
  • 10 pepperoni slices
  • olives sliced
  • additional pizza toppings (peppers, mushrooms, sausage, etc.)

Instructions

  • Spread the pizza sauce on half of a large tortilla.
  • Sprinkle shredded mozzarella cheese on top of the pizza sauce.
  • Layer on the sliced pepperoni and sprinkle with Italian seasoning for extra flavor! Add any other pizza toppings you desire at this time.
  • Heat a large skillet or griddle over medium-high heat. Fold the tortilla over and cook for about 2 minutes on each side. Cook until the cheese is melted and the tortilla is golden brown.
  • Remove the cooked quesadilla from the pan and use a pizza cutter to slice into triangles and enjoy! Serve with additional marinara sauce on the side for dipping.

Nutrition

Calories: 186kcal | Carbohydrates: 9g | Protein: 10g | Fat: 12g | Saturated Fat: 6g | Polyunsaturated Fat: 1g | Monounsaturated Fat: 4g | Trans Fat: 0.2g | Cholesterol: 32mg | Sodium: 551mg | Potassium: 134mg | Fiber: 1g | Sugar: 2g | Vitamin A: 287IU | Vitamin C: 2mg | Calcium: 168mg | Iron: 1mg


source https://therecipecritic.com/easy-pizza-quesadillas/
Share:

Lemon Cake Mix Cookies

These lemon cake mix cookies are bursting with flavor and will melt in your mouth. Topped with a delicious lemon icing that compliments that bright lemon flavor, you won’t be able to stop at just one!

I love lemon-flavored desserts, and these cookies really are perfect for any occasion! For some more delicious lemon treats, try making this Glazed Lemon Bread, this Lemon Coconut Cake, or these Lemon Cheesecake Bars!

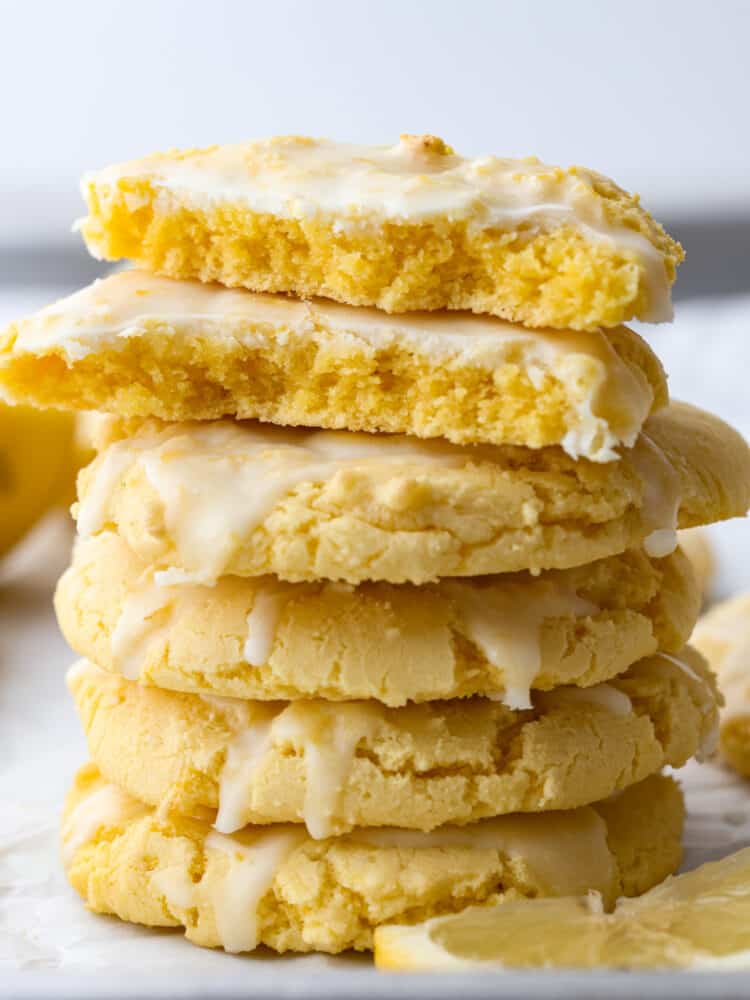
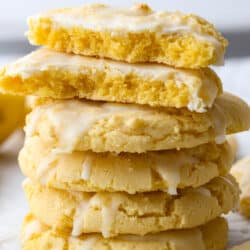
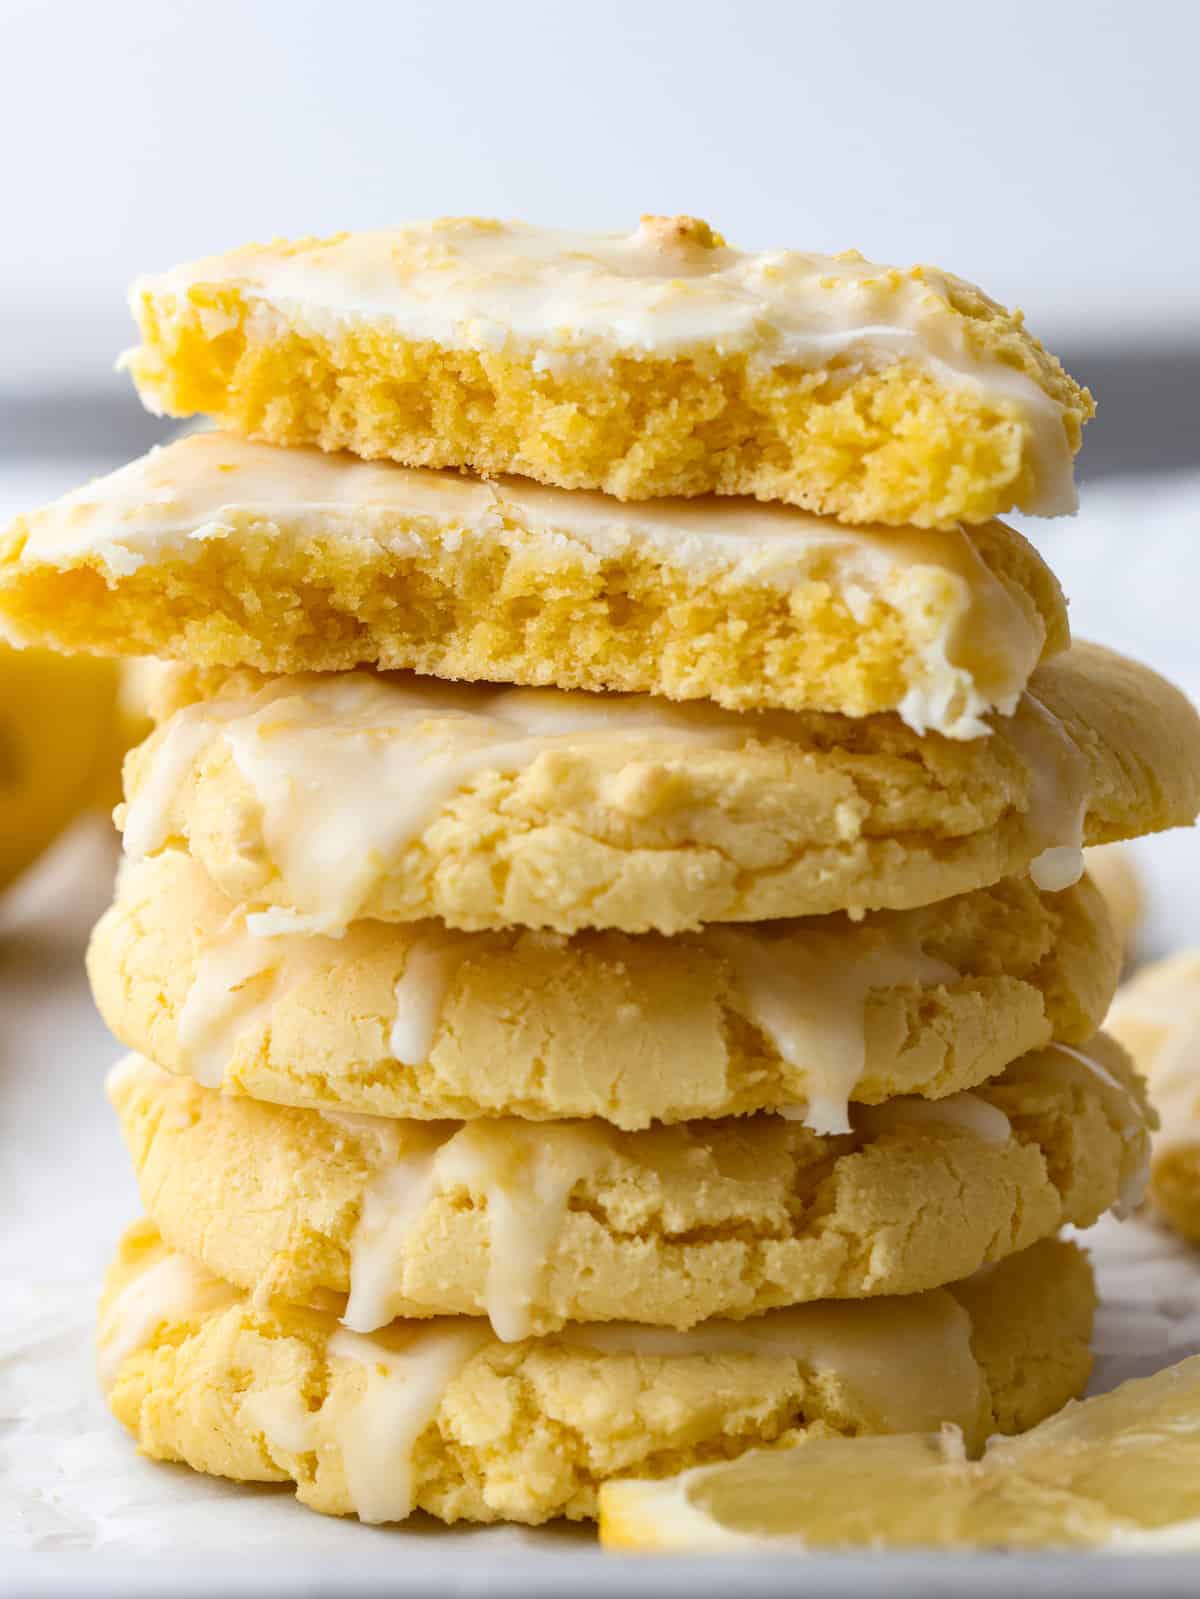
A stack of lemon cake mix cookies. The top one is broken in half and stacked.

Lemon Cake Mix Cookies Recipe

If you were looking for a simple yet delightfully delicious lemon cookie recipe, then this one is for you! I love cake mix cookies because they are quick and easy and don’t require many ingredients. These cookies really take it over the top with a smooth lemon icing which makes these look extra special.

If you have never made a cake mix cookie before, then you will be especially surprised to find out just how delicious they are. They have a tender texture that makes this cookie so soft and chewy. The flavor takes on the cake mix, so it’s a perfect balance. It’s not overwhelming with lemon flavor. It’s just the right amount. And my favorite part? They are easy enough that my kids can easily make them themselves!

Ingredients in Lemon Cake Mix Cookies

Be prepared to be shocked at how few ingredients go into these lemon cake mix cookies. Yet they are bursting with delicious flavor, so it’s the best of both worlds! Check out the recipe card at the bottom of the post for exact measurements.

Cookies

  • Lemon Cake Mix: You will use the entire cake mix in these cookies.
  • Baking Powder: This helps the cookies stay soft.
  • Vegetable Oil: The oil adds moisture to the cookies.
  • Lemon Zest: Fresh lemon zest really brightens up the flavor.
  • Eggs: The eggs will help to bind all of the ingredients together. They will mix better if you let them come to room temperature before combining them with the other ingredients.

Icing

  • Powdered Sugar: The powdered sugar dissolves quickly and makes it so that this icing has a smooth texture.
  • Lemon Zest: This brings a fresh taste to the lemon flavor.
  • Lemon Juice: The juice gives the icing that lemon flavor to complement the cookies.
  • Heavy Cream: You will use the cream to bind the ingredients together.

How to Make Lemon Cake Mix Cookies

Using a cake mix as the base of the flavor and texture for these cookies really make your job so easy! These cookies take less than 30 minutes from start to finish!

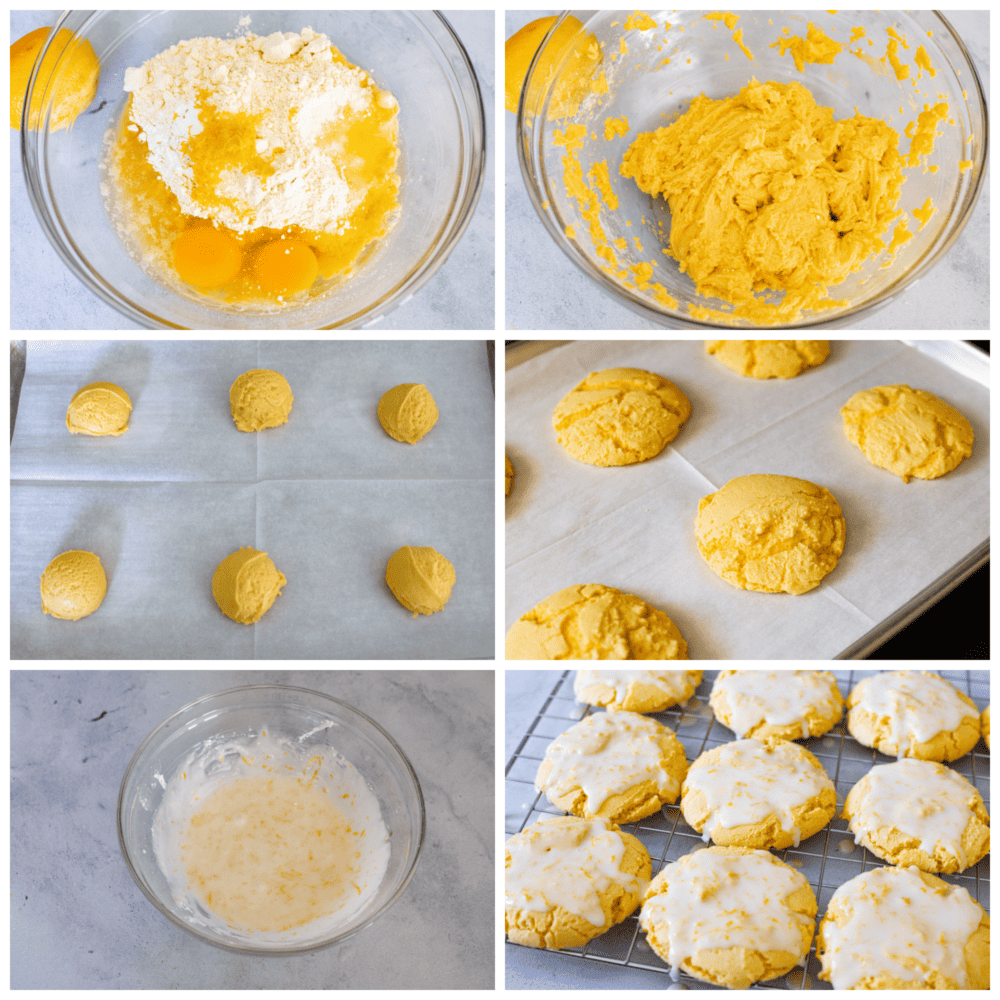
  1. Prep: Preheat the oven to 350℉ and line two baking sheets with parchment paper. Set aside.
  2. Combine: In a large bowl, combine cake mix, baking powder, vegetable oil, lemon zest, and eggs until a thick batter forms.
  3. Scoop: Use a cookie scoop to scoop dough onto the cookie sheets, leaving at least 2 inches between cookies.
  4. Bake and Cool: Bake for 8-10 minutes until the edges are set. If using a large cookie scoop, the cookies may need 12-14 minutes for the edges to set. Remove to a cooling rack and cool completely.
  5. Make the Icing: While the cookies are cooling, prepare the lemon glaze by whisking together the powdered sugar, lemon zest, lemon juice, and cream.
  6. Drizzle: When the cookies are completely cooled, scoop about two teaspoons of the icing onto the center of each cookie, letting it pool on top, and then run down the sides a bit. Let the icing form a crust before serving.
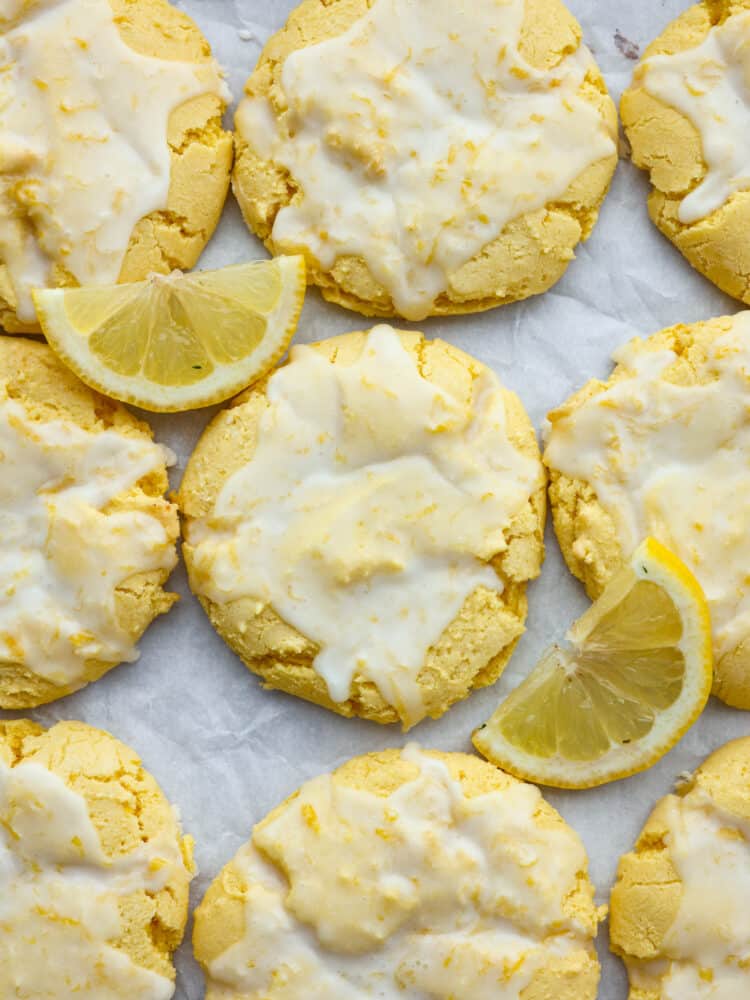
Lemon cookies with a glaze on parchment paper with fresh lemon slices.

Easy Tips

Here are a couple of ideas that you can try to make sure that your lemon cake mix cookies turn out perfectly every time!

  • Lemon Zest: For brighter lemon flavor, add 1-2 additional teaspoons of lemon zest to the cookie batter. 
  • Underbake: Bake until the edges are just set, The center will look underbaked, but it will continue to cook as the cookies cool. If you bake the cookies until the centers look baked, they will cool and be hard instead of soft.
  • Lemon Juice: You can use bottled lemon juice for the icing, but fresh lemon juice will have a better flavor.
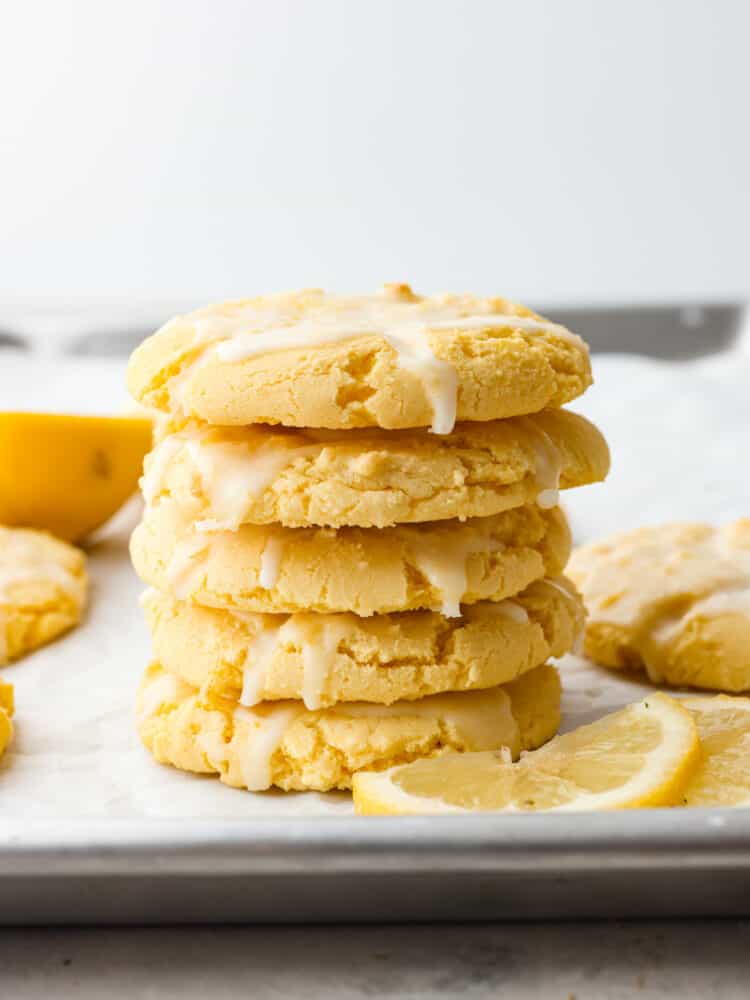
A stack of lemon cake box cookies on a baking sheet with lemon slices.

How to Store Leftovers

These cookies are great to make ahead of time because they store so well! After you have finished drizzling on the icing and they have had a chance to set, then store them in an airtight container. You can store them at room temperature for up to 5 days!

Print

Lemon Cake Mix Cookies

These lemon cake mix cookies are bursting with flavor and will melt in your mouth. Topped with a delicious lemon icing that compliments that bright lemon flavor, you won't be able to stop at just one! 
Course Dessert
Cuisine American
Keyword cake mix cookies, lemon cake mix cookies, lemon cookies
Prep Time 15 minutes
Cook Time 12 minutes
Total Time 27 minutes
Servings 18 Cookies
Calories 157kcal
Author Alyssa Rivers

Ingredients

Cookies

  • 1 box lemon cake mix
  • 1 teaspoon baking powder
  • cup vegetable oil
  • 1 tablespoon lemon zest
  • 2 large eggs room temperature

Icing

  • 1 1/2 cup powdered sugar
  • Zest of 1 lemon
  • 3 tablespoons lemon juice
  • 1 ½ tablespoons heavy cream

Instructions

  • Preheat the oven to 350℉ and line two baking sheets with parchment paper. Set aside.
  • In a large bowl, combine the cake mix, baking powder, vegetable oil, lemon zest, and eggs until a thick batter forms.
  • Use a cookie scoop to scoop dough onto the baking sheets, leaving at least 2 inches between cookies.
  • Bake for 8-10 minutes, until the edges are set. If using a large cookie scoop, the cookies may need 12-14 minutes for the edges to set. Remove to a cooling rack and cool completely.
  • While the cookies are cooling, prepare the icing by whisking together the powdered sugar, lemon zest, lemon juice, and cream.
  • When the cookies are completely cooled, scoop about 2 teaspoons of the icing onto the center of each cookie, letting it pool on top and then run down the sides a bit. Let the icing form a crust before serving.

Nutrition

Calories: 157kcal | Carbohydrates: 34g | Protein: 2g | Fat: 2g | Saturated Fat: 1g | Polyunsaturated Fat: 0.2g | Monounsaturated Fat: 0.5g | Trans Fat: 0.1g | Cholesterol: 20mg | Sodium: 217mg | Potassium: 47mg | Fiber: 0.4g | Sugar: 22g | Vitamin A: 45IU | Vitamin C: 1mg | Calcium: 74mg | Iron: 1mg


source https://therecipecritic.com/lemon-cake-mix-cookies/
Share:

The Best Banana Pancakes

These banana pancakes are perfectly soft and fluffy and taste just like warm banana bread… in pancake form, of course! It’s a great recipe to use when you have any over-ripe bananas!

Mornings taste better with pancakes! If you love pancakes as much as I do, then you must try these Maple Sweet Potato Pancakes, these delicious and fruity Blueberry Sour Cream Pancakes, or… my classic Buttermilk Pancakes.

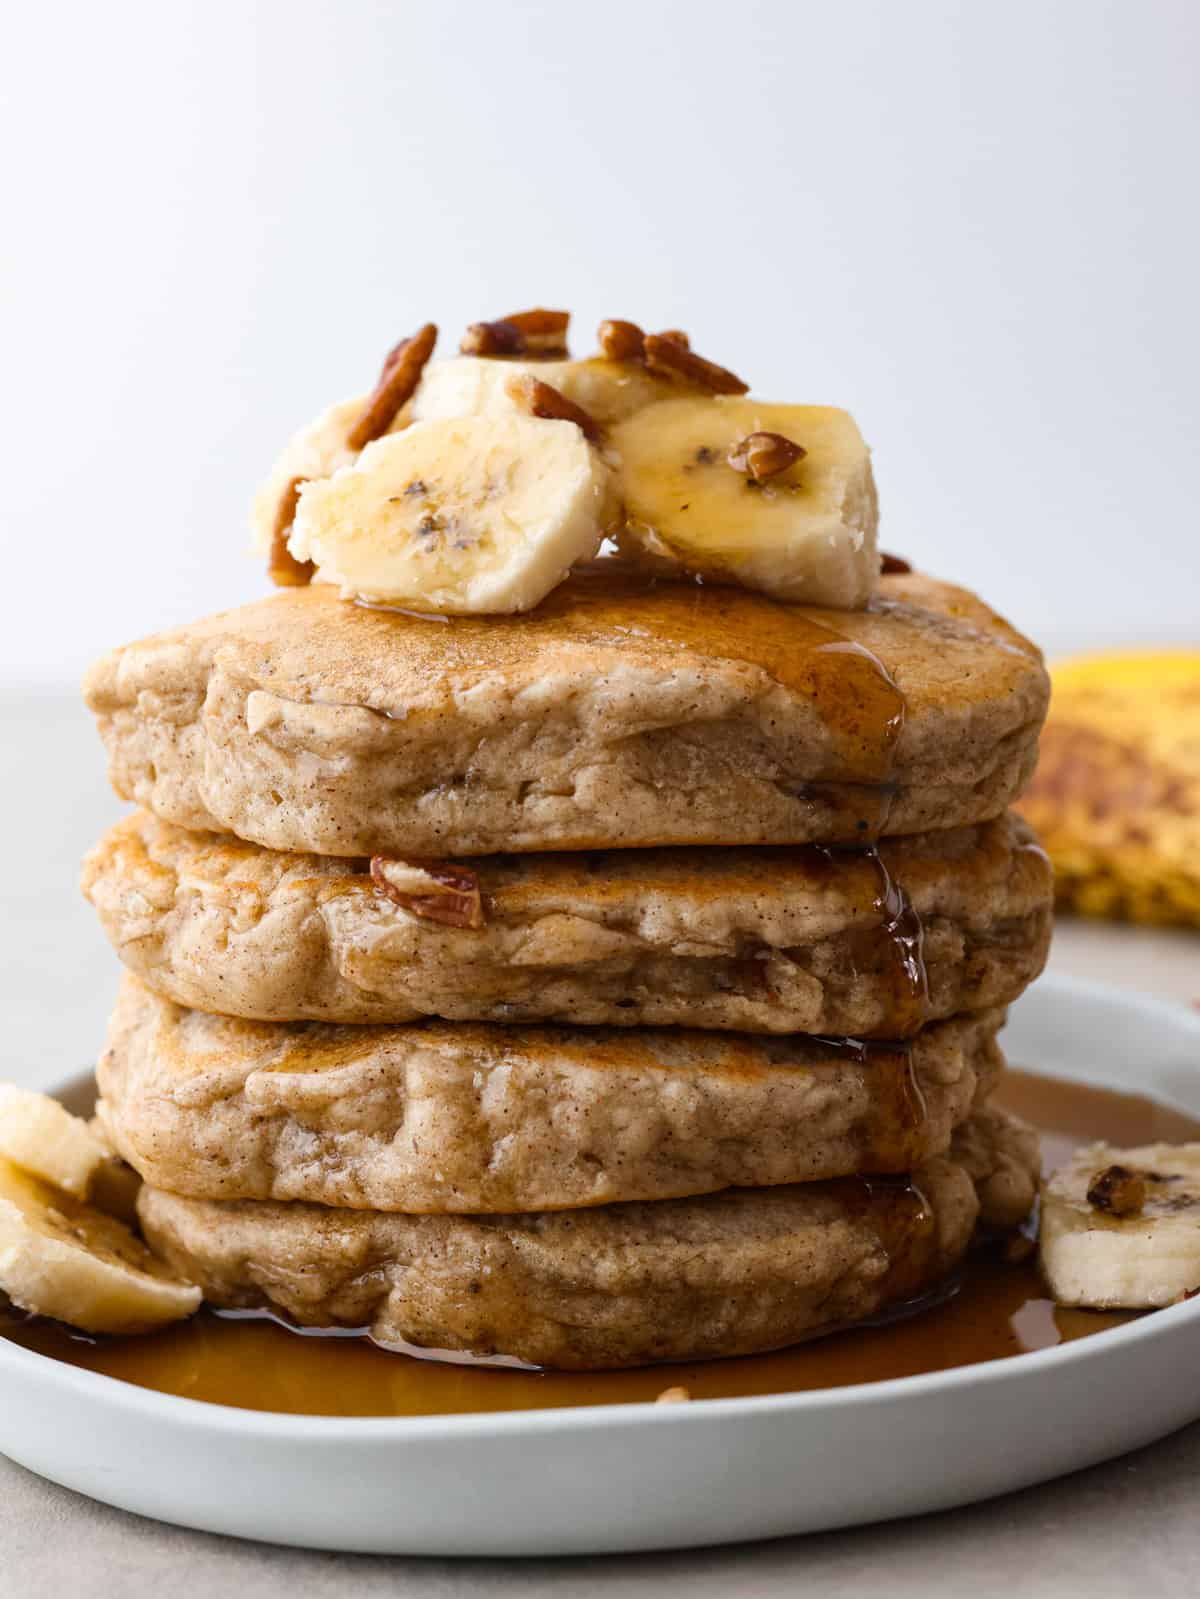
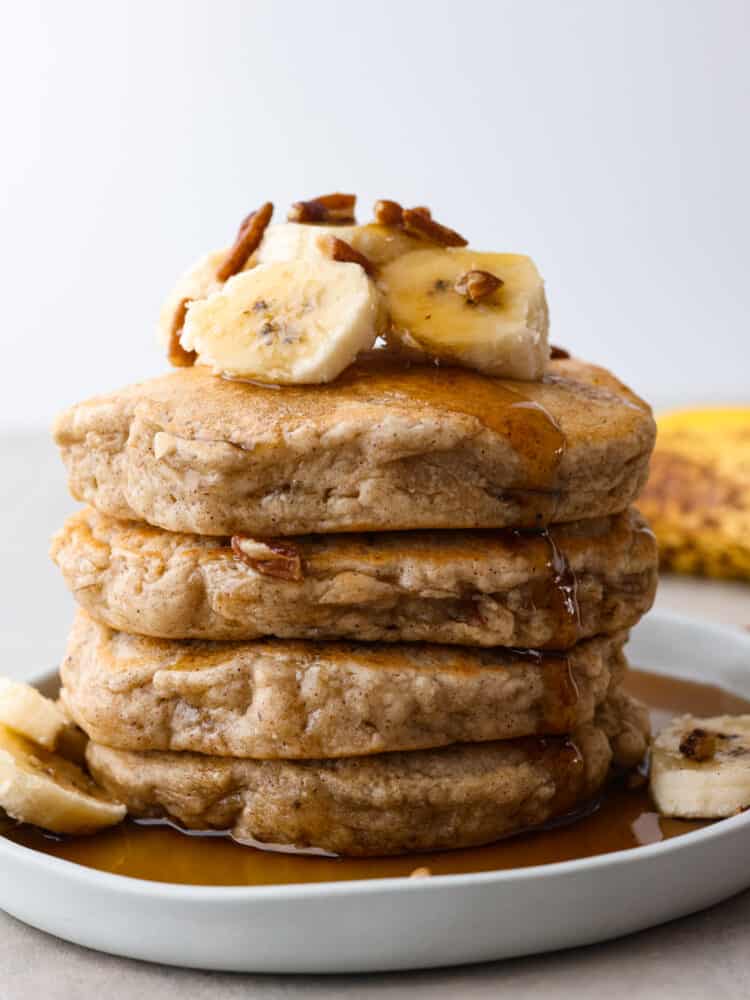
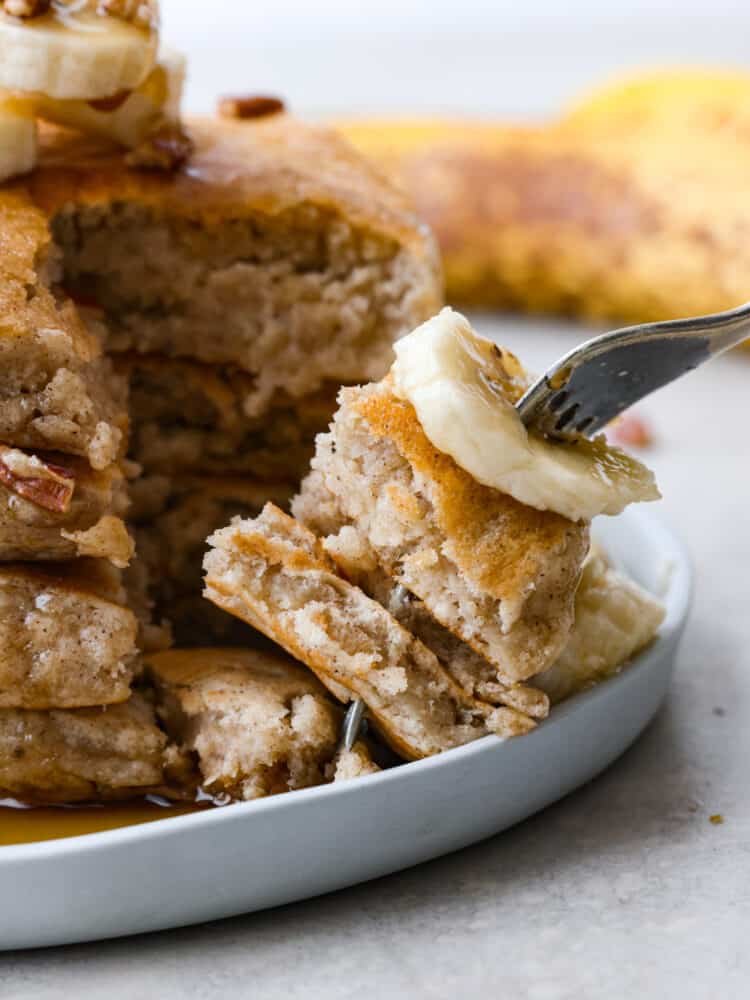
A stack of banana pancakes on a plate topped with fresh bananas and pecans.

Banana Pancakes

I love fresh bananas, but there is just something about overripe bananas and all of the delicious recipes that you can make with them! In fact, I purposefully leave them on my counter to ripen JUST so that I can make these delicious pancakes! I needed a yummy breakfast, and I love banana bread, so I couldn’t wait to make this recipe! I mean, who wouldn’t like the taste of banana bread drizzled with some delicious syrup??

These pancakes tasted just like banana bread! They were really thick and moist and had a delicious banana flavor. I especially loved the vanilla maple glaze on top! This was the perfect way to use my over-ripe bananas, and this breakfast was a huge hit! I know that your entire family will love it. Plus, you won’t be able to help to hum the song “banana pancakes” as you cook them up!

Ingredients in Banana Pancakes

These banana pancakes are packed with so much flavor, including cinnamon and nutmeg. After all, that’s what makes banana bread so good so why not transfer that deliciousness to these pancakes. Check ou the recipe card at the bottom of the post for exact measurements.

  • Flour: I used all-purpose flour in this recipe. It holds it all together and adds a thick, rich flavor.
  • Baking Powder: helps them fluff up and stay puffy.
  • Salt: This enhances the flavor of the pancakes.
  • White Sugar: This adds in a sweet flavor to go with the bananas.
  • Brown Sugar: This adds in a tiny bit of extra sweetness.
  • Cinnamon: This goes perfectly with the banana flavor.
  • Nutmeg: I love the nutty, earthy flavor in these pancakes.
  • Milk: The milk helps to bind all of the ingredients together.
  • Vanilla Extract: This adds in a splash of extra flavor.
  • Bananas: Make sure that you use overripe bananas… The riper, the better!
  • Butter: This adds in so much flavor!
  • Pecans: The pecans are perfect for topping these banana bread pancakes to add a little bit of texture!

Vanilla Maple Glaze

  • Maple syrup: This adds in that classic maple flavor for the glaze.
  • Powdered sugar: This dissolves easily, which creates a creamy base.
  • Vanilla: This adds a dash of so much flavor!

How to Make Homemade Banana Pancakes

You can whip these pancakes up in a jiffy. Just don’t eat all of the batter before you make them. It will be tempting but trust me when I say that the finished product is worth the wait!

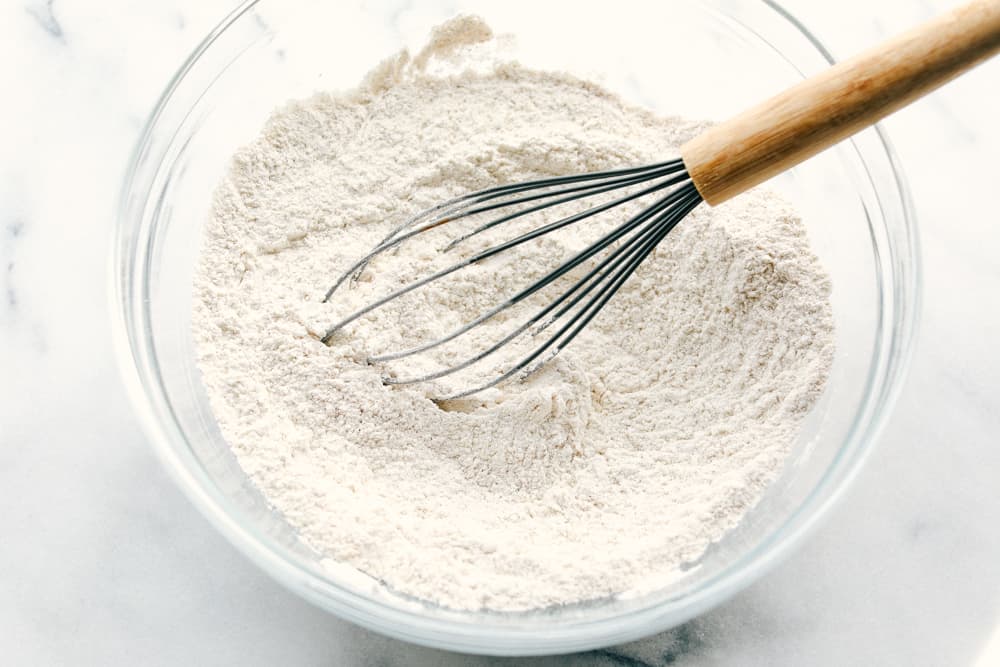
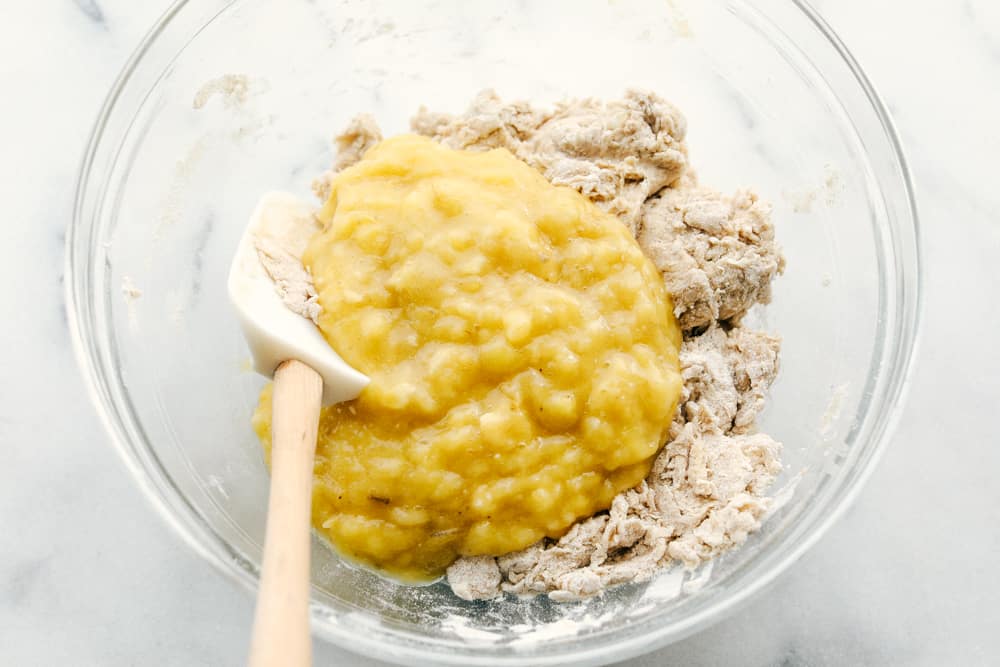
  1. Whisk together ingredients: Preheat a skillet to medium-low heat. In a large mixing bowl, whisk flour, baking powder, sugar, salt, cinnamon, brown sugar and nutmeg. Add the milk and vanilla and stir until incorporated. It will be thick.
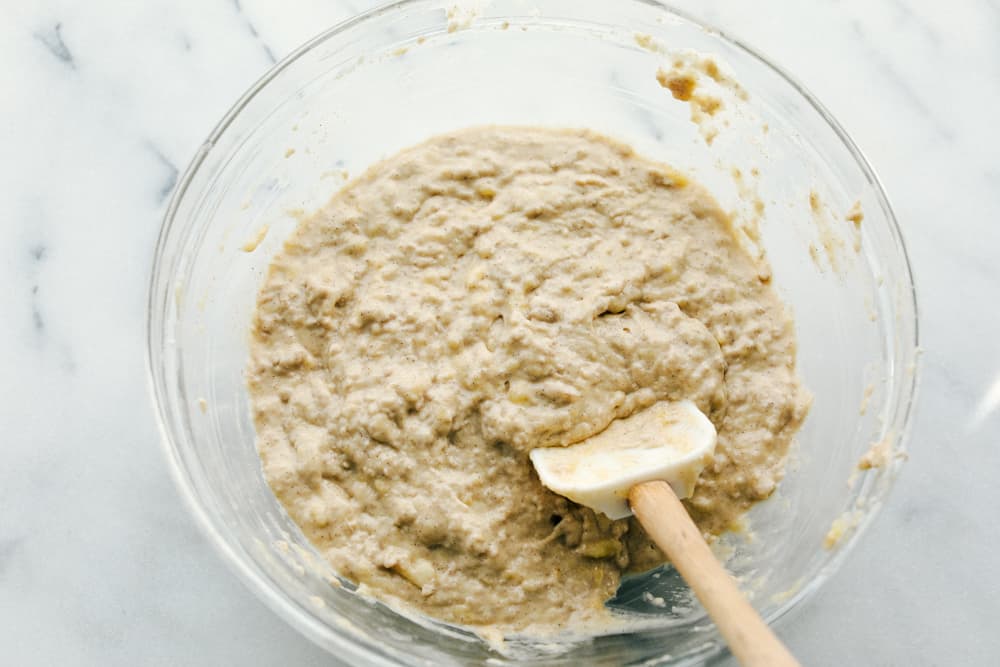
  2. Combine and Mix: Add in mashed bananas and melted butter and mix together until the batter is smooth.
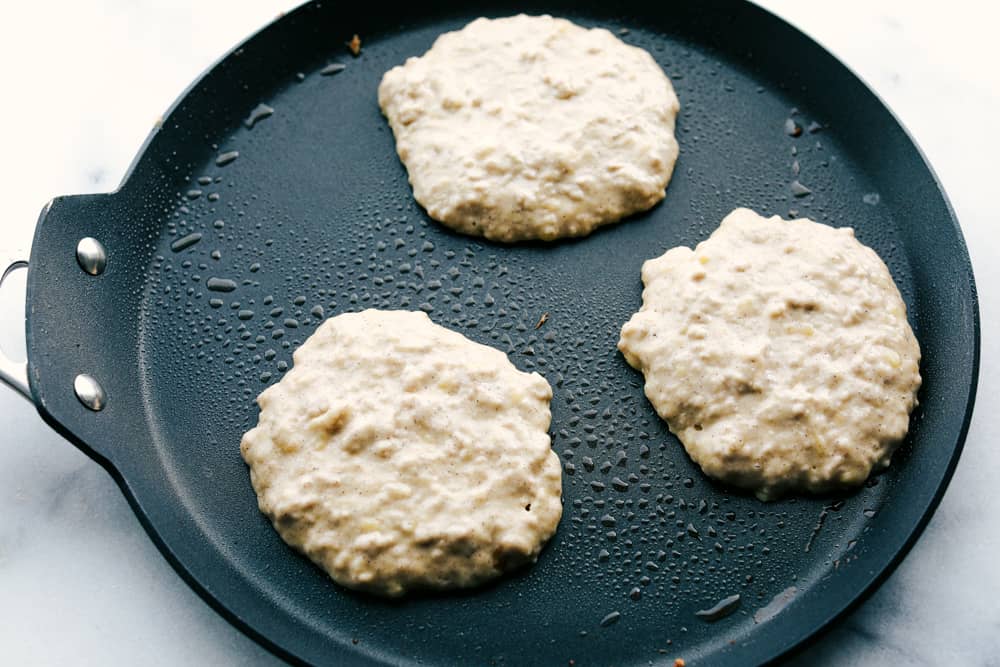
  3. Prepare Skillet: Spray skillet with cooking spray and add ⅓ cup of batter to the center. It takes about 1-3 minutes for the bubbles to appear because the batter is thicker. Once the bubbles appear, flip to the other side.
  4. Cook:  Repeat with remaining batter. I was able to get about 8 pancakes.
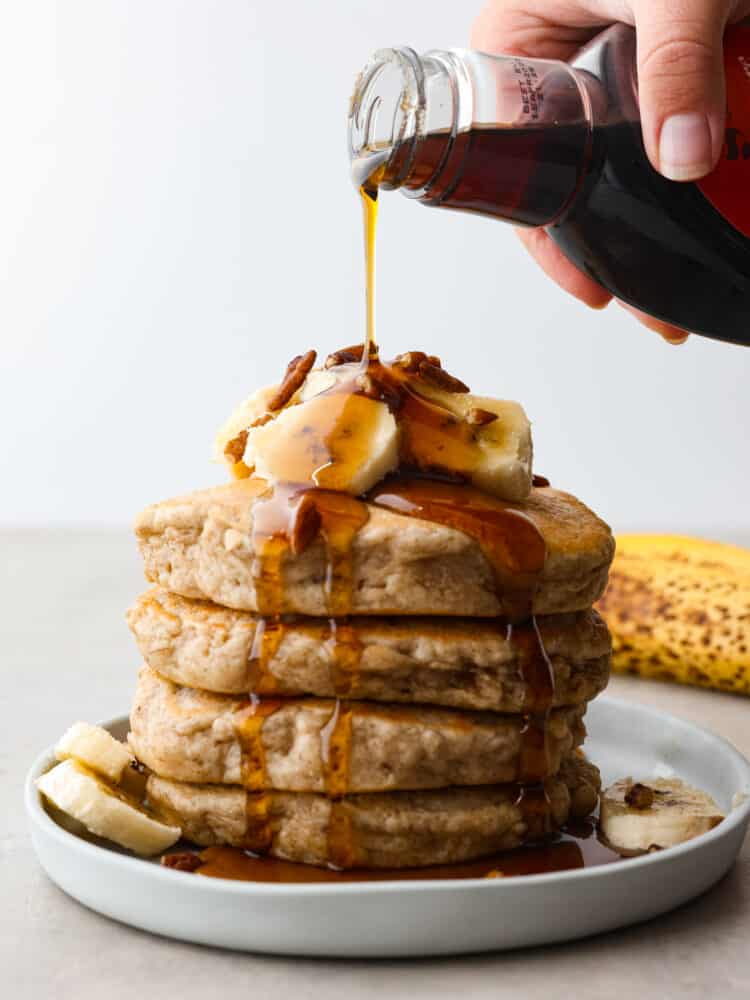
  5. Make the Glaze: Whisk together the maple syrup, powdered sugar and vanilla. Serve over warm pancakes.
dry ingredients in a glass bowl being whisked together
Banana mix in with ingredients in a glass bowl and spatula
All ingredients mixed together

Toppings and Mix-ins

Change up these delicious banana pancakes by adding in all sorts of delicious chocolate, berries or nuts! Here are a few ideas that will make these extra delicious!

  • Chocolate: Try adding some chocolate chips, white chocolate chips, or Nutella to the pancake batter.
  • Nuts: I already love pecans on these pancakes, but I also think that walnuts, candied nuts, and cashews would taste delicious.
  • Fruit: Who doesn’t like the combo of banana and some berries? Try some raspberries, cranberries, blueberries, or strawberries on top!
  • Coconut: Sweetened shredded coconut is insanely delicious on these pancakes.
  • Syrup: I love homemade syrups on my pancakes! Try this maple syrup, this homemade caramel syrup, chocolate syrup, or some classic buttermilk.
banana pancakes on the skillet

Tips for Making Banana Pancakes

I love to make these ahead of time before my kids come down to eat. Resting them in the oven only helps keep them warm and does not overbake them. They are still fluffy, moist and ready to enjoy! For fluffier pancakes, let the batter rest for a moment

  • Blend the ingredients: For a smoother batter, place all of the ingredients in a blender instead of whisking them.
  • Let it rest: The batter does best if you give it some time to rest before cooking it on the skillet. This will activate the leavening agents and help to thicken up the batter.
  • Non-stick skillet: For best results, using a non-stick skillet will help your pancakes cook throughout.
  • Butter: A little butter or non-stick grease is great to add to the skillet before pouring your batter on so that your pancakes don’t stick and flip easily.
  • Preheat the Skillet: You will want to make sure that your skillet is warm to hot before you pour your batter on it. That way, they will cook evenly throughout the pancake.
  • When should I flip them? Once the middle begins to bubble up, the pancakes are ready to be flipped.
  • Keeping them warm: If you are planning to make these a little ahead, keep them warm and fresh by simply placing the cooked pancakes on a baking sheet and place in the oven at the lowest temperature (around 170 degrees Fahrenheit. When ready to serve, pull them out of the oven.
A stack of banana pancakes with a homemade vanilla maple glaze being poured on top.

Can I Freeze Banana Pancakes?

Yes! These banana pancakes store so well in the freezer. I like to double the batch so that I can have a quick and easy breakfast option on hand. Once your pancakes have cooled, then stack them in an airtight container with parchment paper in between each of them. That way they won’t stick together. You can heat them up individually in the microwave or the toaster straight from the freezer!

Banana pancakes on a plate with a fork cutting out a bite.
Print

Banana Pancakes

These banana pancakes are perfectly soft and fluffy and taste just like warm banana bread… in pancake form, of course! It's a great recipe to use when you have any over-ripe bananas!
Course Breakfast
Cuisine American, Caribbean
Keyword banana pancakes
Prep Time 10 minutes
Cook Time 20 minutes
Total Time 30 minutes
Servings 6 people
Calories 283kcal
Author Alyssa Rivers

Ingredients

  • 2 cup all purpose flour
  • 2 teaspoons baking powder
  • 1/4 teaspoon salt
  • 1/4 cup white sugar
  • 1 teaspoon cinnamon
  • 1 teaspoon Brown sugar
  • 1/4 teaspoon nutmeg
  • 2/3 cup milk
  • 1 tablespoon vanilla extract
  • 3 large very ripe bananas mashed
  • 2 tablespoons butter melted
  • chopped pecans for garnish optional

Vanilla Maple Glaze:

  • 1/2 cup maple syrup
  • 1/2 cup powdered sugar
  • 1 teaspoon vanilla

Instructions

  • Preheat a skillet to medium low heat. In a large mixing bowl whisk flour, baking powder, sugar, salt, cinnamon, brown sugar and nutmeg. Add the milk and vanilla and stir until incorporated. It will be thick.
  • Add in mashed bananas and melted butter and mix together until the batter is smooth.
  • Spray skillet with cooking spray and add ⅓ cup of batter to the center. It takes about 1-3 minutes for the bubbles to appear because the batter is thicker. Once the bubbles appear flip to the other side.
  • Repeat with remaining batter. I was able to get about 8 pancakes.
  • To make the vanilla maple glaze, whisk together the maple syrup, powdered sugar and vanilla. Serve over warm pancakes.

Notes

Updated on August 1, 2022
Original date on March 7, 2014

Nutrition

Calories: 283kcal | Carbohydrates: 56g | Protein: 3g | Fat: 5g | Saturated Fat: 3g | Cholesterol: 13mg | Sodium: 149mg | Potassium: 265mg | Fiber: 1g | Sugar: 37g | Vitamin A: 161IU | Calcium: 132mg | Iron: 1mg


source https://therecipecritic.com/banana-pancakes/
Share:

The Problem With The International Aisle (Live)

What has to happen for Vietnamese lemongrass barbecue sauce to take up as much space as Texas barbecue sauce on an American grocery store shelf? There’s a whole generation of young entrepreneurs — many of them women of color — making packaged foods that are expanding the palate of American shoppers. This week, live on stage in Brooklyn, Dan is talking with two of these businesspeople: Chitra Agrawal, founder of Brooklyn Delhi, and Vanessa Pham, the CEO of Omsom. Chitra and Vanessa have taken different approaches to their businesses, but they’ve faced similar challenges — trying to figure out how to grow while staying true to themselves. One of the struggles they share: The debate over whether to place their items in the “ethnic” or “international” aisle of the grocery store.  

The Sporkful production team includes Dan Pashman, Emma Morgenstern, Andres O'Hara, Tracey Samuelson, and Jared O'Connell.

Transcript available at www.sporkful.com.


Share:

Popular

Archive

Slider Tag

Facebook

Header Ads

Recent in Food

Blog Archive

Recent Posts

Unordered List

  • Lorem ipsum dolor sit amet, consectetuer adipiscing elit.
  • Aliquam tincidunt mauris eu risus.
  • Vestibulum auctor dapibus neque.

Pages

Theme Support

Need our help to upload or customize this blogger template? Contact me with details about the theme customization you need.