Casseroles are comfort food at their finest! Delicious, quick, and easy, they are definitely one of my go-to meals whether it’s for my own family or bringing some hot dinner over to a friend!
There is nothing more delicious and comforting than pulling off the tinfoil of a hot and steaming casserole dish. The flavors of every casserole I have ever tried are all so different which is a huge reason why I love them! But the best part is that most of the time, I have all of the ingredients for casseroles ready to go in my kitchen. Top that convenience off with the fact that they are so easy and quick to make and it’s no wonder why I keep coming back for more!
Casseroles always remind me of bringing food to a sick neighbor or a friend in need. That’s why they get the reputation of the ultimate comfort food! I love them so much because you can also make them ahead and freeze them. That way I can do some extra food prep and have meals ready to go in my freezer for those crazy busy days. It’s convenient AND delicious all in one! I’ve rounded up some of my very favorite tried and true recipes that you and your family are sure to love!!
Quick Cooking Tips
Casseroles are easy and delicious, but you can do a few things to make them even better! I’ve come up with a few tips you can review before cooking to help you out!
Fill it up: When making your recipe, the rule of thumb is to fill your casserole dish up about ¾ full. If you overfill it, you can cause it to bubble over, but if you underfill it, the ingredients can dry out!
Cover it: Make sure that when you go to cover your casserole, you do it tightly. Check that there are no leaks because this will lead to the heat escaping, and it won’t cook properly.
Chop: When you are chopping your vegetables, keep in mind that they should all be the same size. This helps them all cook thoroughly and evenly!
Pasta: If your recipe uses pasta, make sure to undercook it before putting it in your casserole. If you cook it to the “Al Dente” instructions on your packaging, it will undercook your pasta, allowing it to finish cooking while you bake your casserole. Then your pasta won’t come out soggy!
Use fresh vegetables: I know that using frozen vegetables is tempting to throw into a casserole but don’t do it! They have a lot of water in them and will cause it to turn soggy. Fresh vegetables are best!
How to Store Casseroles or Make them Ahead
Casseroles make the absolute best leftovers. I love how easy they are to reheat! Or, you can also cook a casserole ahead of time and freeze it. It’s a fantastic way to have some extra meals on hand when you need them.
Refrigerate: Before placing it in the fridge, you must wait until your casserole is fully cooled. Then, you can cover it with foil or put it in an airtight container. It can be kept in the fridge for up to 4 days!
Freeze: Bake your casserole in a container that can be taken straight from the freezer to oven. (You can try using those disposable foil pans. Then, if you are making this for someone else, you don’t need to worry about getting your dish back!) Once it is baked, let it cool. Cover it with foil until it is airtight and write the date on it. Your meal can last in the freezer for up to 4 months!
Thaw: If you freeze your meal, take it out and thaw it overnight in your fridge.
Reheat: Cook your casserole at the baking temperature listed on the recipe for about 20-30 minutes or until heated through.
Crack chicken casserole is creamy, cheesy, bacon-filled goodness that your family is going to want on repeat. It’s the perfect comfort food and ready in 30 minutes!
Ingredients: elbow pasta,, boneless skinless chicken breasts,, cream cheese,, sour cream, pkg dry ranch dressing, onion powder, pepper, half and half, bacon, shredded Colby jack cheese,, green onion for garnish
Cowboy casserole is a family favorite made with seasoned ground beef in a creamy sauce, corn, cheese, and topped with crispy tater tots. It's irresistible!
Hearty, savory, and super satisfying, Super Easy Sausage and Biscuit Casserole is the perfect morning meal. This is a quick favorite and when you see how effortless it is you'll make it all the time.
This tuna noodle casserole is a family favorite that is filled with thick noodles, vegetables and tender chunks of tuna fish. All baked together in one pan in 30 minutes!
Ingredients: wide egg noodles, Olive Oil, small onion, celery, mushrooms, butter, flour, chicken broth, whole milk, salt and pepper, cans tuna fish, frozen peas, shredded cheddar cheese, grated parmesan, Italian breadcrumbs, butter
The Best Breakfast Casseroleis a thick and creamy egg base with shredded potatoes, chunks of ham and flavorful cheese blends that bakes up in no time. Make ahead or enjoy the morning of during the holidays!
Ingredients: frozen shredded potatoes, salt and pepper, eggs, half and half, season salt, cheddar cheese, pepper jack cheese, chopped ham
ThisTurkey Mediterranean Casserolefeatures artichokes, fusilli pasta, sun dried tomatoes and Lindsay® Kalamata Olives baked in a red tomato sauce and topped with Lindsay® Chopped Black Olives. Simple, delicious ingredients in 30 minutes!
Ingredients: fusilli pasta, turkey, sun dried tomatoes, 14 ounce can artichokes drained, 7 ounce jar Lindsay pitted. Kalamata olives, roughly chopped, Fresh Parsley chopped, fresh basil chopped, salt and pepper to taste, marinara sauce, 4.25 ounce can Lindsay black chopped olives, mozzarella cheese
Broccoli Casserole. This cheesy, casserole is loaded up with fresh tender broccoli florets and baked in a homemade creamy cheese sauce, and topped with crispy buttered Panko crumbs. This casserole is sure to be a highlight!
The best sweet potato casserole is smooth and creamy, sprinkled with a brown sugar pecan mixture. It's a sweet and savory side dish that is perfect for the holidays!
Ingredients: mashed sweet potatoes, brown sugar, eggs, vanilla, milk, melted butter, brown sugar, flour, melted butter, chopped pecans
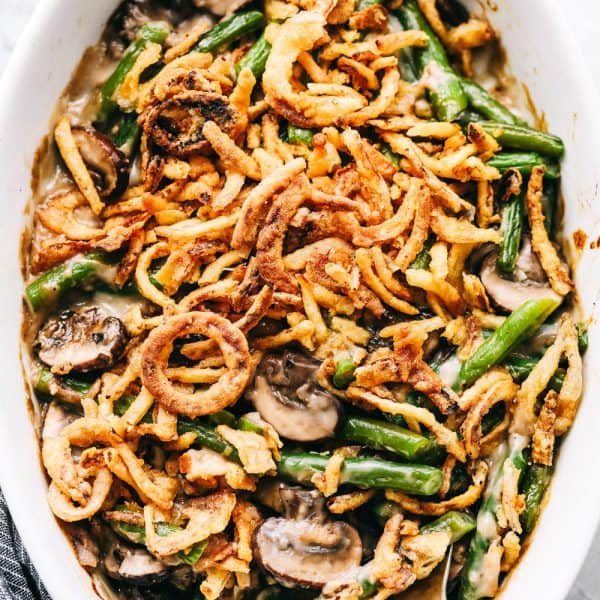
Green bean casserole is a classic, tried and true side dish that everyone loves! It's so delicious and creamy that it just might steal the turkey's spot as the star of the show!
Ingredients: butter, garlic, onion, package button mushrooms, fresh green beans, low-sodium chicken broth, can low-sodium cream of mushroom soup, grated Parmesan cheese, salt, black pepper, crispy onion strings
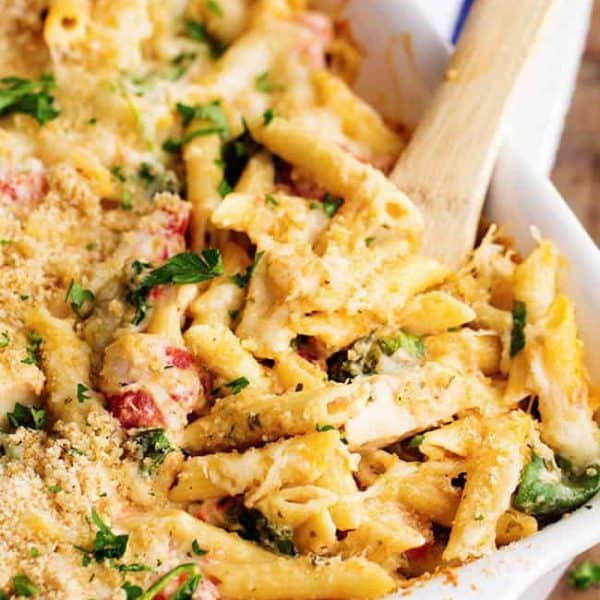
All of the goodness of chicken parmesan packed into a delicious cheesy casserole! Crispy chicken, marinara sauce, penne pasta, and cheese come together in this easy to make dish!
Ingredients: package uncooked penne pasta, boneless, vegetable oil for frying, flour, eggs, Italian seasoned bread crumbs, shredded mozzarella cheese, shredded Parmesan cheese, marinara sauce, chopped basil for garnish
Easy Teriyaki Chicken Casseroleis a simple casserole made with the best homemade teriyaki sauce filled with vegetable stir fry, rice and baked to perfection. A savory dish everyone loves!
This recipe is the best way to use up that yellow summer squash! Squash casserole is a great way to use up fresh squash from your garden. Easy to make with a creamy, cheesy filling and a crispy, buttery topping!
Caramel Apple French Toast Casserole is a sweet and savory breakfast with thick chunks of cinnamon swirl bread, warm apples and caramel drizzle that brings comfort to your family in one morning!
No Peek Chicken and Rice Casserole is full of comfort and tender, fall apart chicken overtopping a flavorful rice that makes this meal a family favorite! Baking to perfection with the warm, steam cooking the chicken and rice to perfection.
Ingredients: long grain rice, cream of mushroom soup , cream of chicken soup, chicken broth , chicken breasts , salt and pepper , onion soup mix
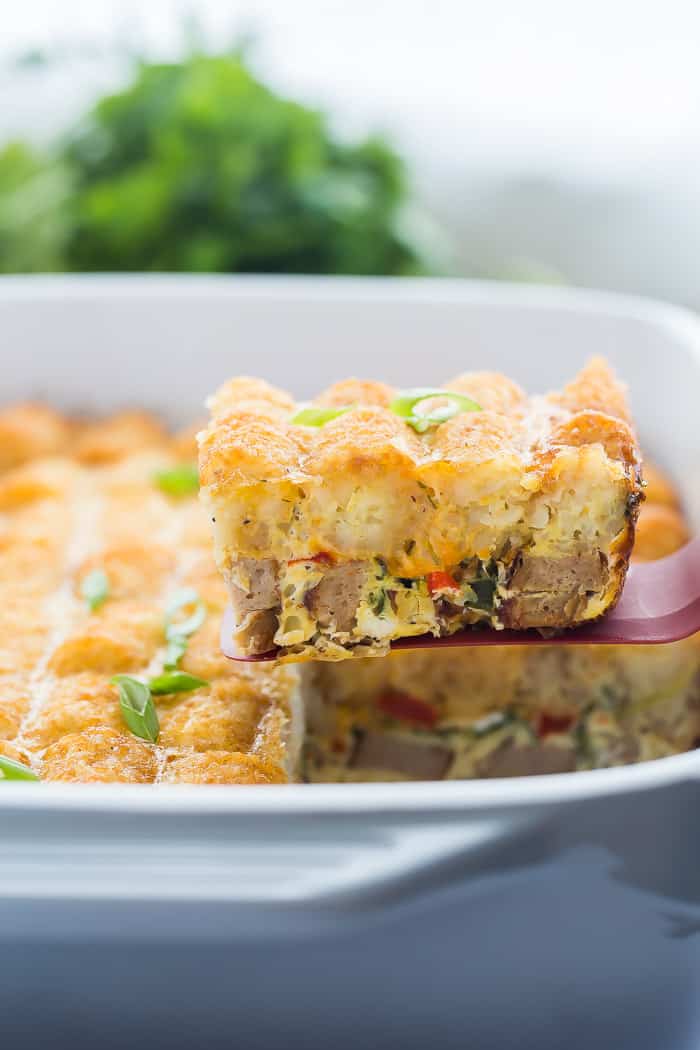
This Tater Tot Breakfast Casserole is an easy casserole, packed with flavor and perfect for breakfast or even dinner! Packed with eggs, sausage, peppers, spinach, cheese and topped with a layer of tater tots.
Ingredients: breakfast sausage links, bell pepper, fresh spinach, green onions, shredded cheddar cheese, eggs, milk, salt, dried parsley, black pepper, tater tots, seasoning salt
Poppy seed chicken casserole is such a classic dish that is incredibly easy to make! A creamy chicken casserole topped with a buttery ritz topping; this will be the best casserole that you ever make!
Easy Sausage and Rice Casserole is simple to make and big on flavor! Sausage, rice, celery, and onions all baked in a creamy sauce and the result will wow the entire family!
Ingredients: sausage, small onion, stalks celery, garlic cloves, chicken broth, cream of celery soup*, uncooked rice, slivered almonds
Slow Cooker Mexican Chorizo Egg Casserole is so quick and easy to put together and packed with big flavor! Hashbrowns, cheese, and eggs get loaded up with black beans, corn, and chorizo to make one delicious breakfast!
Ingredients: chorizo sausage, frozen hash browns, corn, black beans, large eggs, milk, package McCormick Good Morning Mexican Egg Casserole Slow Cooker Breakfast Seasoning Mix, shredded cheddar cheese, Optional toppings
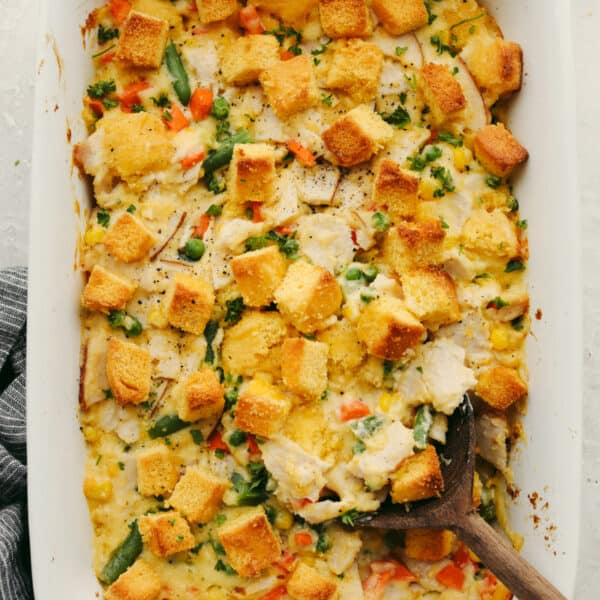
This leftover turkey casserole is creamy and delicious! Made with your leftover turkey, it's the easiest recipe to make just after Thanksgiving! It's SOO GOOD!
Ingredients: butter, flour, kosher salt, crushed black pepper, turkey stock, heavy cream, sharp cheddar shredded, turkey breast meat, cornbread cubes, frozen peas, chopped carrots, chopped frozen green beans, frozen corn
Chicken Tetrazzini Casserole is such a classic and comforting casserole. This is creamy, cheesy and hidden with fresh mushrooms and peas. Topped with parmesan cheese and crispy breadcrumbs this is the perfect casserole!
Ingredients: spaghetti pasta, olive oil, mushrooms, garlic cloves, frozen peas, flour, 12 ounce McCormick Simply Better Chicken Gravy, half and half, salt and pepper, chicken, parmesan cheese, italian seasoned bread crumbs, melted butter
A family favorite casserole with soft and slightly chewy noodles, tender chicken, crisp vegetables, creamy cheesy sauce and a buttery cracker topping.
Ingredients: 24 oz. pkg. Frozen Homestyle Egg Noodles (I like Reames), cooked and cubed chicken breasts, 12 oz. pkg. frozen peas and carrots, 15.25 oz. can corn, drained, 10.5 oz. can cream of chicken soup, milk, sour cream, Tbl. dried onion flakes, Italian seasoning, garlic powder, salt and pepper, shredded Cheddar cheese, sleeve Ritz crackers, Tbl. unsalted butter, grated Parmesan cheese
Slow Cooker Breakfast Casserole. This quick and easy to put together breakfast can cook in the slow cooker overnight while you’re sleeping!! There’s nothing better than waking up to the smell of a homemade breakfast already made. This casserole is loaded up with sausage, diced hash browns, eggs and cheese.
Ingredients: package pork sausage, bag frozen hash browns, yellow onion diced, green bell pepper diced, red bell pepper diced, and ½ cup shredded cheddar cheese, eggs, milk, salt, ground black pepper
Cheddar Garlic Mashed Potato Casserole is loaded with creamy mashed potatoes, garlic and cheddar. The flavor is incredible and they can even be made the night before!
This overnight eggs benedict casserole is super easy to make and loaded with flavor! With layers of English muffins and Canadian bacon, all topped with a zesty hollandaise sauce, breakfast doesn’t get better than this!
Ingredients: Canadian bacon, homemade English muffins, eggs, milk, salt, pepper, egg yolks, heavy cream, fresh lemon juice, dijon mustard, butter
Creamy alfredo sauce with chicken, pasta, artichokes, and spinach come together in this incredible casserole! This will be one that the entire family is going to love!
My favorite homemade garlic alfredo sauce is combined with pesto giving this casserole amazing flavor! It is creamy and delicious and sure to be a hit at the dinner table!
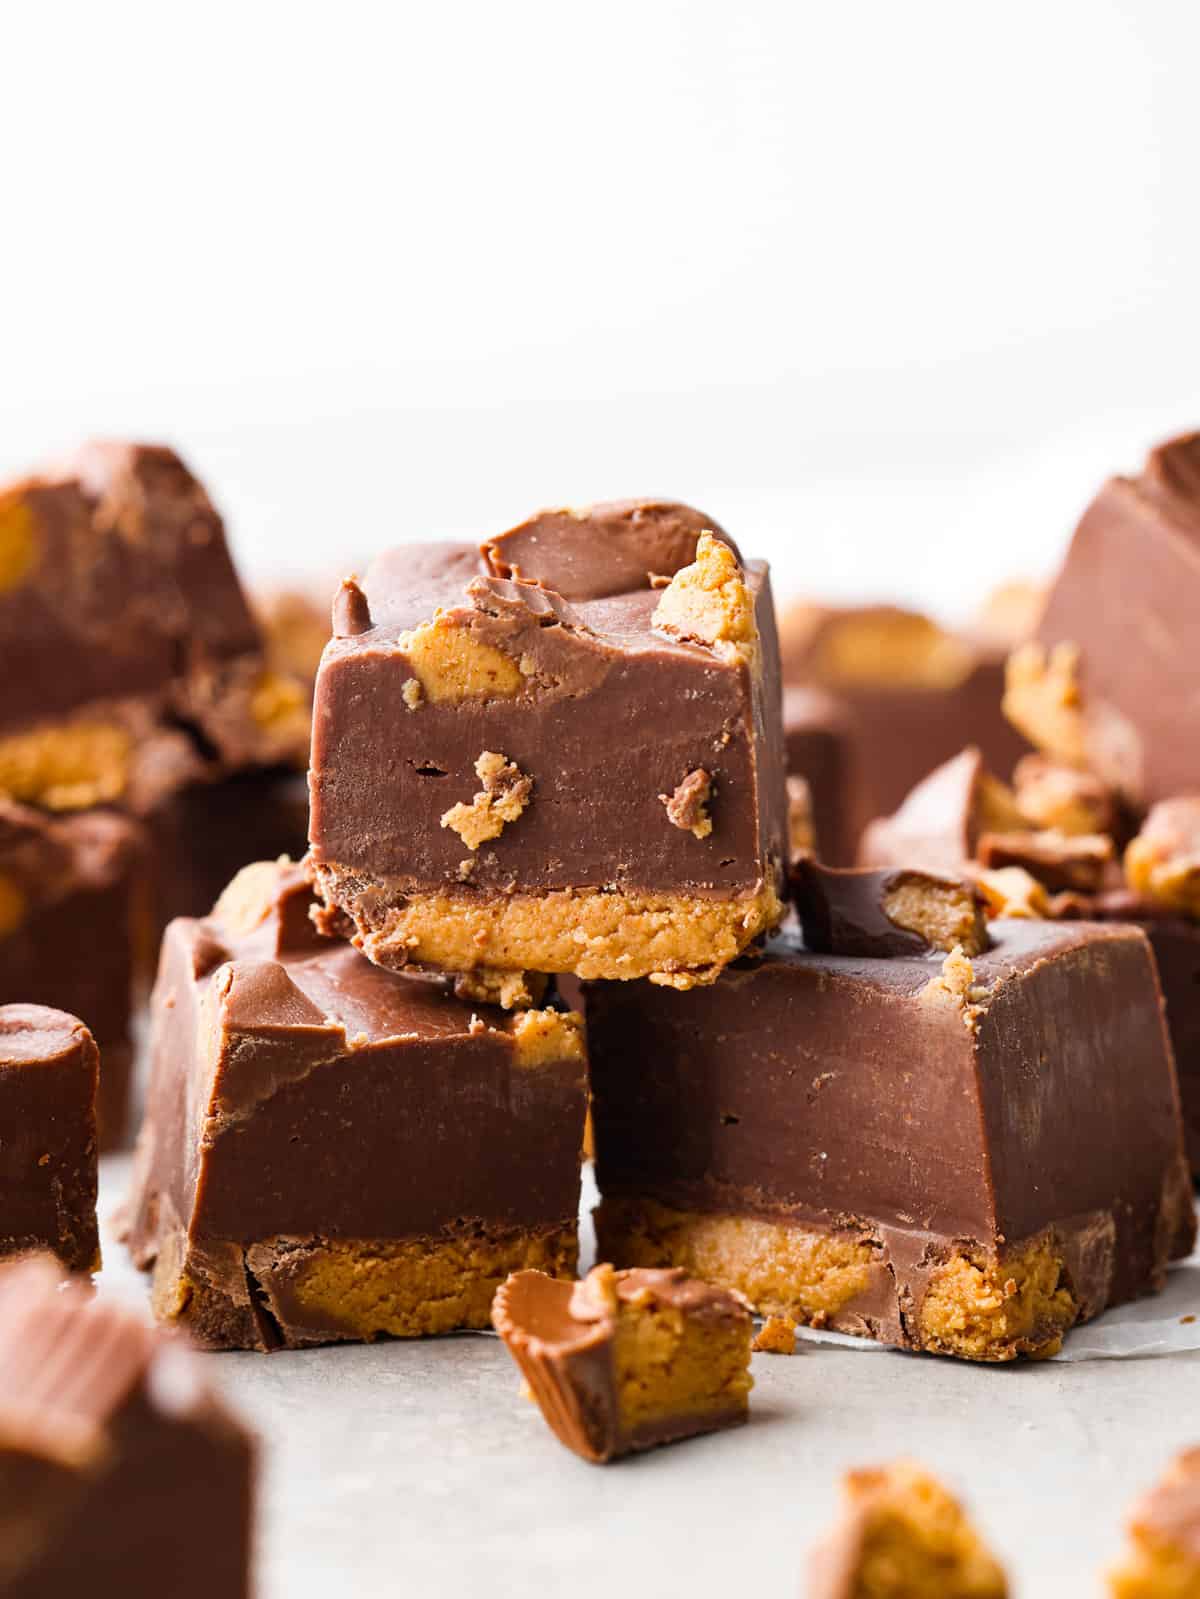
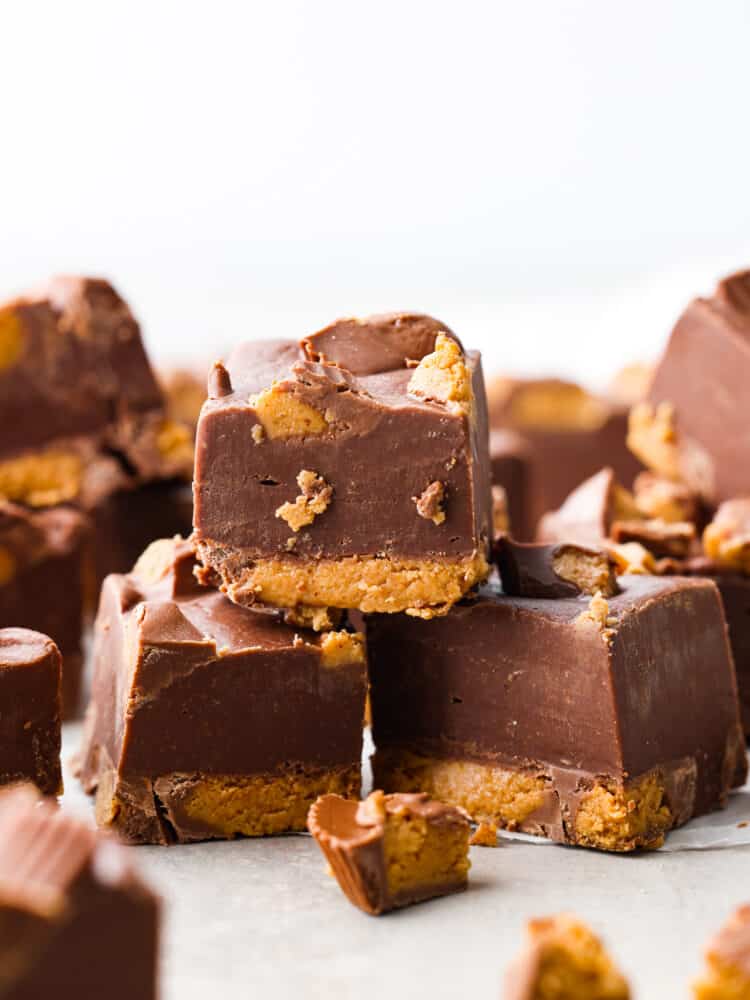
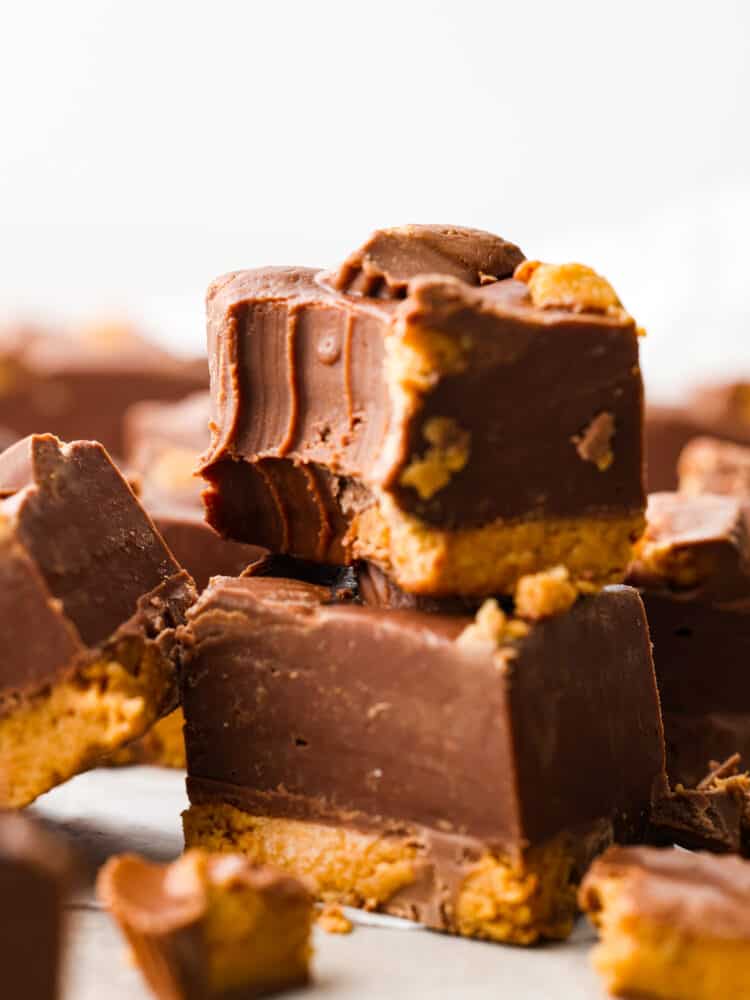
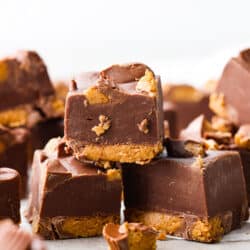
An easy 3 ingredient no-bake fudge that has Reese’s Peanut Butter Cups inside. Reese’s fudge is creamy and delicious and only takes 20 minutes to throw together! It will have the whole family wanting more.
Reese’s fudge is the king of easy desserts. And no baking is required! Could there be anything better? This fudge is packed with rich peanut butter chocolate flavor. It just melts in your mouth! Honestly, this turned out so much better than expected and I couldn’t stop eating it. Everyone that I gave the fudge to was obsessed with it as well. This is your sign to make some right now! Homemade fudge is the absolute best.
With how simple it is to make, there’s really no reason not to! It only takes 3 ingredients. (Yes, you read that right!) Peanut butter cups, condensed milk, and chocolate chips are all you need. After Halloween is the perfect time to make this because you can just borrow from your kids’ candy stash. They’ll forgive you once they get a taste of this creamy peanut butter fudge! It’s one of my family’s favorites and I know yours will love it just as much.
What You’ll Need
For those days when you’re craving a sweet treat but you don’t want the hassle of making a complicated recipe, Reese’s peanut butter fudge is the answer. No long ingredient list here! With how simple this fudge is, you’ll want to make it all the time.
Reese’s Peanut Butter Cups: I used regular-sized peanut butter cups, but feel free to experiment with whatever you have on hand! You can also use different flavored peanut butter cups. (You can also make your own if you really want to take this recipe to the next level!)
Sweetened Condensed Milk: I love anything with condensed milk, to be honest, because it’s so sweet and creamy. It gives this Reese’s fudge a silky-smooth texture and the best flavor.
Chocolate Chips: I used milk chocolate chips for that classic Reese’s flavor, but you can swap these out for dark or white chocolate chips instead! You can also use semi-sweet chocolate chips if you’re trying to cut down on sweetness.
How to Make Reese’s Fudge
It’s so easy! Reese’s fudge is the perfect last-minute dessert for any holiday party. Just melt, mix, and add it to a pan!
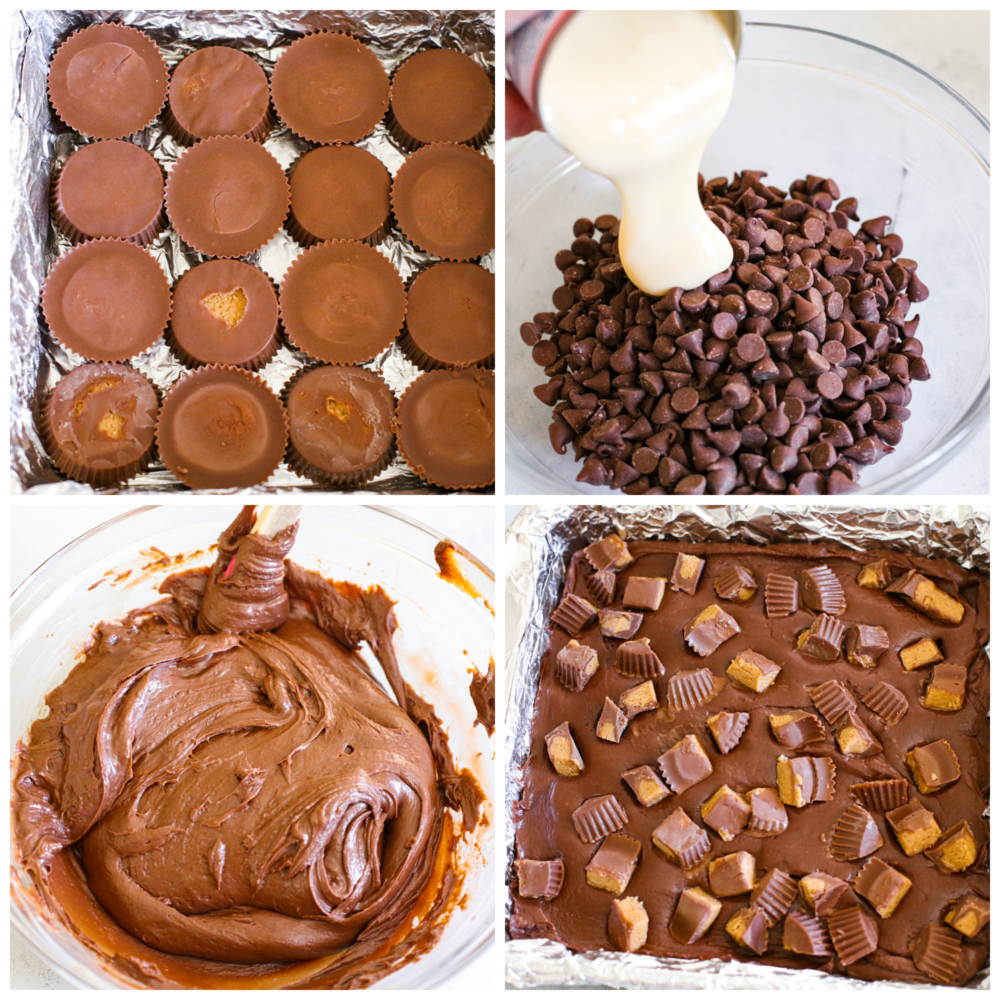
Prep Pan: Line an 8×8 inch pan with aluminum foil and lightly spray with nonstick cooking spray.
Add Peanut Butter Cups: Space 16 Reese’s Cups along the bottom of the 8×8 inch pan.
Chocolate Mixture: In the microwave, melt the chocolate chips and sweetened condensed milk and stir every 30 seconds so that the chocolate doesn’t burn. You can also melt it on the stove at low heat.
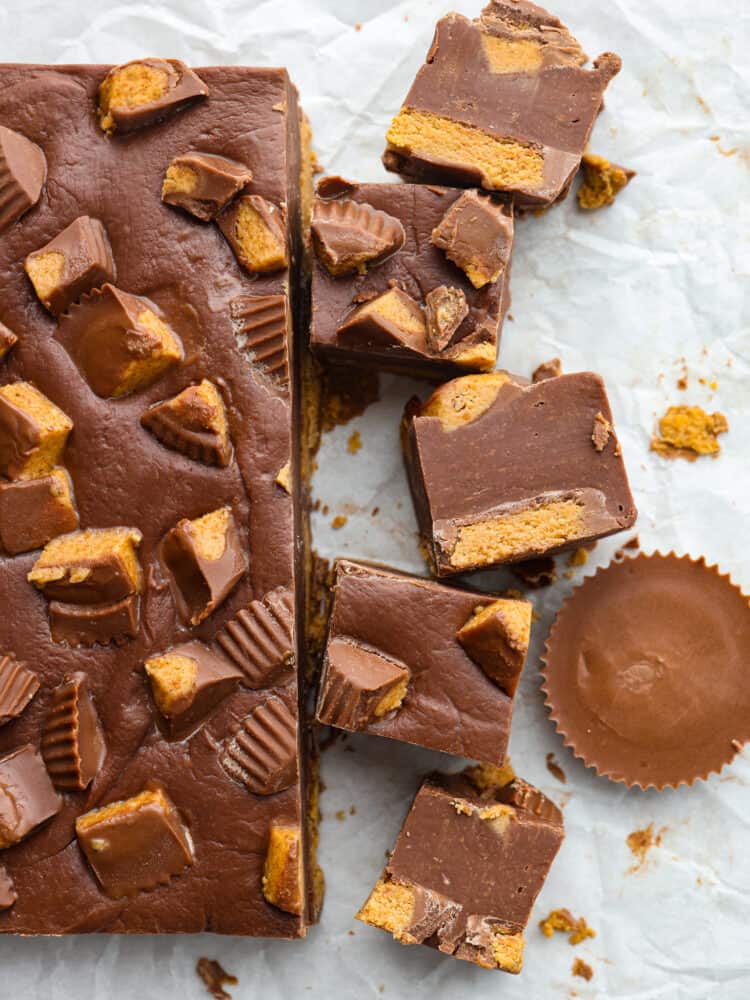
Layer: Spread fudge mixture evenly over the peanut butter cups. Chop remaining 6 peanut butter cups and gently press onto the top of the chocolate.
Chill and Set: Refrigerate until set and cut into squares.
Tips and Variations
Here are a few easy ways you can customize and perfect this 3-ingredient Reese’s fudge! You’re going to want to bring it to every potluck or get-together. It’s just too good and everyone loves it!
Let it Set: If you want to be able to cut your fudge into uniform squares, it needs plenty of time to chill and set. A few hours in the fridge should do the trick!
Use White Chocolate: You can easily make a white chocolate version of this fudge by using white chocolate peanut butter cups and white chocolate chips instead of milk chocolate.
Mix-Ins: If you want more texture in your fudge, try adding chopped pretzels or Reese’s Pieces!
How Long Does Reese’s Fudge Last?
Good news! This tasty treat has a long shelf life so you can enjoy it all week long!
In the Refrigerator: Store fudge in an airtight container for 1-2 weeks.
In the Freezer: Store in a freezer bag or airtight container for 2-3 months. Thaw in the fridge overnight before serving.
Looking for More Easy Fudge Recipes?
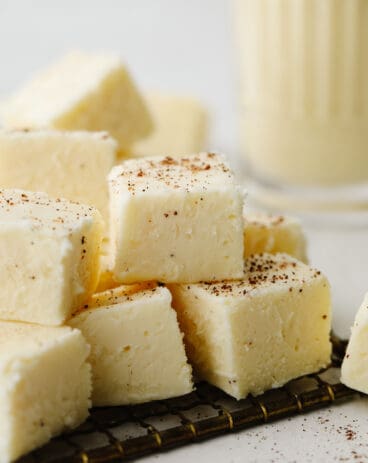
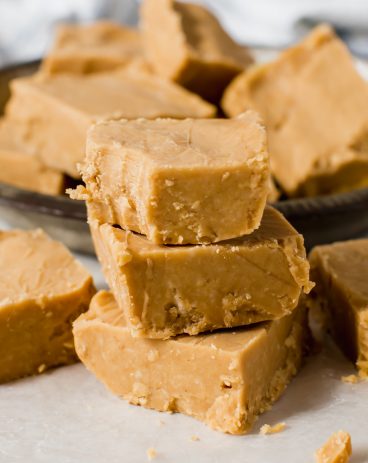
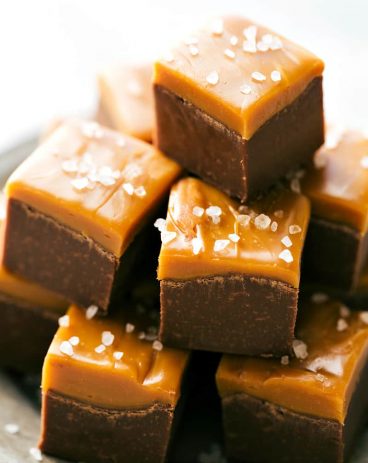
These are just a few of my favorites! They’re all rich, creamy, and most importantly- super easy to make! You can find my full list of fudge recipes here.
An easy 3 ingredient no-bake fudge that has Reese's Peanut Butter Cups inside. Reese’s fudge is creamy and delicious and only takes 20 minutes to throw together! It will have the whole family wanting more.
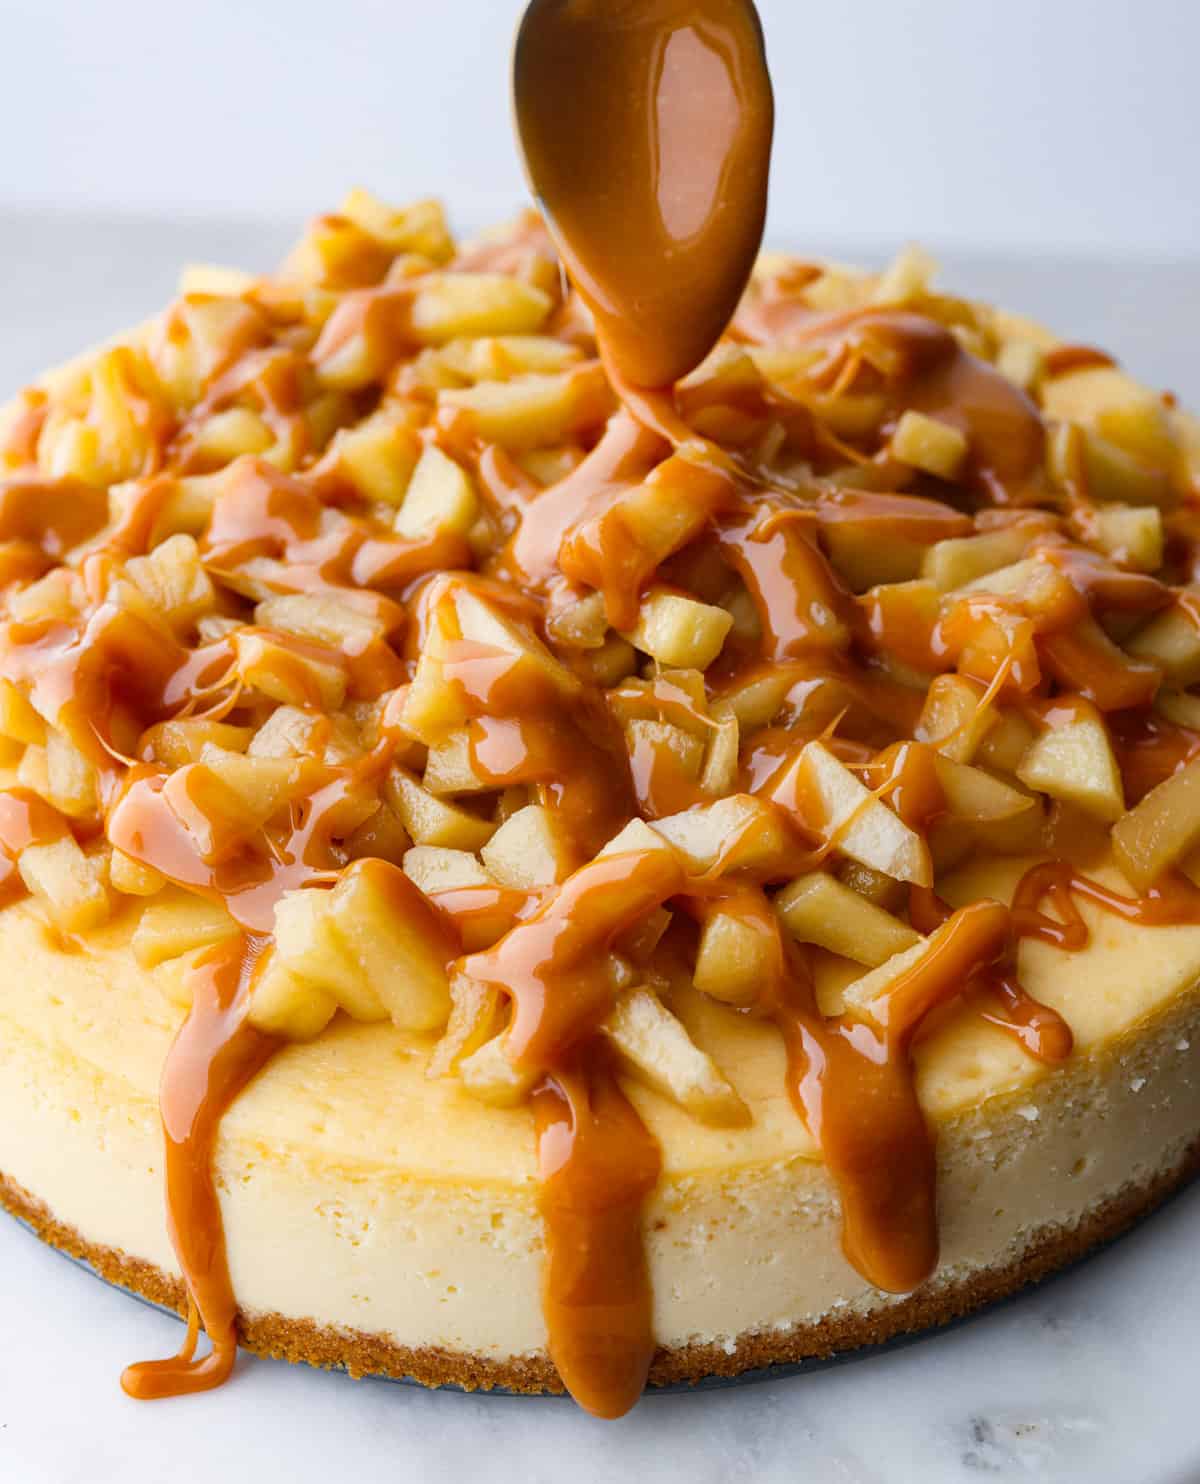
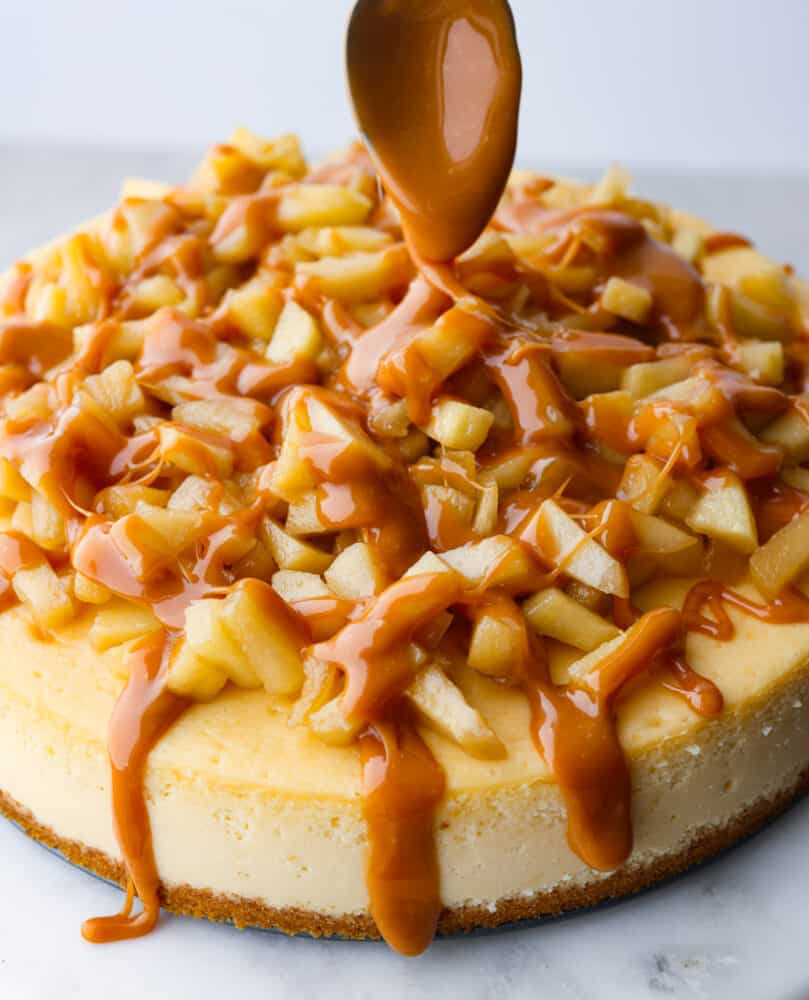
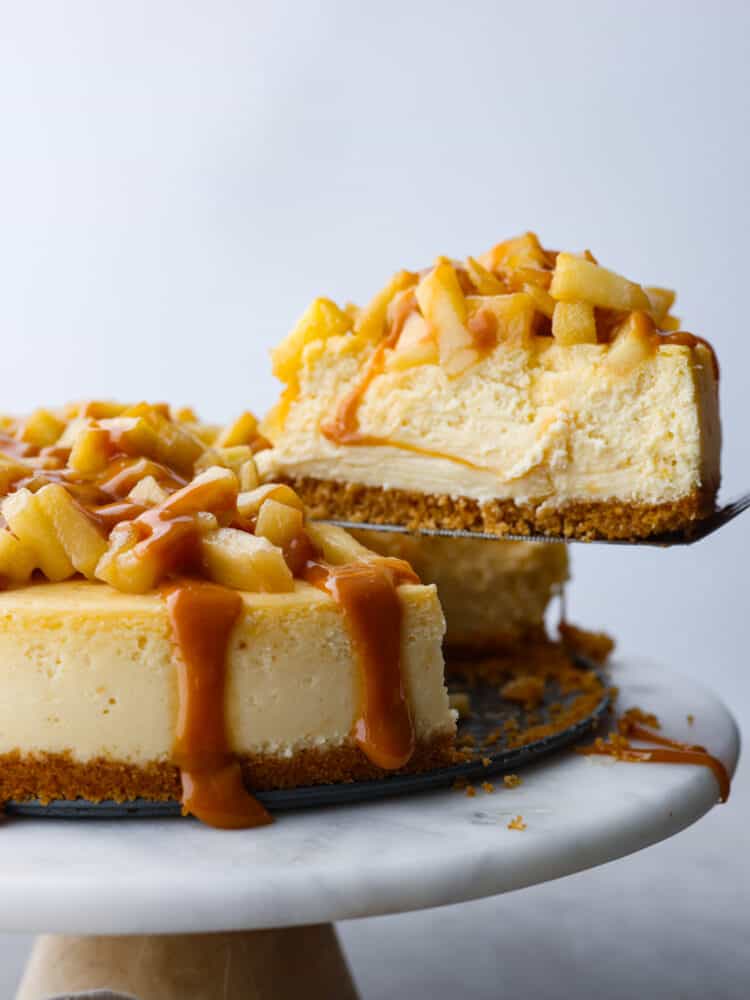
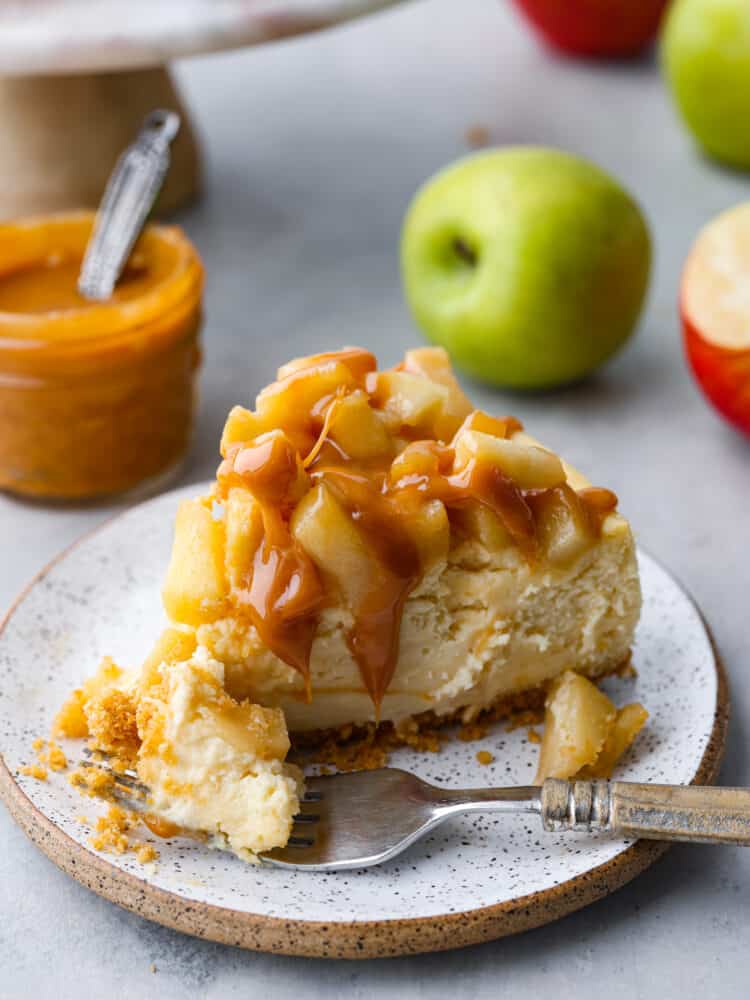
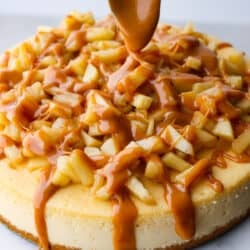
This Caramel Apple Cheesecake is the best of both desserts! Creamy tangy cheesecake topped with brown sugar apples and covered in caramel sauce, it’s so crave-able you’ll have a hard time eating just one slice.
I love cheesecakes, and I might have actually outdone myself here! This recipe is SO good and following the tips I’ll share here you’ll perfect it. If you are a cheesecake lover like me, then you have to try this Absolutely Perfect No-Bake Cheesecake, it’s so easy you’ll find yourself craving it often. If you want to try some more adventurous flavors, this Tiramisu Cheesecake is always a hit, and this Churro Cheesecake is to die for!
Caramel Apple Cheesecake
Caramel apples are a fall favorite at my house. Cheesecake we eat all year ’round. There are so many fun flavors of cheesecakes I have to have them for every season! At first I was nervous about making cheesecakes. They can be a little intimidating because there is a lot you have to get right for it to turn out perfectly. So I started with a simple key lime no-bake cheesecake. It was delicious! And it made me want to make it the traditional way. Let me tell you, it’s so much easier than I thought it would be! It turned out great and I know yours will too.
This caramel apple cheesecake recipe is great if you are making your first one or your one hundredth! The flavor is off the charts delicious and the apple topping is everything you want in a fall dessert. The apples are perfectly aldente and covered in a sticky, creamy caramel sauce. You could make your own caramel sauce from scratch if you have the time, but for this recipe I used soft caramels from the store. This dessert was such a hit I can’t wait to make it again!
Ingredients in Caramel Apple Cheesecake
This delicious cheesecake is pretty straight forward. It has a graham cracker crust (my absolute favorite on a cheesecake), a cream cheese filling, and a caramel apple topping. I’ve listed out what you will need for each step below. You can find exact measurements at the bottom of the page on the recipe card.
Crust
Graham Cracker Crumbs: You can buy them at the store or make your own crumbs using Graham Crackers and pulsing them in a food processor.
Granulated Sugar: This is just your regular pantry sugar to help sweeten the crust. You could leave this out if you wanted to.
Butter: Butter helps the crust stick together. You’ll want to use unsalted because there is added salt in this crust already.
Salt: Just a pinch to bring out all the lovely flavors!
Cheesecake
Cream Cheese: You will need to buy 4 8oz packages of cream cheese. It’s a lot! But thats what makes this cheesecake so creamy and tangy.
Granulated Sugar: Your pantry sugar will work great.
Sour Cream: Sour cream helps to bring out the bright flavors in the cheesecake and cuts some of the sweetness.
Eggs: I always use large grade A eggs in my recipces.
Vanilla Extract: Whatever you have on hand for baking will do.
Lemon Zest: You will want to buy a lemon and zest fresh lemon into this cheesecake. It makes such a difference!
Apple Topping
Apple: The apples will need to be peeled and diced. You want to make them small enough that you can enjoy them in every bite.
Salted Butter: Salted butter will help you get that salted caramel flavor.
Brown Sugar: Brown sugar has molasses in it and has a darker and richer flavor, it’s a must for this topping!
Salt: A little salt helps cut the sweetness and brings out all the great flavors in the apple.
Caramel Sauce
Chewy Caramel Candies: You can get the cubes or the longer round ones, just make sure they are the chewy kind!
Heavy Cream: Heavy cream is a must to help thicken up this sauce, and to make it flavorful and extra creamy!
Caramel Apple Cheesecake Recipe
Cheesecake is one of my favorite desserts to make. It’s a little bit more work than say a brownie (by the way, have you tried this Brownie Bottomed Cheesecake? It’s amazing!!). But it is always worth it in the end because it’s creamy, tangy, and so satisfying. If you follow these steps this recipe will turn out perfectly!
Crust
Preheat Oven: Preheat the oven to 325℉. Prepare a 10-inch springform pan by spraying with cooking spray.
Mix: In a medium bowl, mix the graham cracker crumbs, sugar, melted butter, and salt together. This should resemble damp sand.
Press: Pour the crumb mixture into the prepared springform pan and press evenly into the pan. You can use the bottom of a flat glass or a flat measuring cup to really press it in well and get a nice, even crust.
Bake: Bake for 10 minutes. Allow to cool completely.
Make Cheesecake Filling
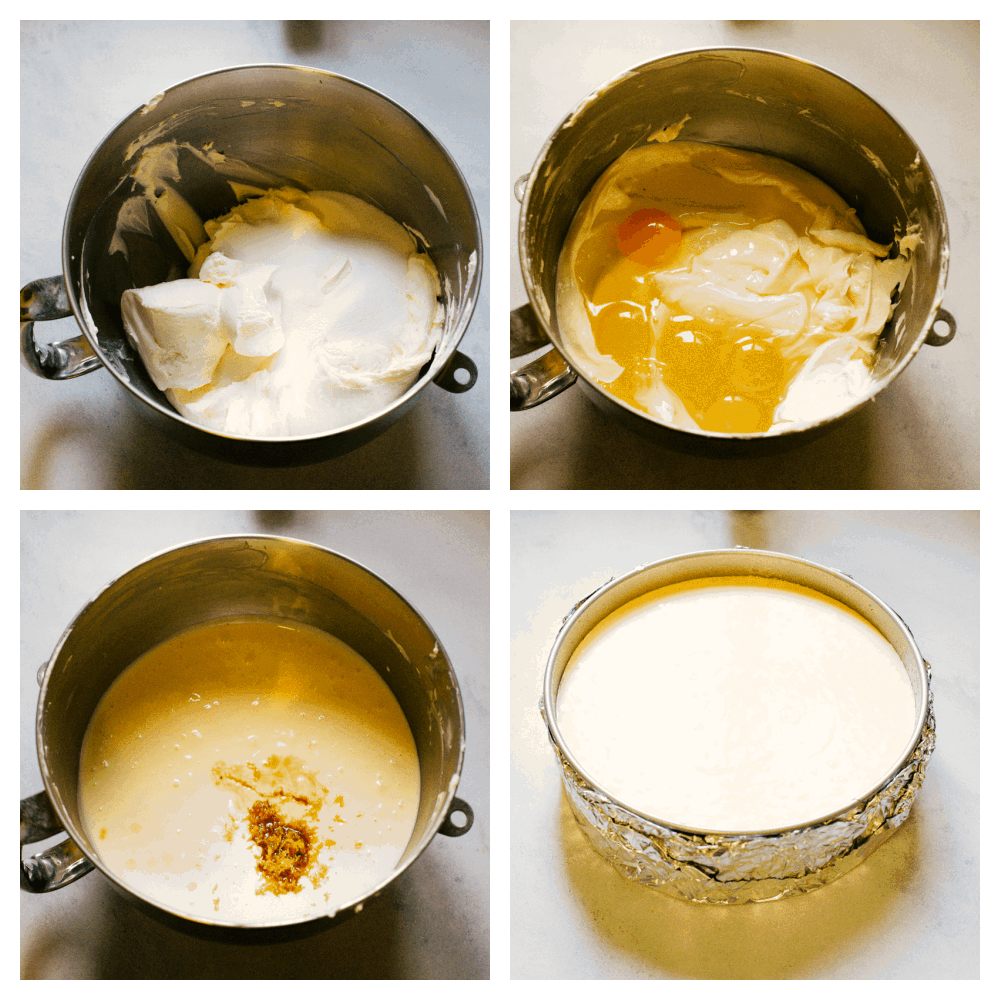
Beat Cream Cheese: Add the softened cream cheese to the mixing bowl of a stand mixer and beat with a paddle at medium/high speed for about 1 minute. Scrape down the sides and bottom of the bowl and beat for another minute or so, until very smooth..
Mix: Add the sugar and sour cream and mix at medium/low speed until just combined. Scrape the bowl again and mix again for 30 seconds.
Combine: Add the eggs, vanilla, and lemon zest and beat on low speed until combined, about 30 seconds-1 minute. Scrape the bowl again. Beat until just combined. At this point the batter should be smooth and fairly runny.
Prep the Cheesecake
Wrap Foil: Using 18 inch heavy-duty aluminum foil, wrap the outside of your springform pan with 4 sheets of foil. You can use regular foil, but it may take a couple more sheets to ensure the water does not get into your pan.
Add to Pan: Place the wrapped pan in a deep roasting pan. You can alternatively use a baking sheet, so long as the sides are about 2 inches deep.
Pour Batter: Add the cheesecake batter to the springform pan and smooth the top.
Add Water: Using very hot water, add water to the baking sheet until there is about 1 ½ inch of water around the springform pan. With the rack in the lower 3rd of the oven, carefully move the pan into the oven.
Bake Caramel Apple Cheesecake and Cool
Bake: Bake for 1-1 ½ hours. After about an hour of baking, check the cheesecake’s consistency. A slight jiggle of the pan (while still in the oven) should tell you if it’s ready or needs more time. The cheesecake should be slightly jiggly, but not liquid. If it still seems very liquidy, give it 15 more minutes and check it again.
Cool: Once the cheesecake has only a slight jiggle, turn the oven off but leave the cheesecake in the oven for another hour or so, until the oven has cooled down. Resist the temptation to open the oven during this time! The purpose of this step is to allow the cheesecake to cool slowly as the oven cools. Doing this will prevent it from cracking, as one of the biggest reasons cheesecakes crack is the drastic temperature change going from the hot oven into the much cooler kitchen.
Chill: Once the oven and the cheesecake are cooled, remove from the oven and carefully remove the foil lining the pan. Cover and chill in the fridge for at least 6 hours.
Apple Topping
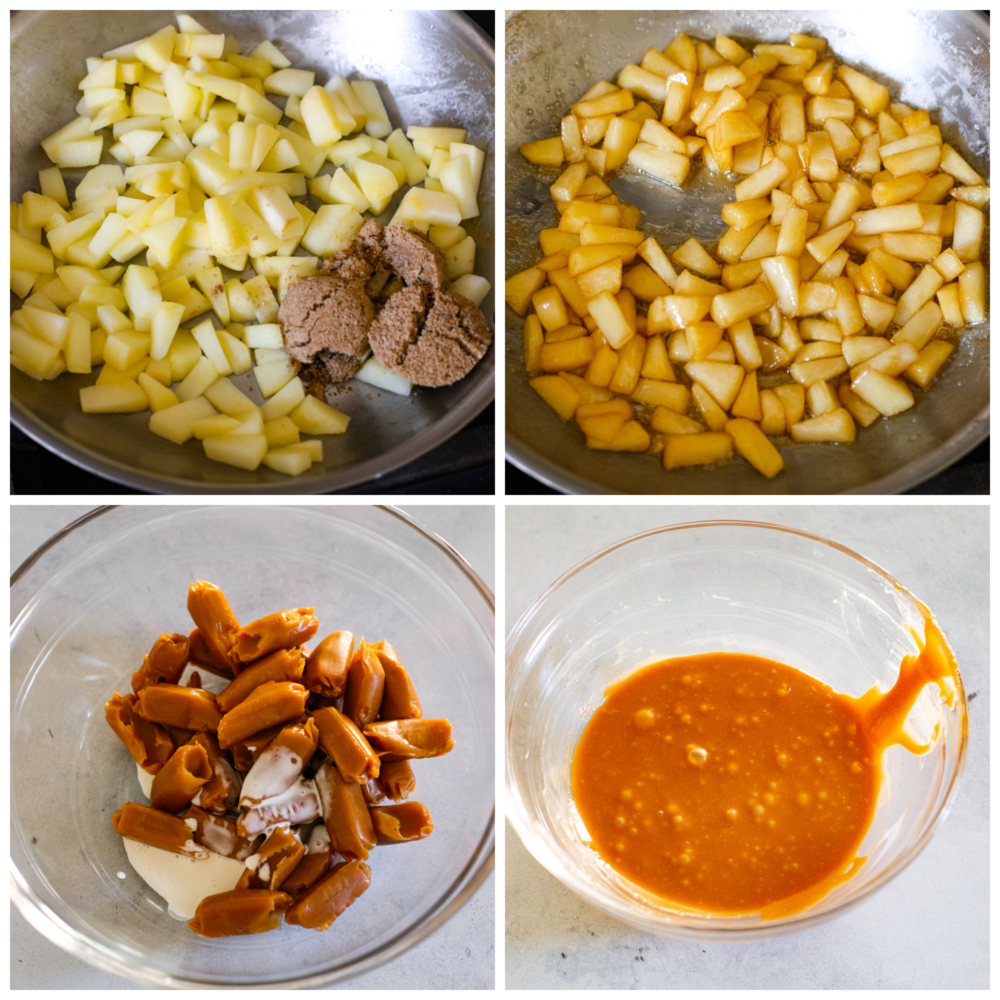
Melt Butter: Heat a large skillet over medium-high heat and add 2 tablespoons of butter to the pan. Once the butter is melted, add the chopped apples.
Sautee: Sautee the apples in the butter for 2-3 minutes, until they just begin to soften. Add the brown sugar and lower the heat to medium. Let the apples simmer in the syrup for 4-5 minutes, stirring every minute or so, until the syrup begins to thicken. Add the remaining tablespoon of butter and stir until melted. Transfer the apples to a dish and let cool completely.
Caramel Sauce
Melt Caramels: Just before serving the cheesecake, add the caramels and cream to a bowl and microwave for 30 seconds at a time, until melted and you’re able to stir in the cream completely.
Top: Top the chilled cheesecake with the apple topping and drizzle with caramel sauce. You will have extra sauce, but it’s great to keep out for those who want a little more on their slice.
Tips for Making Caramel Apple Cheesecake
Cheesecake seems intimidating for some because you have to pay attention to a few different things. You definitely don’t want a cracked, lumpy, and dull cheesecake. Here are some helpful tips to get a perfect and creamy cheesecake every time!
Room Temperature Ingredients: Using room temperature ingredients will help you achieve a silky smooth cheesecake batter. I usually get the cream cheese, sour cream and eggs out of the fridge a couple of hours before I’m ready to start baking to ensure they have enough time to soften.
Scrape the Bowl: Scrape down the bowl several times between each step. Doing this will prevent the thicker batter from sticking to the sides and bottom of the bowl, only to end up making your batter lumpy.
Aluminum Foil: Heavy-duty 18-inch aluminum foil is one of the secrets to making cheesecake that not only bakes evenly in a water bath but prevents ANY water from getting in and making the crust soggy. I’ve tried with 2-3 layers of foil, but have found that this can still sometimes leak. Best to go with 4 layers of foil, making sure it is a big enough piece to go ALL the way up each side of the pan.
Cooling: Letting the cheesecake cool in the oven as the oven cools will prevent it from cracking. You don’t want to poke it or stick a thermometer in it either! That will greatly increase the risk of the cheesecake cracking as it cools down.
Kinds of Apples: Pick firm, crisp apples for the apple topping. Granny Smith, Honeycrisp, or Pink Lady are excellent options that can maintain their structure even as they are cooked and won’t turn to mush on top of your cheesecake.
Storing Leftovers
Cheesecake is one of my favorite desserts! Luckily it’s also great in the freezer, so you can make it ahead of time and pull it out exactly when you need it!
In the Refrigerator: The cheesecake by itself is best stored covered in the fridge for up to 5 days. Once topped with apples and caramel, it will keep covered in the fridge for up to 3 days.
In the Freezer: You can freeze cheesecake for up to 3 months. Only freeze the cheesecake, and melt the caramel and add the apple after letting the cheesecake come to room temperature.
Note: The apple topping can be made a day ahead of time but may need to be slightly warmed and cooled before topping the cheesecake. The caramel topping is best made just before serving. Let it cool slightly before drizzling it over the top of the apple topping.
Other Caramel Apple Recipes
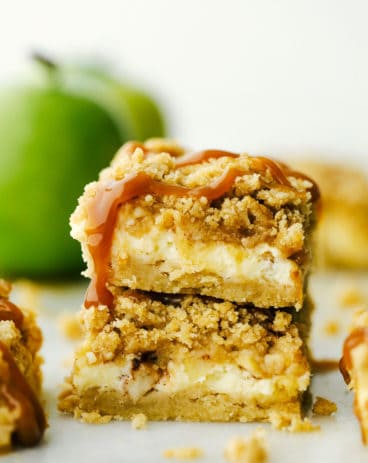
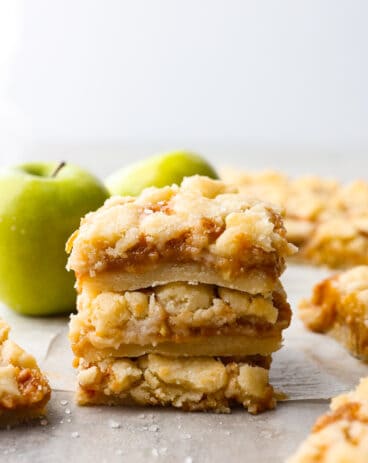
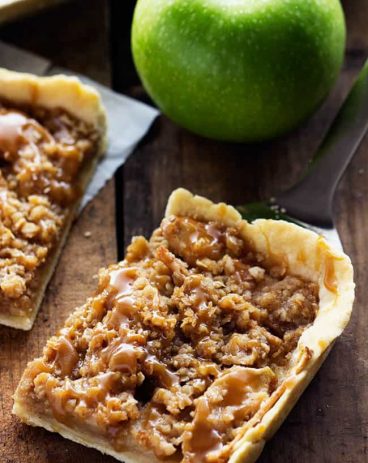
There are so many things to love about fall, and caramel apples are definitely at the top of my list. I love the contrast of the sweet sticky caramel and the crispy apple. I love a classic caramel apple and make them every year. I also really LOVE caramel apple desserts. So here are a few of my favorites that you are definitely going to want to try!
This Caramel Apple Cheesecake is the best of both desserts! Creamy tangy cheesecake topped with brown sugar apples and covered in caramel sauce, it's so crave-able you'll have a hard time eating just one slice.
CourseDessert
CuisineAmerican
KeywordCaramel Apple Cheesecake, Cheesecake Recipe
Prep Time1hour30minutes
Cook Time1hour30minutes
Chill Time6hours
Total Time9hours
Servings12People
Calories719kcal
AuthorAlyssa Rivers
Ingredients
Crust
1 ½cupsgraham cracker crumbs
⅓cupgranulated sugar
¼cupunsalted buttermelted
1pinchsalt
Cheesecake
2poundscream cheeseroom temperature (4 8-ounce packages)
1 ½cupsgranulated sugar
8ouncessour creamroom temperature
5large eggsroom temperature
1tablespoonvanilla extract
1tablespoonlemon zest
Apple Topping
4cupsapplepeeled and diced
3tablespoonssalted butterdivided
6tablespoonsbrown sugar
2pinchessalt
Caramel Sauce
1 ½cupchewy caramel candies
2tablespoonsheavy cream
Instructions
Crust
Preheat the oven to 325℉. Prepare a 10-inch springform pan by spraying with cooking spray.
In a medium bowl, mix the graham cracker crumbs, sugar, melted butter, and salt together. This should resemble damp sand.
Pour the crumb mixture into the prepared springform pan and press evenly into the pan. You can use the bottom of a flat glass or a flat measuring cup to really press it in well and get a nice, even crust.
Bake for 10 minutes. Allow to cool completely.
Cheesecake Filling
Add the softened cream cheese to the mixing bowl of a stand mixer and beat with a paddle at medium/high speed for about 1 minute. Scrape down the sides and bottom of the bowl and beat for another minute or so, until very smooth..
Add the sugar and sour cream and mix at medium/low speed until just combined. Scrape the bowl again and mix again for 30 seconds.
Add the eggs, vanilla, and lemon zest and beat on low speed until combined, about 30 seconds-1 minute. Scrape the bowl again. Beat until just combined. At this point the batter should be smooth and fairly runny.
Bake The Cheesecake
Using 18 inch heavy-duty aluminum foil, wrap the outside of your springform pan with 4 sheets of foil. You can use regular foil, but it may take a couple more sheets to ensure the water does not get into your pan.
Place the wrapped pan in a deep roasting pan. You can alternatively use a baking sheet, so long as the sides are about 2 inches deep.
Add the cheesecake batter to the springform pan and smooth the top.
Using very hot water, add water to the baking sheet until there is about 1 ½ inch of water around the springform pan. With the rack in the lower 3rd of the oven, carefully move the pan into the oven.
Bake for 1-1 ½ hours. After about an hour of baking, check the cheesecake’s consistency. A slight jiggle of the pan (while still in the oven) should tell you if it’s ready or needs more time. The cheesecake should be slightly jiggly, but not liquid. If it still seems very liquidy, give it 15 more minutes and check it again.
Once the cheesecake has only a slight jiggle, turn the oven off but leave the cheesecake in the oven for another hour or so, until the oven has cooled down. Resist the temptation to open the oven during this time! The purpose of this step is to allow the cheesecake to cool slowly as the oven cools. Doing this will prevent it from cracking, as one of the biggest reasons cheesecakes crack is the drastic temperature change going from the hot oven into the much cooler kitchen.
Once the oven and the cheesecake are cooled, remove from the oven and carefully remove the foil lining the pan. Cover and chill in the fridge for at least 6 hours.
Apple Topping
Heat a large skillet over medium-high heat and add 2 tablespoons of butter to the pan. Once the butter is melted, add the chopped apples.
Sautee the apples in the butter for 2-3 minutes, until they just begin to soften. Add the brown sugar and lower the heat to medium. Let the apples simmer in the syrup for 4-5 minutes, stirring every minute or so, until the syrup begins to thicken. Add the remaining tablespoon of butter and stir until melted. Transfer the apples to a dish and let cool completely.
Caramel Sauce
Just before serving the cheesecake, add the caramels and cream to a bowl and microwave for 30 seconds at a time, until melted and you’re able to stir in the cream completely.
Top the chilled cheesecake with the apple topping and drizzle with caramel sauce. You will have extra sauce, but it’s great to keep out for those who want a little more on their slice.