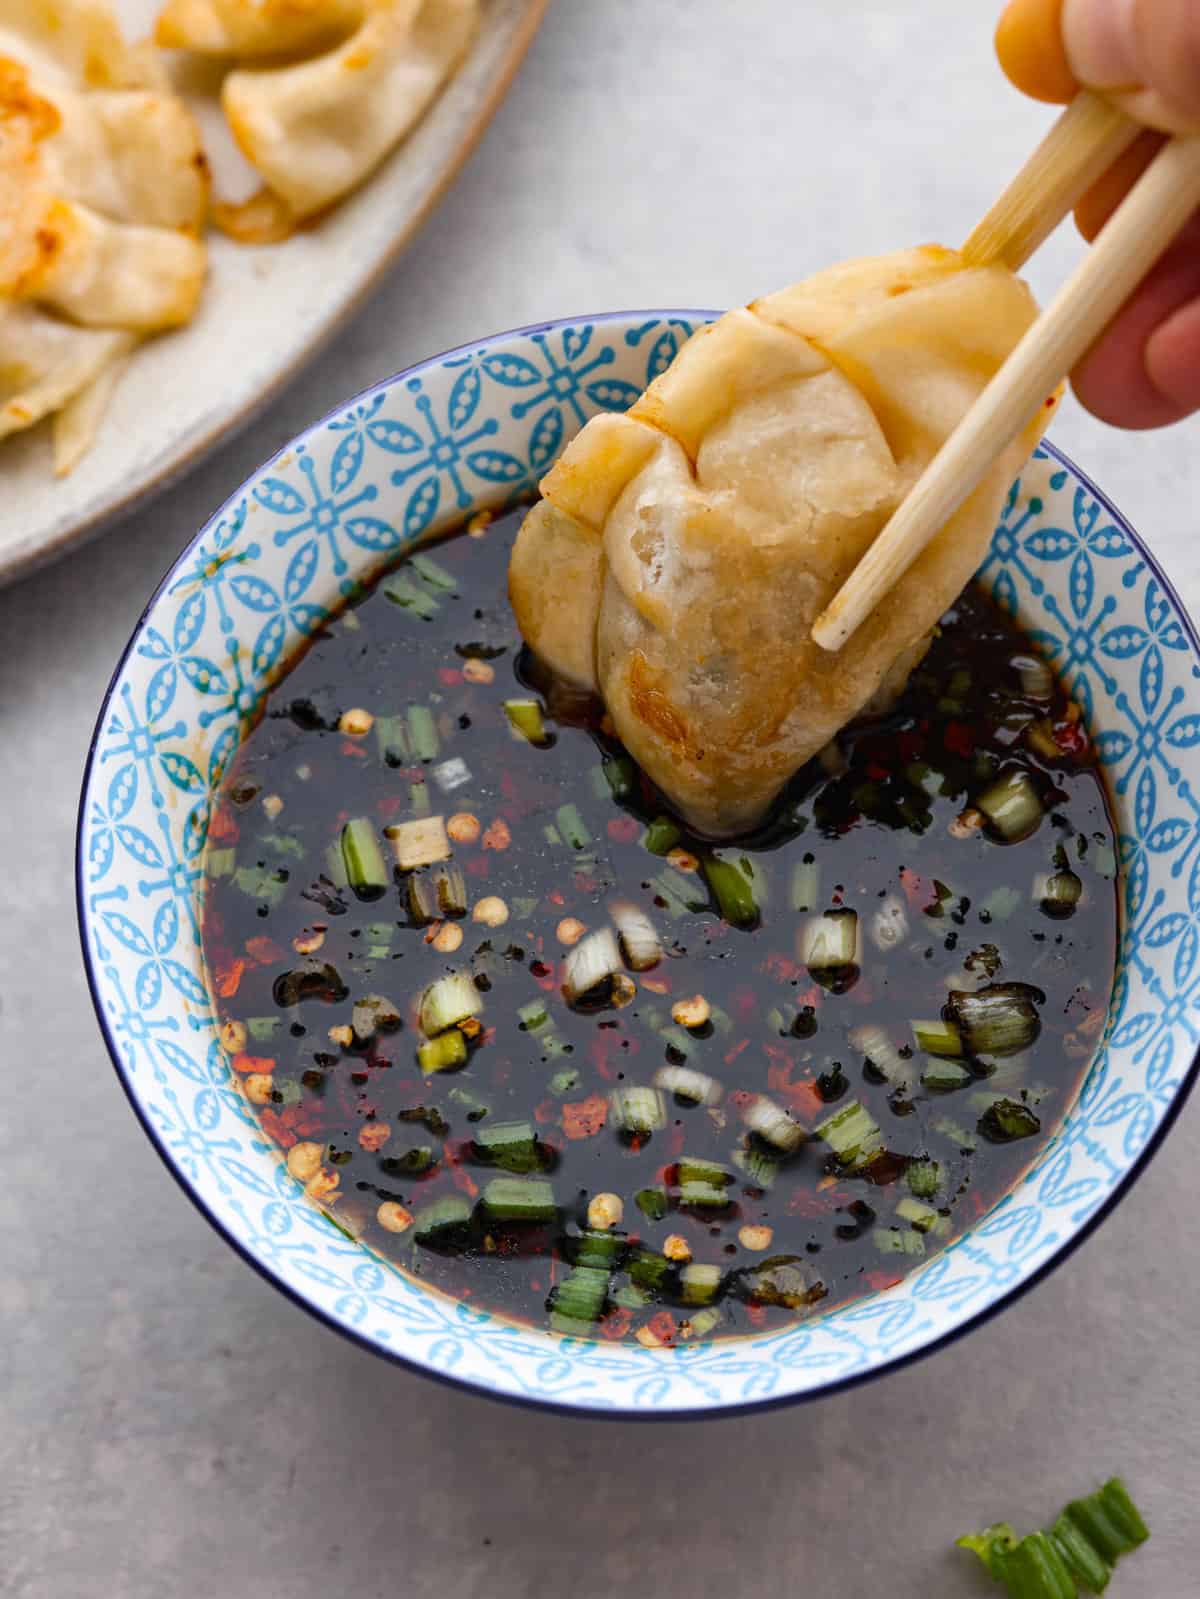
Potsticker Sauce

Potsticker sauce is easy to make at home and is the perfect dipping sauce for potstickers or any Asian appetizer! This delicious sauce is salty, and tangy, and has a touch of sweetness to balance out the flavors.

I love to serve this potsticker sauce any time I serve Asian cuisine because it’s THAT good! It compliments so many delicious appetizers and recipes and it will be a staple in your house. Try this dipping sauce with egg rolls, cream cheese wontons, and of course my homemade potstickers!
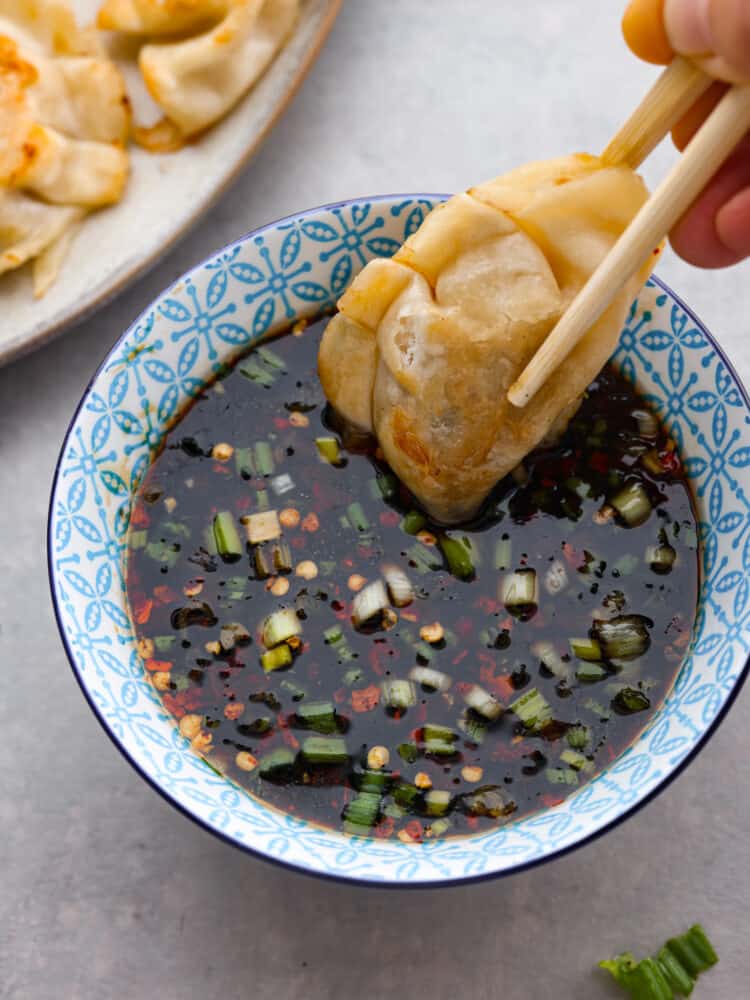
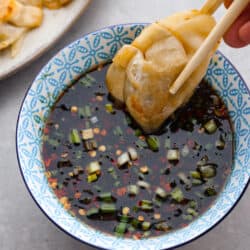
Close up view of potsticker sauce in a blue bowl. A potsticker is being dipped into the sauce with chopsticks.

Potsticker Dipping Sauce

Potsticker sauce is a must when serving Asian-inspired appetizers. It is a savory and salty sauce that elevates whatever you dip it in. The combination of soy sauce, rice vinegar, and sesame oil are the perfect complimentary flavors in this dipping sauce. It has a salty tang with a hint of sweetness and spice. You are going to love how easy and delicious this sauce is to make!

Everyone will love starting their meal off with potstickers and this amazing dipping sauce. Now let’s make the meal complete! Serve alongside my easy fried rice, this delicious cashew chicken, and my favorite lettuce wraps. Your family will ask for this meal over and over again. It’s the best!

Ingredients For Potsticker Sauce

This easy sauce for potstickers only takes 5 pantry ingredients to make! The garnishes are an extra bonus of flavors but are optional. The base of this recipe makes a perfect dipping sauce for potstickers, dumplings, gyoza, and egg rolls. This is a staple recipe for all your favorite Asian appetizers!

  • Soy Sauce: I love using low sodium soy sauce because it still has all the flavor and is better for the heart.
  • Rice Vinegar: This gives it a bit of tang. I love using Chinese vinegar in this recipe if you can find it. It adds a delicious authentic flavor.
  • Sesame Oil: Look for sesame oil near the oils or bottles of vinegar. It can also be found in the Asian aisle.
  • Sugar: Just a touch of sweetness to balance out the salt. You can use brown sugar or honey in this recipe with excellent results.
  • Green Onions: Sliced green onion is the perfect garnish for this sauce.
  • Red Pepper Flakes: This is optional but delicious if you like a little spice!
  • Sesame Seeds: Optional but adds great flavor and texture. It’s a beautiful garnish.

Potsticker Sauce Recipe

This potsticker sauce recipe takes less than 5 minutes to make! It’s tangy and salty with the perfect blend of sweetness and spice if you want. You are going to love how quickly this potsticker sauce comes together and how delicious it is too! It’s so easy to whip up when you need to take your appetizer game to the next level!

  1. Combine Soy Sauce, Rice Vinegar, Sesame Oil, and Sugar: Combine the soy sauce, rice vinegar, sesame oil, and sugar together in a small bowl and whisk until well combined.
  2. Add Green Onion and Garnishes: Stir in the sliced green onion then garnish with red pepper flakes and sesame seeds.
  3. Serve and Enjoy: Whisk well before serving then enjoy as a dipping sauce for potstickers, egg rolls, gyoza, or wontons.
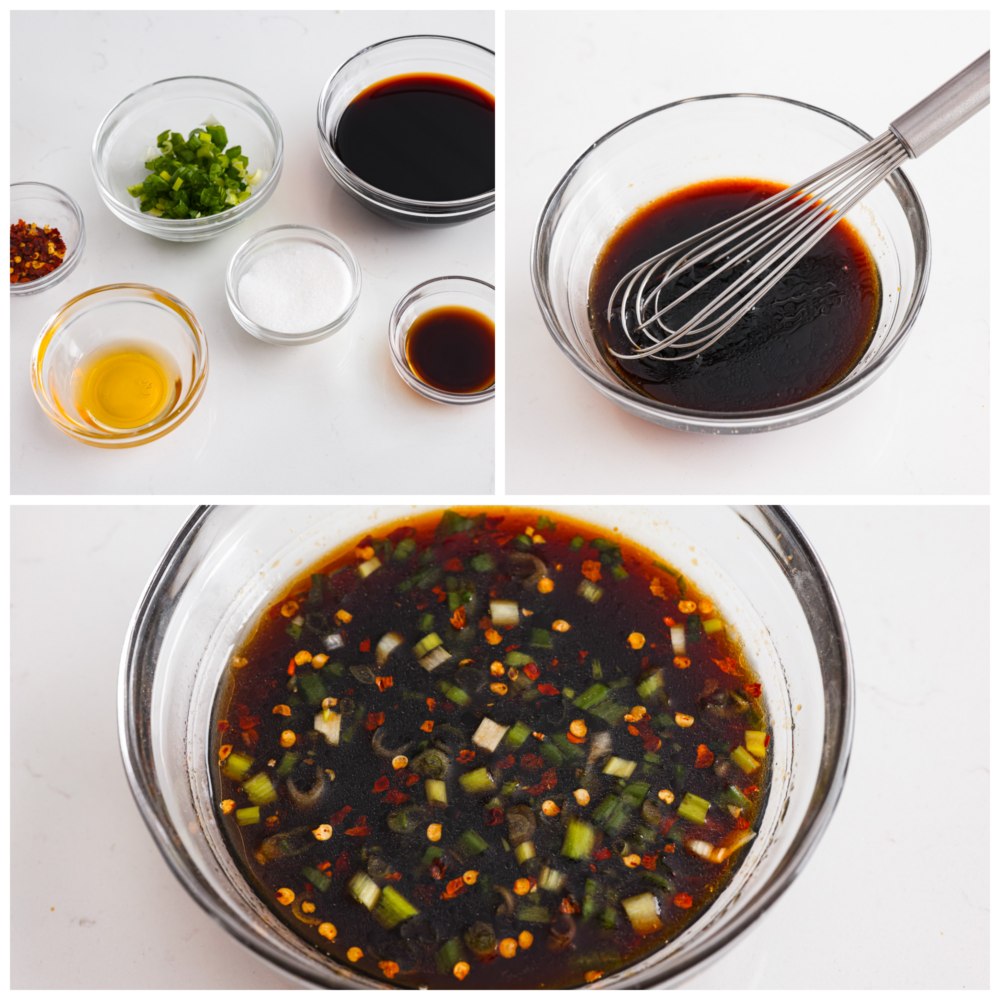
First photo of ingredients in separate bowls. Second photo of the sauce whisked together in a clear bowl. Third photo of the sauce in a bowl with onions and red pepper flakes garnished on top.

Homemade Dipping Sauce Tips

This dipping sauce for potstickers is the perfect combination of salty, sweet, spicy, and savory! You can make this sauce to your liking by adding more sweetness or making it spicier! This potsticker sauce recipe is so easy to make and so easy to flavor just the way you want. Try these extra tips for the best flavor! 

  • Make it Gluten-Free: Look for gluten-free soy sauce and you have a luscious gluten-free sauce that will taste amazing.
  • Low Sodium: Use low-sodium soy sauce to help control the salt. You won’t even taste the difference!
  • Replace Soy Sauce with Tamari: This Japanese version of soy sauce can be used in place of soy sauce. It is a little thicker, so you can add a splash of water to thin out the dipping sauce.
  • Sugar Swap: You can trade out the sugar for honey, maple syrup, or brown sugar if you desire. The honey and maple syrup will change the consistency and taste just a bit. So adapt the other ingredients as needed by tasting them!
  • Make it Spicy: Add a bit more spice with more red pepper flakes or a squeeze of sriracha sauce! I’ve also used a few drops of chili oil for extra spice. I love spicy!
  • Add More Flavor: This potsticker sauce is so versatile! Play around with the flavors by adding fresh garlic and ginger. It gives it more depth in flavor.
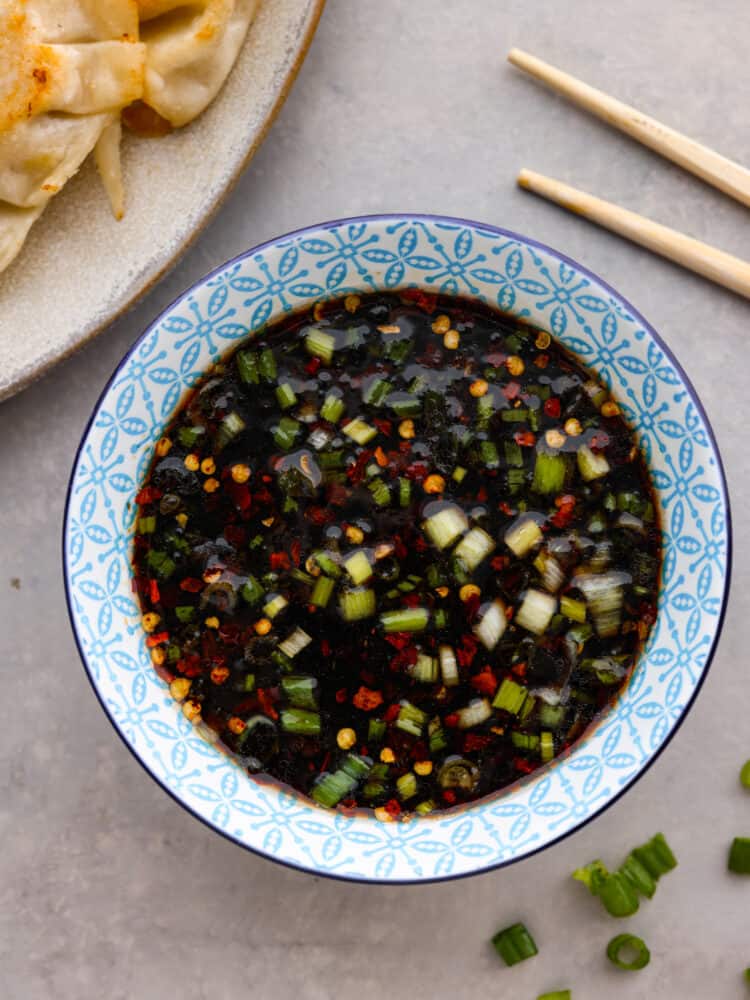
Top view of potsticker sauce in a blue patterned bowl. Chopsticks and a plate of potstickers are styled beside the bowl.

How to Store Sauce For Potstickers

Use the homemade sauce immediately as needed or stored it in the refrigerator for later. This potsticker sauce is perfect to make ahead because the flavors meld together and the sauce gets better with time. I love to make this recipe a day in advance because it’s ready to serve when you need it.

  • In the Refrigerator: Place leftover sauce in an airtight container. Store in the refrigerator for up to 2 weeks. Whisk before serving. Garnish with green onions and red pepper flakes. Enjoy as a dipping sauce for potstickers, egg rolls, sushi, and much more!
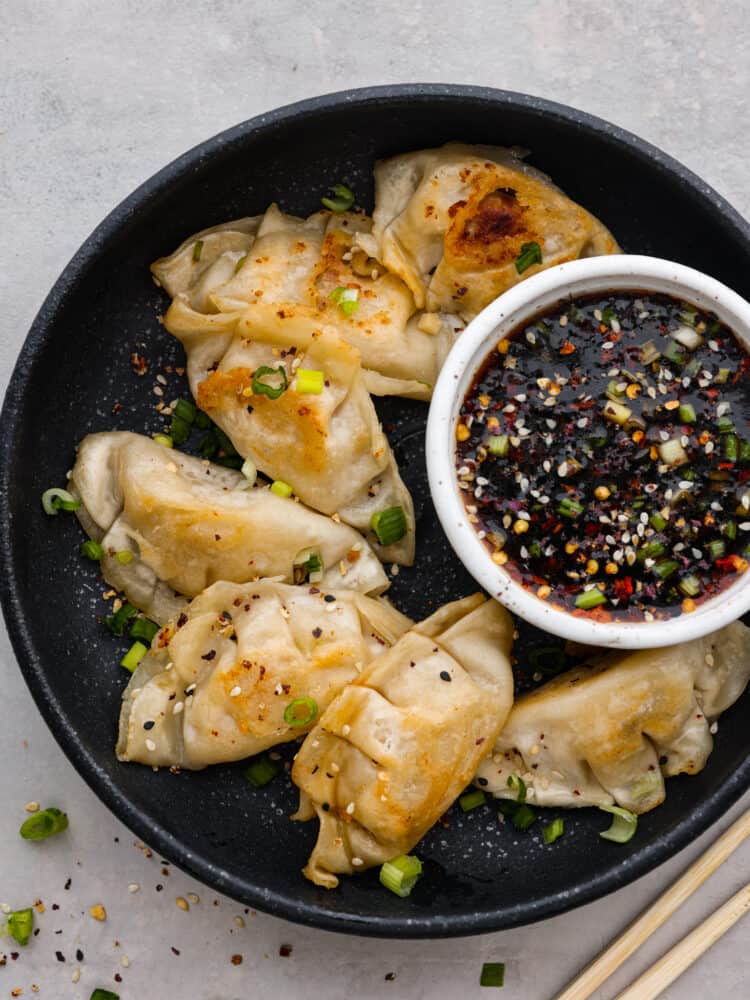
Top view of potstickers on a on a black plate with a small white bowl of sauce on the plate. Chopsticks and green onion are styled beside the plate.
Print

Potsticker Sauce

Potsticker sauce is easy to make at home and is the perfect dipping sauce for potstickers or any Asian appetizer! This delicious sauce is salty, and tangy, and has a touch of sweetness to balance out the flavors.
Course Sauce
Cuisine Asian
Keyword 5 minute, sauce for potstickers
Prep Time 5 minutes
Total Time 5 minutes
Servings 4
Calories 50kcal
Author Alyssa Rivers

Ingredients

  • 1/2 cup soy sauce
  • 1 teaspoon rice vinegar, or *Chinese vinegar
  • 1 teaspoon sesame oil
  • 2 tablespoons sugar, or honey to taste
  • 1 tablespoon green onions, sliced
  • crushed red pepper flakes, optional
  • sesame seeds, for garnish

Instructions

  • Combine the soy sauce, rice vinegar, sesame oil, and sugar together in a small bowl and whisk until well combined.
  • Stir in the sliced green onion then garnish with red pepper flakes and sesame seeds.
  • Whisk well before serving. Serve as a dipping sauce for potstickers, egg rolls, gyoza, or wontons.

Notes

*I love to use gold plum chin kiang vinegar. It is a Chinese black vinegar found in the Asian isle of most grocery stores. It adds great authentic flavor to the sauce.


Nutrition

Serving: 2tablespoons. | Calories: 50kcal | Carbohydrates: 8g | Protein: 3g | Fat: 1g | Saturated Fat: 0.1g | Polyunsaturated Fat: 0.4g | Monounsaturated Fat: 0.4g | Sodium: 1620mg | Potassium: 66mg | Fiber: 0.3g | Sugar: 7g | Vitamin A: 15IU | Vitamin C: 0.3mg | Calcium: 7mg | Iron: 1mg


source https://therecipecritic.com/potsticker-sauce/
Share:

Lattice Pie Crust

A Lattice Pie Crust is visually stunning and the perfect way to finish an apple or cherry pie. This recipe will teach you how to weave strips of dough into a beautiful topper for your favorite pie, and it’s easier than you think!

I think pie might be my favorite dessert. I am a huge fan of cream pies, fruit pies, and everything in between! If you are a fan of a silky and delicious cream pie, you have to try this classic Chocolate Pie, this light and fluffy No-Bake Pistachio Cream Pie, and everyone’s favorite No-Bake Cream Cheese Peanut Butter Pie.

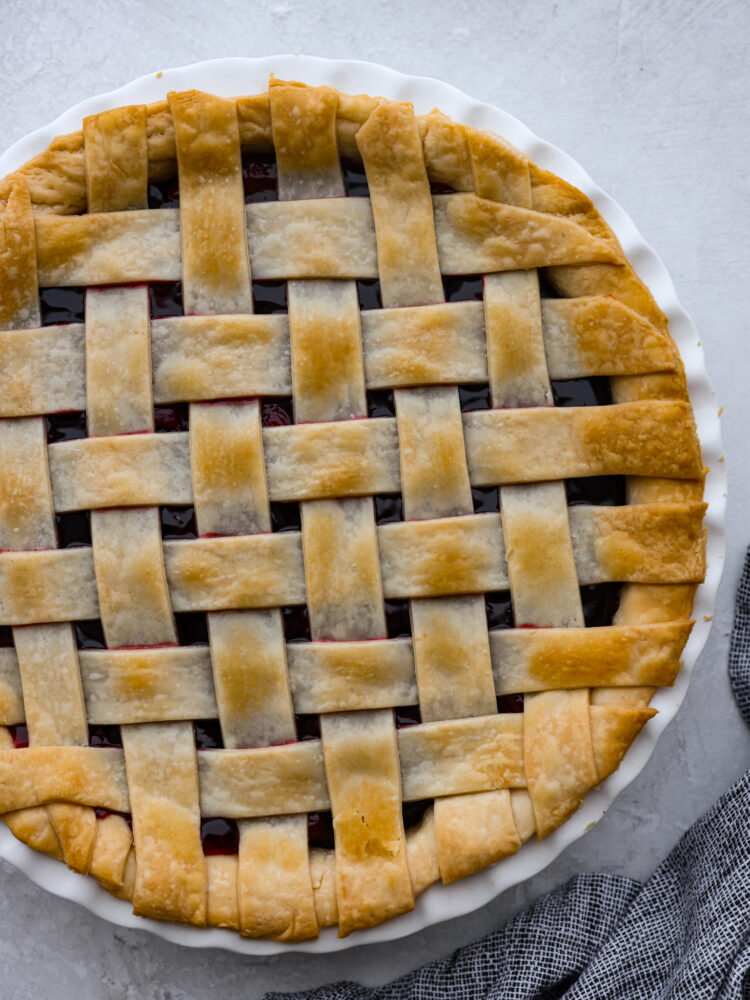
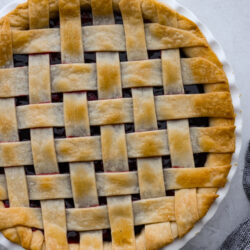
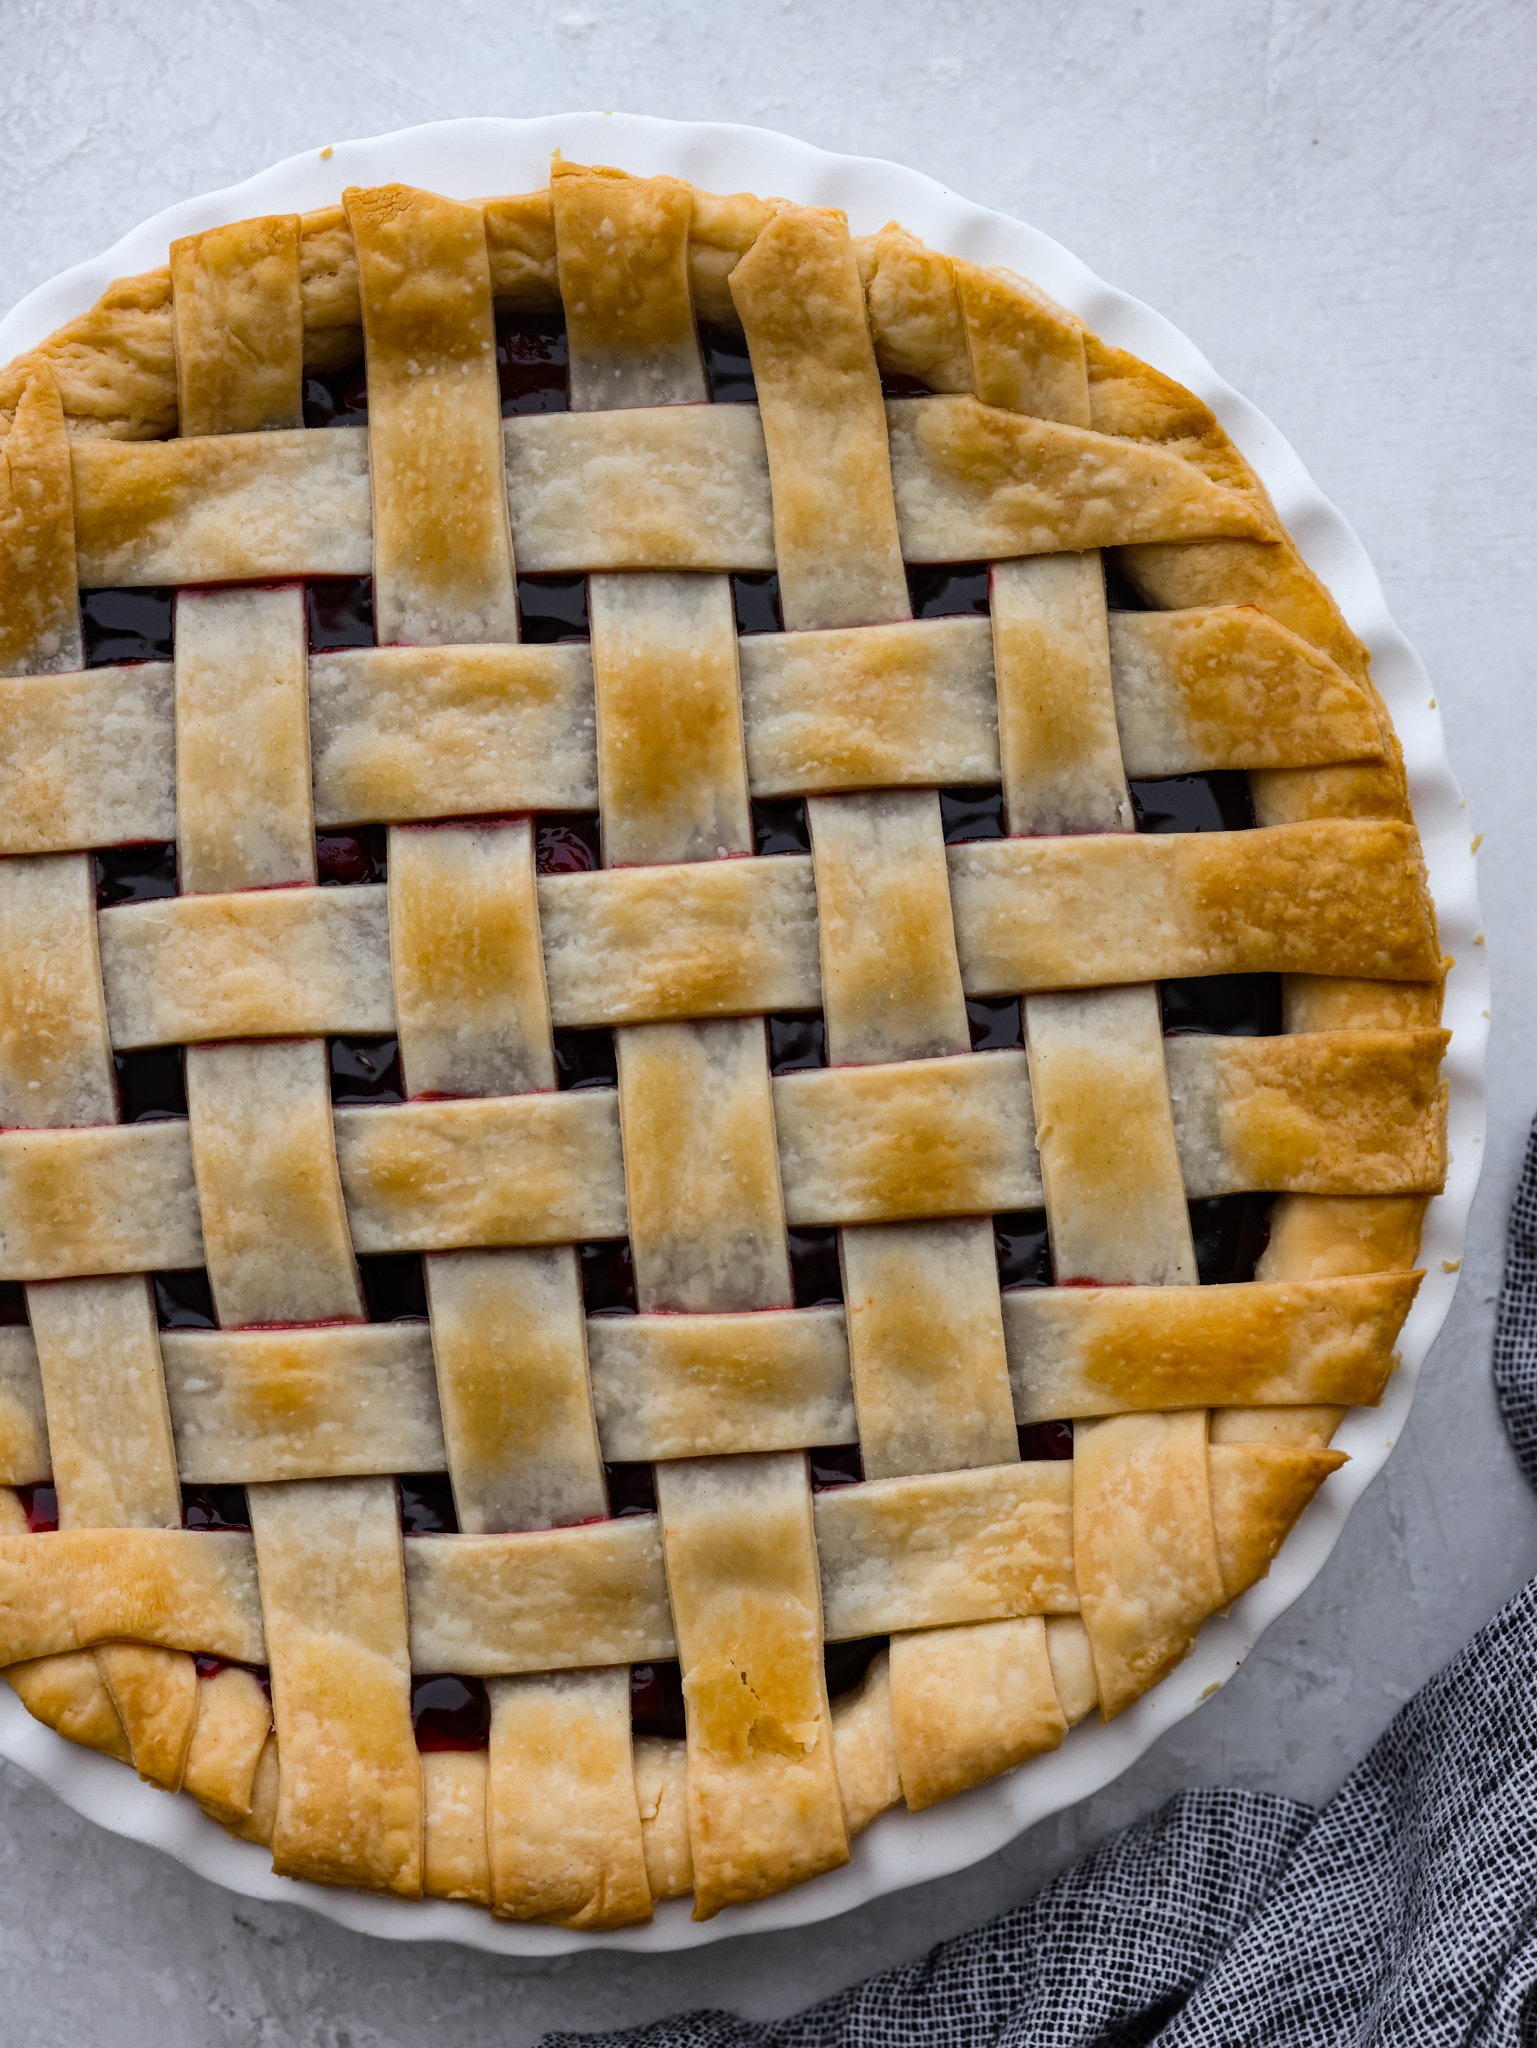
Lattice pie crust baked on top of a pie in a white dish.

Lattice Crust Pie

This recipe will walk you step-by-step through weaving a lattice pie crust. You can use your favorite pie crust recipe, I would recommend my favorite pie crust recipe that I’ve been making for years, my Grandma’s Perfect Pie Crust. This butter pie crust is also really easy to whip up and is always a hit. You can also choose whatever filling you like best! A fruit filling like a cherry pie or apple pie would be incredible, or this peach pie is my favorite right now!

Make sure you choose a pie with a thick and dense. You won’t want to top your cream or custard pie with lattice. Make a pie filling that will need to be baked in the oven with the filling already in it. Once you finish weaving the pie crust, you can brush it with heavy cream or an egg wash and cook the crust to the instructions of the pie filling!

Ingredients

You will want to follow your favorite pie crust recipe for the pie crust ingredients. Or you can buy a pre-made pie crust from the store. Then choose your favorite pie filling to top with your lattice pie crust.

  • Double Pie Crust: A double pie crust is enough pie dough to line the bottom of the 9 inch pie pan, as well as topping the pie with the woven lattice pie crust.
  • Filling of Your Choice: Any pie filling that needs to be baked in the oven will work for this lattice pie crust recipe.
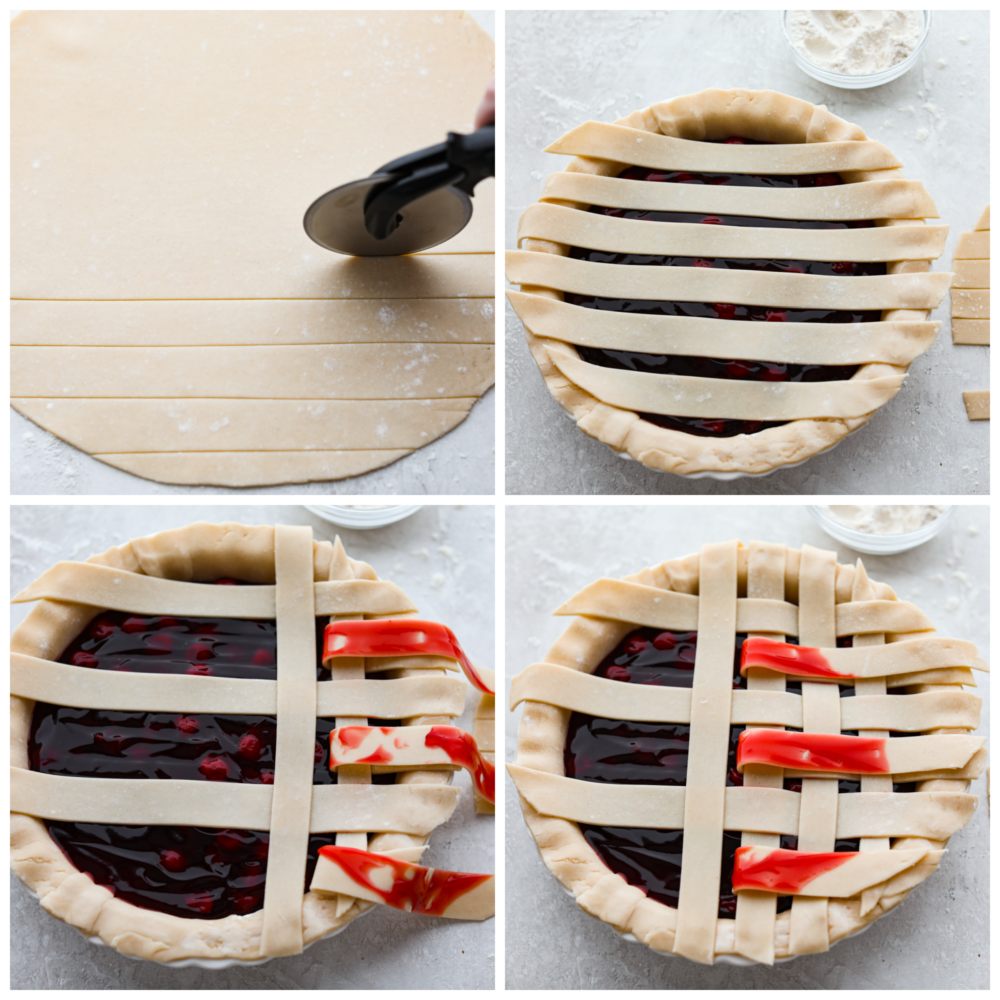
Process photos showing how to weave a pie crust into a lattice on top of a cherry pie.

How to Lattice Pie Crust

A lattice pie crust is the perfect topper to your favorite pie filling! It adds a beautiful layer of crispy flaky crust on top of your gooey pie filling. It’s also a great way to wow your guests at your next gathering!

Prepare the Dough

  1. Roll and Trim: Roll out the bottom portion of your pie crust and place it into your pie pan, trim the dough to fit the edges of your pan.
  2. Fill Crust: Fill your crust lined pie dish with your filling and set aside
  3. Roll Out: Roll out the top portion of your dough until the circle is slightly larger than your pie pan.
  4. Cut Strips: Using a pizza cutter or knife, cut your top crust into strips. You can make these strips as thick or thin as you want.

Weave the Lattice

  1. Lay Strips Horizontally: Take your cut out strips and lay them across the top of the filled pie, all laying the same way leaving a gap between each one. For this step you can use up to half of your strips to cover the pie in one direction. The amounts will vary depending on how thick your strips are, and how large of a gap you want on top of the pie.
  2. Weave Strips Vertically: Next, you will take the strips you’ve laid down on your pie. Working with every other one, fold them back to the edge of the pie. Then lay your first strip of dough down on top of the strips that haven’t been pulled back. Then place the other strips back where they were.
  3. Weave Strips: Working with the strips you previously left laying down, peel them back just far enough to lay the next crossways strip down. Once again lay the strips flat.
  4. Repeat: Continue the previous two instructions until your pie is fully latticed.
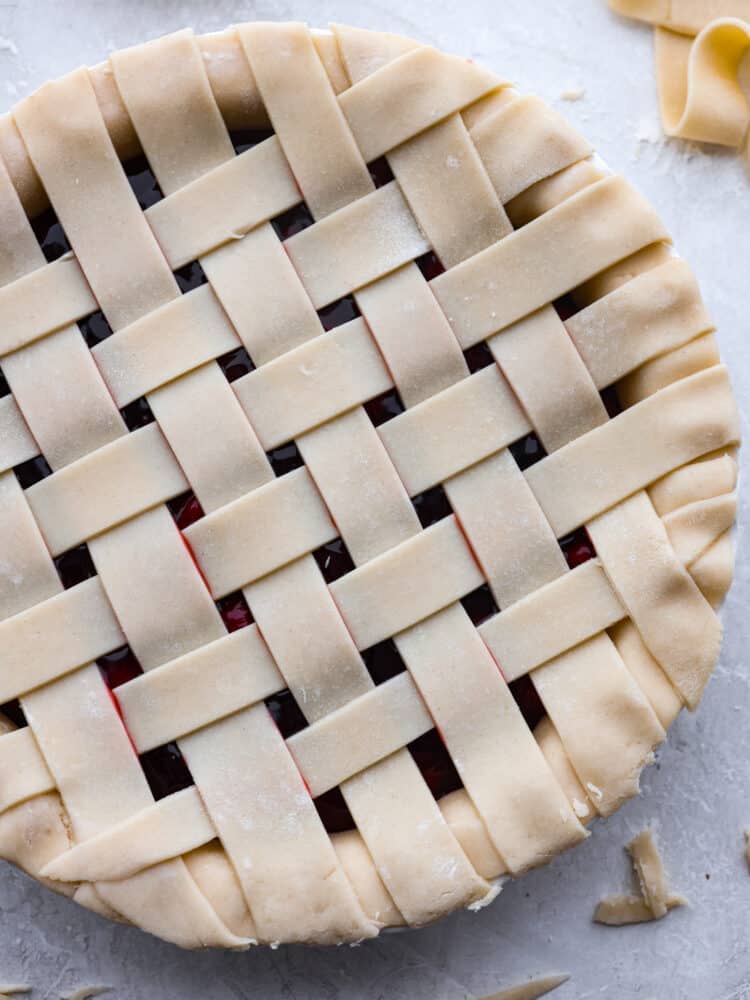
  5. Trim: Trim all the excess dough off the edge of the pan and press the dough slightly around the rim to secure it. You just made a lattice pie crust!

Tips for Making Pie Crust Lattice

Pie crust can be tricky to work with, but with these tips you will be a pro! You can use whatever pie crust recipe you like best, but these tips will apply to all of them when making the lattice pie crust.

  • Flouring Your Work Area: Resist the urge to over-flour your working surface. Flour just enough to keep the dough from sticking to your rolling pin and working surface. Too much flour will keep the dough from sealing to itself on the edges of the crust.
  • Types of Pies for Lattice: This technique is really only for a pie that requires a top crust. I wouldn’t recommend it for a pumpkin or pudding pie. Some ideas for the filling of this pie crust are this strawberry rhubarb pie, this triple berry pie, or this super yummy blueberry lattice pie.
  • Using the Shorter Strips: When placing the strips of dough on the pie I like to use the sizes that will align with the pie dish. For example, the shorter strips from the edges of the dough should be placed on the edges of the pie. The longer strips in the middle should be placed at the widest part of the pie.
Lattice pie crust woven on top of a cherry pie.

Storing Leftover Lattice Pie Crust

Once you have baked your pie, storage is really simple. Here are my tips for storing your leftover pie and lattice pie crust.

  • In the Refrigerator: Most pies can be stored in the refrigerator for up to 5 days. Make sure to follow the instructions on your pie filling recipe for the best result. If you are storing raw pie crust, then follow the storage instructions on the pie crust recipe.
Print

Lattice Pie Crust

A Lattice Pie Crust is visually stunning and the perfect way to finish an apple or cherry pie. This recipe will teach you how to weave strips of dough into a beautiful topper for your favorite pie, and it's easier than you think!
Course Dessert
Cuisine American
Keyword lattice pie crust, pie crust
Prep Time 20 minutes
Cook Time 0 minutes
Total Time 20 minutes
Servings 8
Calories 97kcal

Ingredients

  • 1 double pie crust
  • filling of your choice

Instructions

  • Roll out the bottom portion of your pie crust and place it into your pie pan, trim the dough to fit the edges of your pan.
  • Fill your crust lined pie dish with your filling and set aside
  • Roll out the top portion of your dough until the circle is slightly larger than your pie pan.
  • Using a pizza cutter or knife, cut your top crust into strips. You can make these strips as thick or thin as you want.
  • Take your cut out strips and lay them across the top of the filled pie, all laying the same way leaving a gap between each one. For this step you can use up to half of your strips to cover the pie in one direction, amounts will vary depending on how thick your strips are, and how large of a gap you want.
  • Next, you will take the strips you've laid down on your pie and working with every other one, fold them back to the edge of the pie. Lay your first strip of dough down on top of the strips that haven't been pulled back and then place the other strips back where they were. So half of the strips should be covered by the new one laying crossways, and half of them should be on top of it.
  • Working with the strips you previously left laying down, peel them back just far enough to lay the next crossways strip down, and once again lay the strips flat.
  • Continue the previous two instructions until your pie is fully latticed.
  • Trim all the excess dough off the edge of the pan and press the dough slightly around the rim to secure.

Nutrition

Calories: 97kcal | Carbohydrates: 10g | Protein: 1g | Fat: 6g | Saturated Fat: 2g | Polyunsaturated Fat: 1g | Monounsaturated Fat: 3g | Sodium: 87mg | Potassium: 21mg | Fiber: 1g | Vitamin A: 0.2IU | Calcium: 4mg | Iron: 1mg


source https://therecipecritic.com/lattice-pie-crust/
Share:

Copycat Chick-Fil-A Peppermint Milkshake

Chick-fil-A peppermint milkshakes are one of the best things about the holiday season, but they’re always gone too soon! Here’s how you can make this delicious peppermint shake at home with just a few simple ingredients.

Chick-fil-A is one of my favorite fast food restaurants. Can you blame me? From their mouthwatering waffle fries to frosted lemonade, everything on the menu is so delicious! Trying to recreate some of these classic menu items at home is so fun. You’ll have to try my copycat recipes for Chick-fil-A sauce, nuggets, lemonade, and their amazing peach shakes!

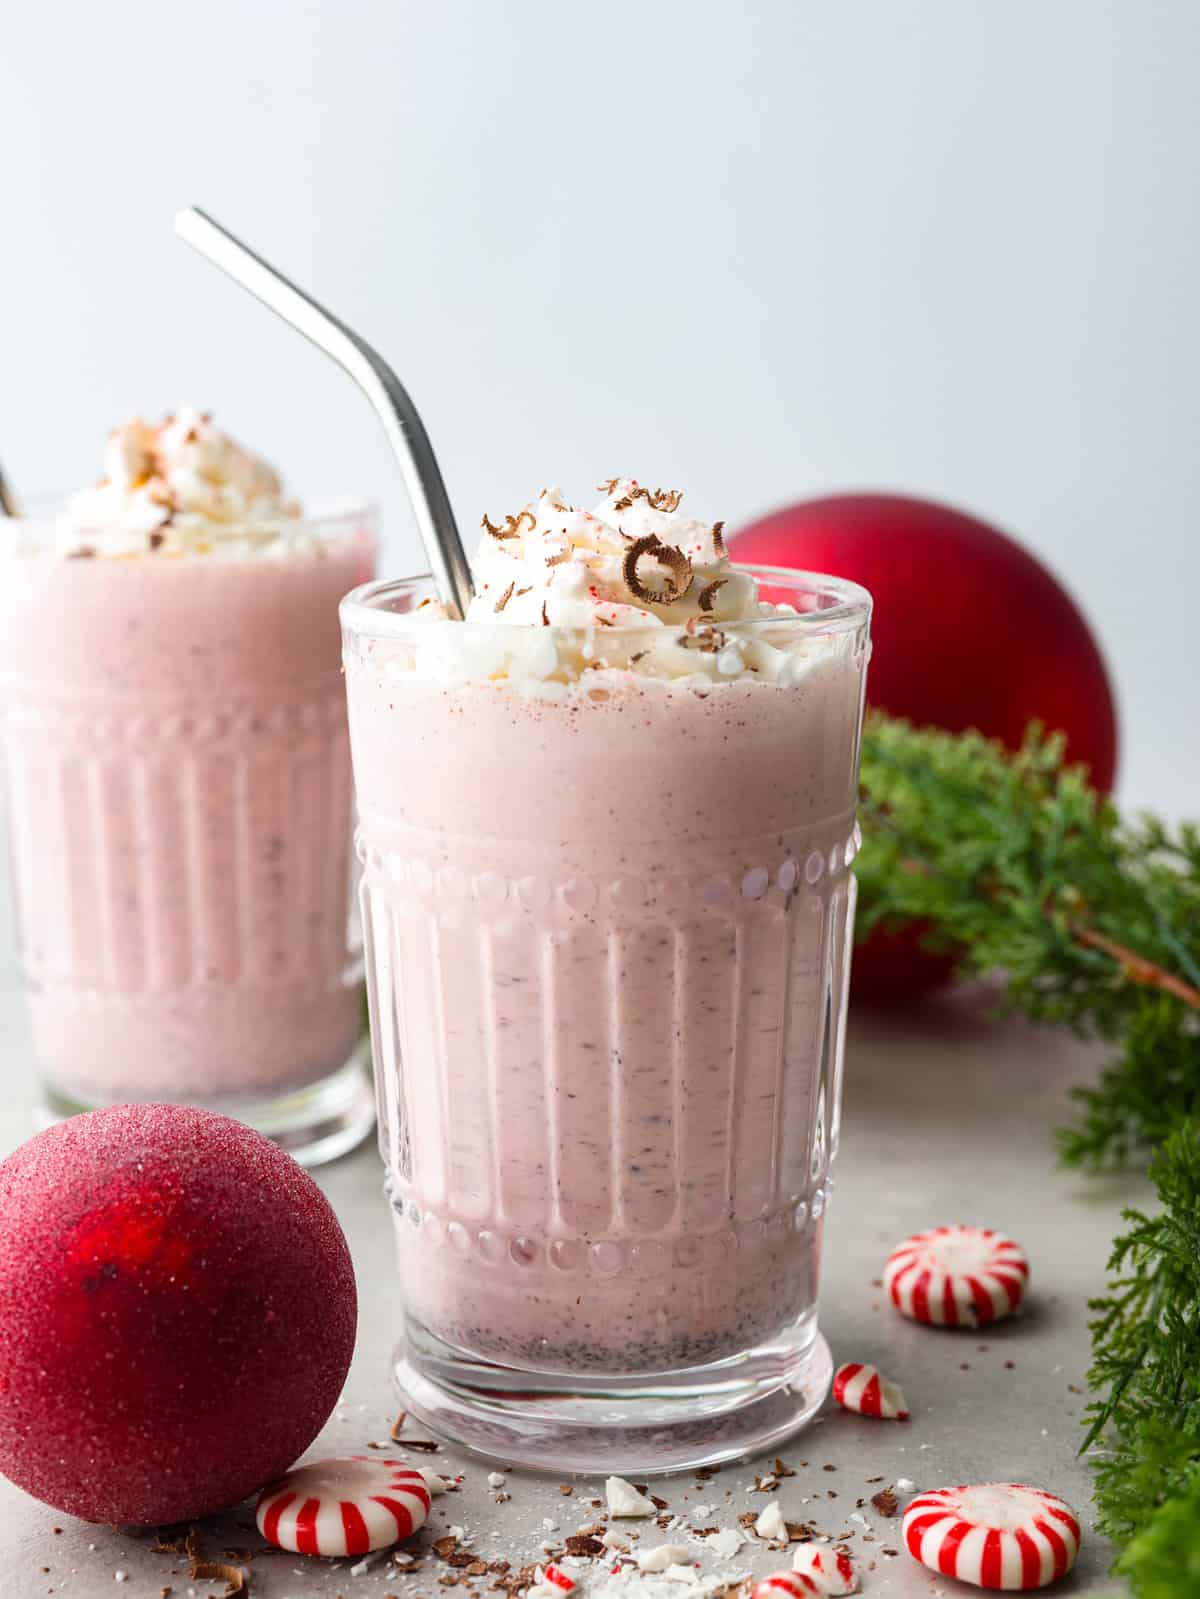
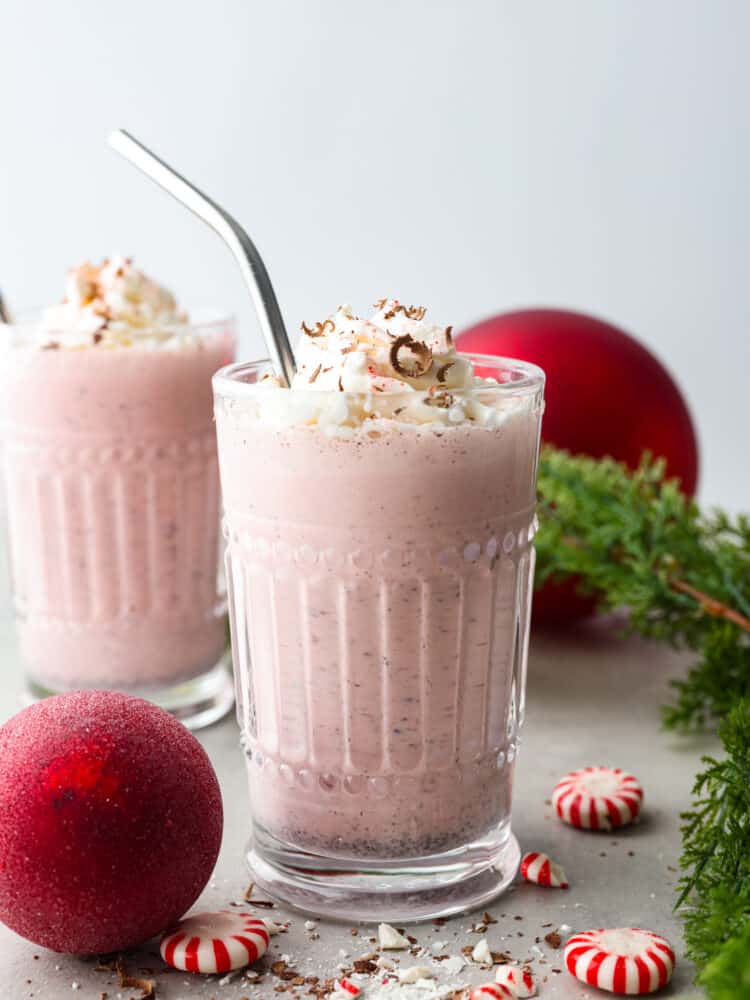
2 glasses of peppermint milkshakes surrounded by red Christmas ornaments and pine tree branches.

Chick-fil-A Peppermint Milkshake Recipe

Oh Chick-fil-A milkshakes, how I love you. There really isn’t anything better. They’re definitely my go-to when I’m craving something creamy and sweet! From November to January, their peppermint shake makes an appearance. Let me tell you, if you haven’t tried one of these bad boys yet, you need to. STAT.

Good news is, if your local Chick-fil-A has stopped selling their peppermint shakes, you can still easily make them at home! As much as I love Chick-fil-A’s shakes, I personally think they’re better made from scratch. This way, you can adjust the consistency and all the flavors to your liking! One sip of this creamy peppermint shake and you’ll be as obsessed as I am. By the way- if you love copycat recipes, you can find my full list of them here!

What Makes Chick-fil-A Milkshakes So Good?

Chick-fil-A uses a blend of soft serve ice cream and whole milk to make their milkshakes. Unless you happen to have a soft serve machine, using a high-fat, creamy vanilla ice cream for your shake is the perfect alternative. Their milkshakes are also handspun so they have the perfect thickness and density!

Milkshake Ingredients

I’m going to go ahead and say sorry to my diet in advance. If you want the creamiest peppermint milkshake possible, you’ll want to use high-fat ingredients here. See the recipe card below for exact measurements!

  • Vanilla Ice Cream: Look for vanilla ice cream made with whole milk and that has a high fat percentage. This will give your milkshake that classic Chick-fil-A goodness.
  • Whole Milk: Again, I recommend using whole milk so that your shake turns out rich and creamy.
  • Peppermint Extract: Peppermint extract can become overpowering pretty easily, so I recommend adding less at first and then adjusting to taste from there.
  • Vanilla: I recommend using pure vanilla extract for the best flavor!
  • Peppermint Candy: You can use crushed candy canes, peppermint bark, or peppermint candies for your shake.
  • Grated Dark Chocolate: For some tasty mint chip flavor! Dark chocolate chips also work.
  • Red Food Coloring: (Optional) Just a couple drops will give your shake the perfect pink color.
  • Whipped Cream: You’ve got to have some whipped cream on top! You can also add a maraschino cherry for that classic Chick-fil-A finishing touch.
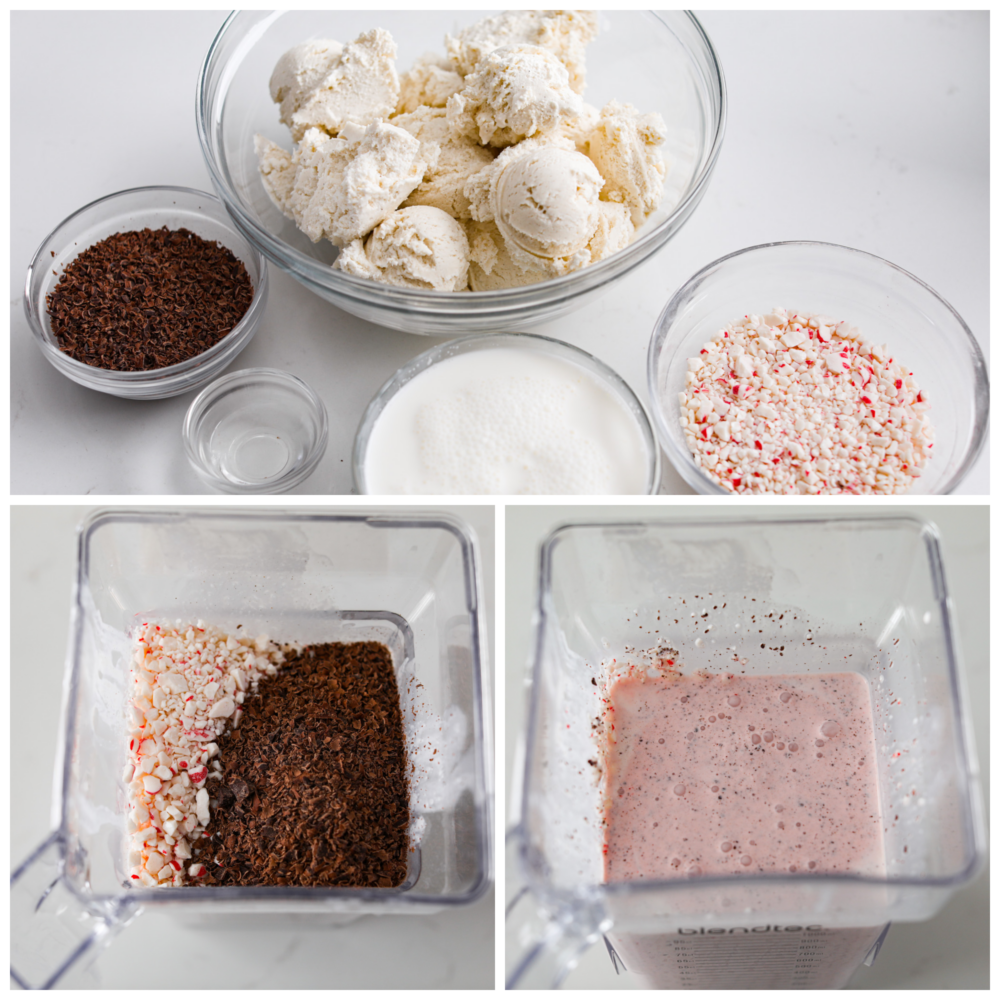
3-photo collage of ingredients being added to a blender.

How to Make a Copycat Chick-fil-A Peppermint Milkshake

It only takes a few minutes to make this delicious holiday beverage. I love surprising my family with it! It’s quickly becoming a new tradition for Christmas time. They can never get enough! It’s no surprise with how sweet, creamy, and delightfully minty it is. One sip and you’ll be hooked.

  1. Chop Peppermint Candies and Chocolate: In a blender or food processor, finely crush your peppermint candy or candy canes. In a small bowl grate your dark chocolate. Set aside.
  2. Blend Ice Cream, Milk, and Peppermint Extract: In your blender add ice cream, milk, and peppermint, blend until well combined. If you are adding the food coloring, then you can add it at this point.
  3. Add Peppermint Candy and Chocolate: Add in your crushed peppermints and dark chocolate, continue to blend until everything comes together.
  4. Enjoy: Pour into your favorite glass. Then garnish with some whipped cream and enjoy!

Why Did My Milkshake Turn Out Lumpy?

This usually happens because the ice cream you used was too hard/icy. I like to let my ice cream soften a little before I use it so everything mixes together smoothly!

A peppermint milkshake in a glass cup.

Tips and Serving Ideas

Making this peppermint milkshake is really as easy as it gets, but here are a couple of extra ways to customize yours! Honestly, it’s one of the best treats for the holiday season. Baked goods get a lot of love this time of year, but beverages need their time to shine!

  • Adjust Peppermint Flavor: You can add more or less peppermint extract depending on your taste. I love peppermint so I tend to add extra when making this for myself!
  • Adjust Consistency: If you want your milkshake to be thicker, don’t add ice! This can actually water it down. Instead, add a small scoop of ice cream at a time until you reach your desired thickness. To make it thinner, add a splash of milk!
  • Freeze Your Glasses: I like to put the glasses I will use for serving into the freezer about 30 minutes before making this recipe. This way, they are nice and frosty, ready to serve this delicious shake.

How Long Will My Milkshake Last?

This peppermint milkshake recipe is best made and enjoyed fresh, although you can keep it frozen in an airtight container. Thaw it out a little and give it a quick mix before serving.

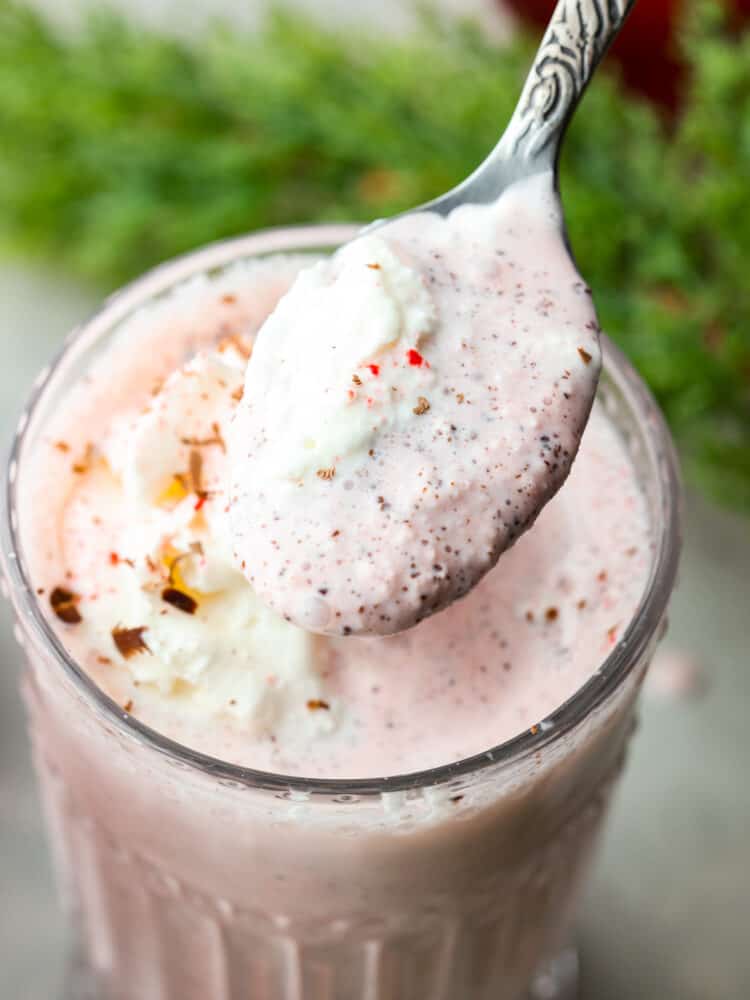
Closeup of a peppermint milkshake with a spoon scooping some out.
Print

Copycat Chick-Fil-A Peppermint Milkshake

Chick-fil-A peppermint milkshakes are one of the best things about the holiday season, but they're always gone too soon! Here's how you can make this delicious peppermint shake at home with just a few simple ingredients.
Course Beverage, Dessert
Cuisine American
Keyword copycat chick fil a, copycat chick-fil-a milkshake recipe, peppermint milkshake recipe
Prep Time 20 minutes
Total Time 20 minutes
Servings 4 people
Calories 1056kcal
Author Alyssa Rivers

Ingredients

  • 1 ½ quart vanilla ice cream
  • ⅓ cup whole milk
  • 1 ½ teaspoons peppermint extract
  • ½ teaspoon vanilla
  • 1 cup crushed peppermint candy or candy canes
  • ½ cup dark chocolate finely grated
  • 2 drops red food coloring optional
  • Whipped cream for garnish

Instructions

  • In a blender or food processor, finely crush your peppermint candy or candy canes. In a small bowl grate your dark chocolate, set aside.
  • In your blender add ice cream, milk, and peppermint, blend until well combined. If you are adding the food coloring, you can add it at this point.
  • Add in your crushed peppermints and dark chocolate, continue to blend until everything comes together.
  • Pour into your favorite glass, garnish with some whipped cream and enjoy!

Nutrition

Calories: 1056kcal | Carbohydrates: 135g | Protein: 15g | Fat: 49g | Saturated Fat: 30g | Polyunsaturated Fat: 2g | Monounsaturated Fat: 13g | Trans Fat: 0.01g | Cholesterol: 159mg | Sodium: 296mg | Potassium: 896mg | Fiber: 5g | Sugar: 110g | Vitamin A: 1536IU | Vitamin C: 2mg | Calcium: 495mg | Iron: 3mg


source https://therecipecritic.com/chick-fil-a-peppermint-milkshake-recipe/
Share:

Popular

Archive

Slider Tag

Facebook

Header Ads

Recent in Food

Blog Archive

Recent Posts

Unordered List

  • Lorem ipsum dolor sit amet, consectetuer adipiscing elit.
  • Aliquam tincidunt mauris eu risus.
  • Vestibulum auctor dapibus neque.

Pages

Theme Support

Need our help to upload or customize this blogger template? Contact me with details about the theme customization you need.