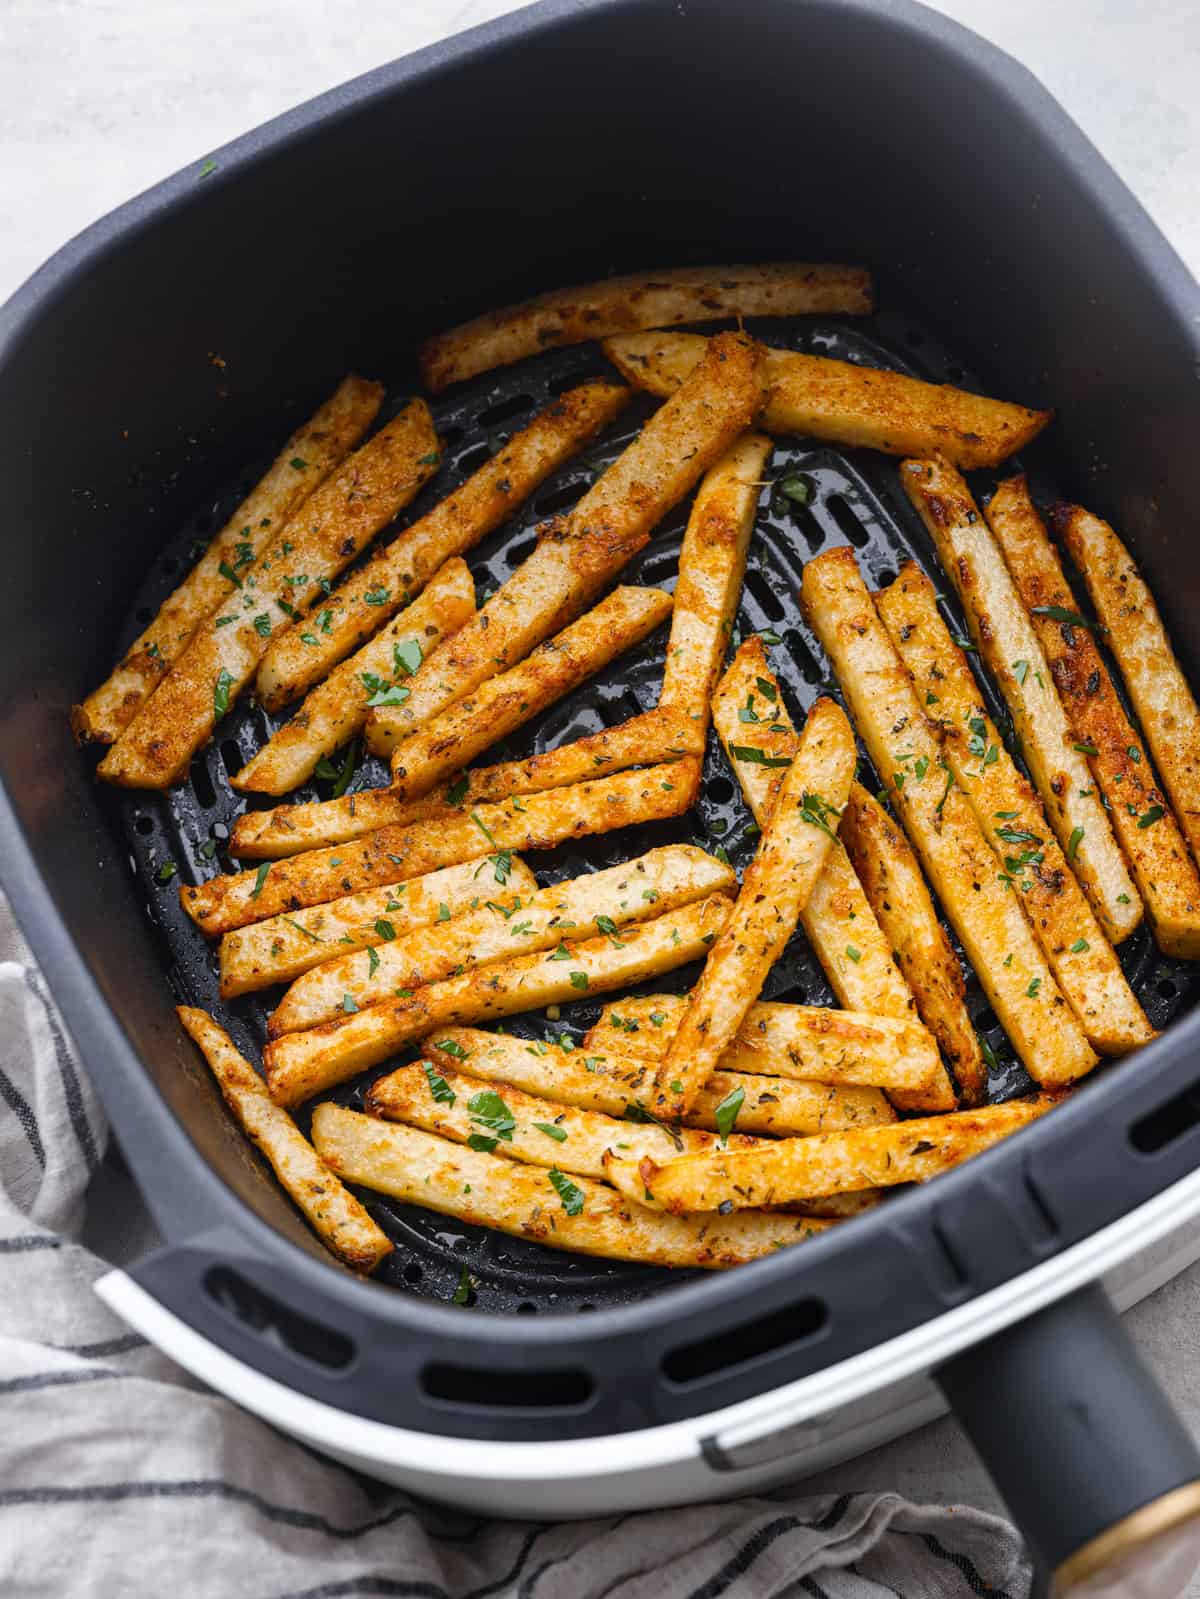
Air Fryer Jicama Fries

Crispy air fryer jicama fries are a surprisingly tasty and healthy alternative to fries. Enjoy seasoned low-carb fries that are both nutritious and delicious!

I am obsessed with my air fryer! I love using my air fryer to cook all of my vegetables. Anything from corn on the cob to zucchini to even using my air fryer to cook the best tender carrots. I highly recommend that you try them all out!
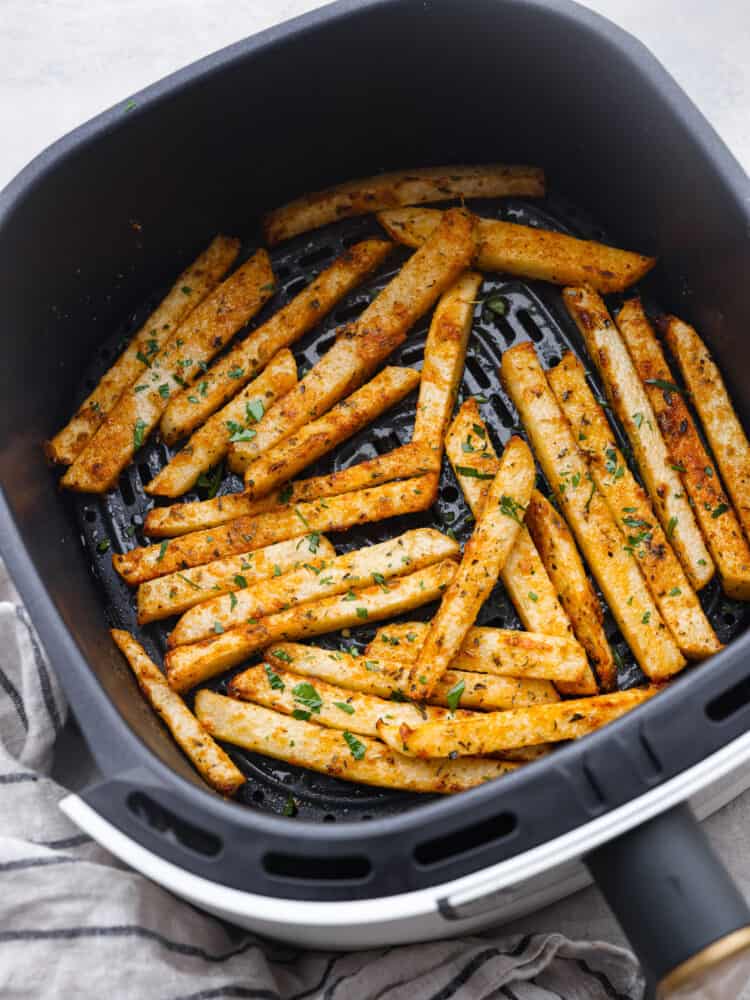
Top view of air fryer jicama cooked in an air fryer basket. A striped hand towel is next to the basket.

What Are Jicama Fries?

If you haven’t been properly introduced to jicama fries yet, then I am happy to be the first one to tell you about them! Jicama is a starchy root vegetable that has a similar texture to a potato. But it is even healthier, and because it’s so similar, jicama makes the best fries! You won’t be able to tell the difference. I like to cut them up and add flavorful seasonings and throw them in the air fryer, and you have yourself incredible jicama fries.

Fries are our favorite snack or side to any burger! We love fries so much at our house and always have fries in the freezer to throw into the air fryer whenever we want. Regular French fries are a must in the air fryer, but have you tried cooking up some frozen sweet potato fries? They are insanely delicious (plus they are easy)! And you absolutely cannot forget the waffle fries. They are excellent in the air fryer too!

Ingredients to Make Air Fryer Jicama Fries

I love this easy air fryer recipe! The best part about it is that you don’t have to sacrifice delicious for healthy. It’s simple and easy and a nice way to change things up! Follow the recipe card below for the exact ingredient list.

  • Jicama: Just one large jicama will do! Be sure to peel and slice it into sticks.
  • Olive Oil: Olive oil will help crisp up the fries and help the seasonings stick to the fries. Avocado oil would work too!
  • Garlic Powder: The flavor of garlic should be in every recipe!
  • Smoked Paprika: Smoked paprika has a smokier flavor than regular paprika, and I am here for it!
  • Italian Seasoning: The addition of added seasonings and herbs helps flavor the jicama perfectly.
  • Grated Parmesan: The salty flavor of parmesan is delicious on fries.
  • Salt and Pepper: Season to taste with salt and pepper.

How To Make Air Fryer Jicama Fries

Jicama is actually really healthy, so this recipe will make everyone happy… Parents and kids included! You will want to make these for all of your keto-friendly, vegan, and gluten-free friends.

  1. Soak Jicama Sticks: In a large bowl, add the jicama and fill with water until covered.
  2. Microwave Jicama Sticks: Microwave for 10 minutes or until tender. (You can also boil them for 5 minutes on the stove.)
  3. Drain and Dry: Strain and dry the jicama.
  4. Add oil and seasonings: Add them to a bowl with olive oil, garlic, paprika, Italian seasoning, parmesan, and salt and pepper.
  5. Cook in the Air Fryer: Put them in the air fryer basket and cook at 400 degrees Fahrenheit for 5 minutes.
  6. Shake and Continue to Cook: Shake the basket and cook another 5 minutes or until crispy.
  7. Enjoy: Serve with your favorite dipping sauce or ketchup.
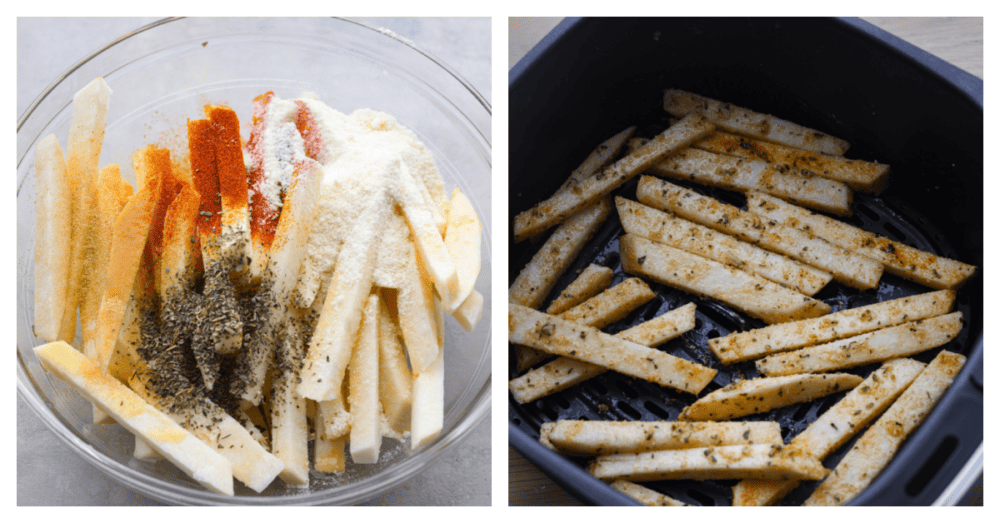
First photo is sliced jicama sticks in a large clear bowl. The seasonings and spices are sprinkled on top of the jicama. The second photo is the seasoned jicama scattered in the air fryer ready to be air fried.

Benefits Of Jicama

These air fryer jicama fries make a classic recipe so versatile! Jicama has a great neutral flavor and delicious texture. You definitely should add more jicama to your diet and into your recipes!

  • High in Fiber: Dietary fiber helps stool move more smoothly through your digestive tract.
  • Vitamin C:  Jicama is an excellent source of Vitamin C and Vitamin E, and it acts as an antioxidant in your body.
  • Healthy: Jicama is a root vegetable that is low in calories, so it’s a great option to choose when you’re craving those french fries!
  • Gut Healthy Food: Jicama contains a type of prebiotic fiber that is good for your gut.
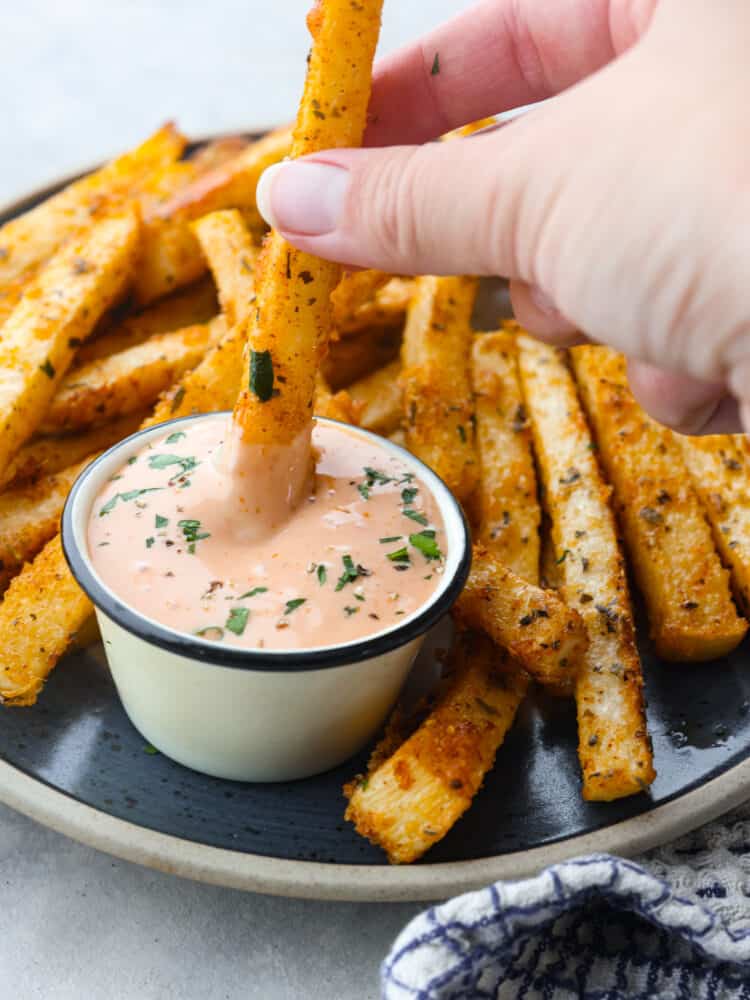
Close up view of a jicama fry being dipped into dipping sauce on a dark gray plate. The dip is garnished with fresh parsley, and a blue and white checkered towel is next to the plate.

Storing Leftovers

These air fryer jicama fries are always gone in an instant at my house, but if you’re lucky enough to have some leftover, here’s how to keep them tasting fresh and delicious! I also added some tips on reheating your jicama fries.

  • In the Refrigerator: Once cooled, place your zucchini fries in an airtight container or Ziploc bag. They’ll keep in the fridge for up to 3 days.
  • In the Freezer: You can freeze your jicama fries after they are baked. Wait for them to cool, then freeze fries in a single layer on a parchment-paper-lined baking sheet until solid. Transfer to a zip lock bag, remove excess air and return to the freezer. They can be kept in the freezer for 1 month.
  • Reheat: Reheat leftovers in the air fryer for best results. Alternatively, you can reheat them in the oven and bake them at 400 degrees Fahrenheit.
  • Cook from Frozen:  Air fry jicama fries until hot and crispy. You can do the same in the regular oven as well, but an air fryer is your best option for the job! It helps achieve that crispy French fry texture!
Print

Air Fryer Jicama Fries

Crispy air fryer jicama fries are a surprisingly tasty and healthy alternative to fries. Enjoy seasoned low-carb fries that are both nutritious and delicious!
Course Appetizer, Side Dish
Cuisine American
Keyword air fryer, jicama fries, low carb
Prep Time 10 minutes
10 minutes
Total Time 20 minutes
Servings 4
Calories 236kcal
Author Alyssa Rivers

Ingredients

  • 1 large jicama, peeled and sliced
  • 3 tablespoons olive oil
  • 1 teaspoon garlic
  • 1/2 teaspoon smoked paprika
  • 1 teaspoon Italian seasoning
  • 1/4 cup grated parmesan
  • Salt and pepper to taste

Instructions

  • In a large bowl add the jicama and fill with water until covered.
  • Microwave for 10 minutes or until tender. (You can also boil them for 5 minutes on the stove.)
  • Strain and dry the jicama.
  • Add them to a bowl with the olive oil, garlic, paprika, Italian seasoning, parmesan, and salt and pepper.
  • Put them in the air fryer basket and cook at 400 degrees Fahrenheit for 5 minutes.
  • Shake the basket and cook another 5 minutes or until crispy.
  • Serve with your favorite dipping sauce or ketchup.

Nutrition

Calories: 236kcal | Carbohydrates: 28g | Protein: 4g | Fat: 13g | Saturated Fat: 2g | Polyunsaturated Fat: 1g | Monounsaturated Fat: 8g | Cholesterol: 5mg | Sodium: 122mg | Potassium: 477mg | Fiber: 15g | Sugar: 5g | Vitamin A: 249IU | Vitamin C: 61mg | Calcium: 101mg | Iron: 2mg


source https://therecipecritic.com/air-fryer-jicama-fries/
Share:

Homemade Sorbet

Get ready for the most refreshing homemade sorbet that you have ever had with this perfect recipe! Silky smooth, packed full of flavor, and a delightful dessert for any occasion, this will knock your socks off!

I love a cool treat after a long day in the sun. Lucky for you, I have a few different recipes that you MUST try in order to beat the heat! My peach milkshake, this homemade ice cream in a bag, or this delicious frosted lemonade will do the trick!

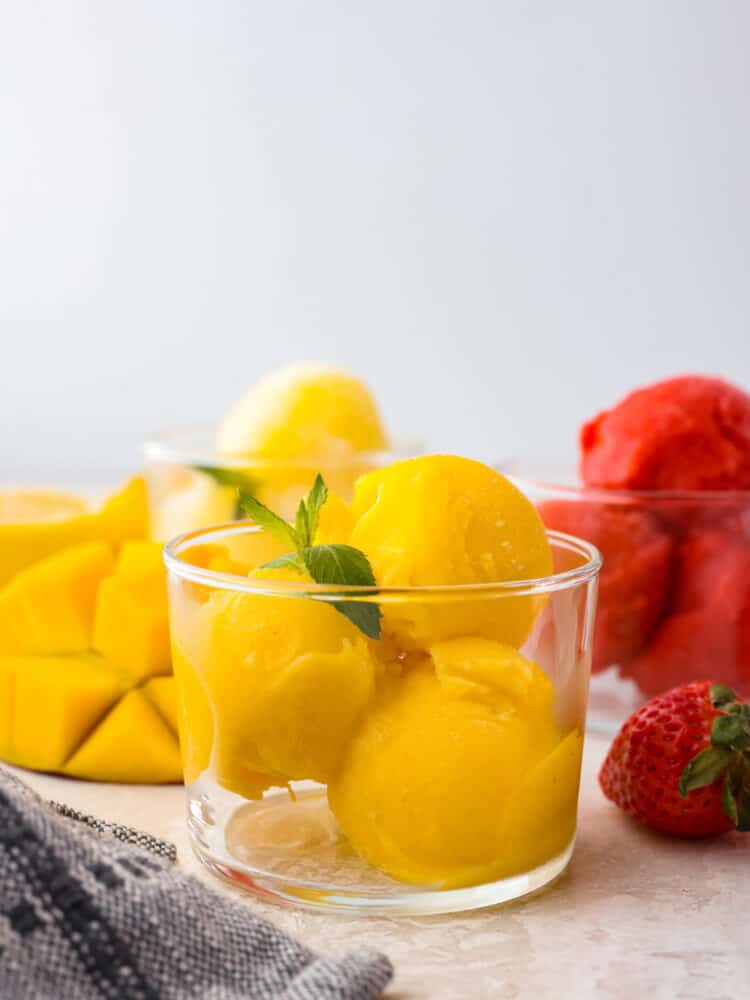
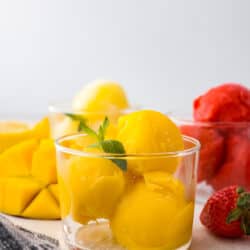
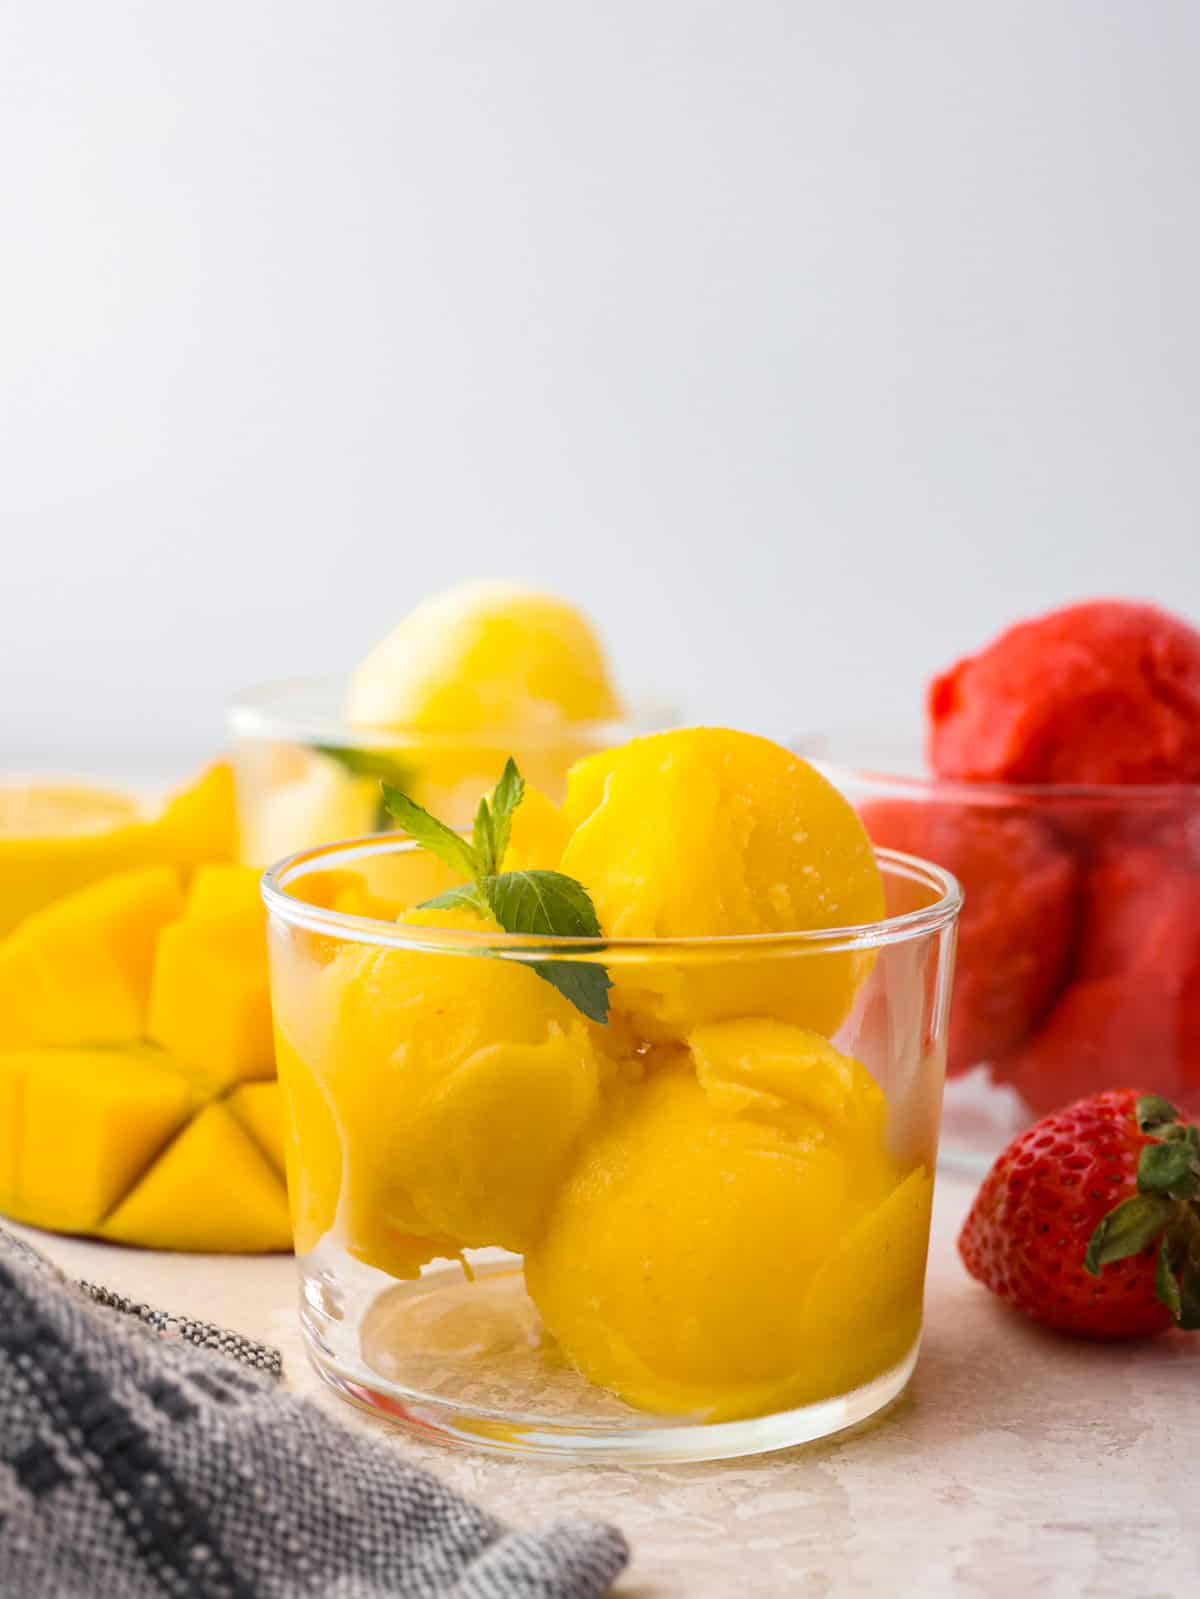
A glass cup with a few scoops of homemade mango sorbet with a mint leaf on top.

Easy Homemade Sorbet Recipe

There is something about a refreshing dessert on a hot summer day. The food always tastes better, and this sorbet is no exception. Not only does it look gorgeous with its stunningly bright colors but the taste… It’s going to blow you away! Plus, when you hear how simple this is to make, you are never going to want to buy this from the store again!

I chose to make 3 different flavors of this homemade sorbet (because my kids couldn’t pick just one!), and boy, I am so glad that I did! I made mango, strawberry, and lemon. You can make one or make them all. My particular favorite is adding them all to the same bowl and eating them together. It’s fruity, fresh, and a dessert that everyone will love. The texture is perfectly creamy and melts in your mouth. You won’t be able to stop yourself from having seconds!

Ingredients in Homemade Sorbet

Since I couldn’t just decide on one flavor, I made three! This works out for you because now you have a few more options to choose from! Check out the recipe card at the bottom of the post for exact measurements.

Strawberry Sorbet

  • Frozen Strawberries: Bring these straight out of the freezer. You don’t want them to thaw.
  • Simple Syrup: This is just like it sounds. a simple syrup. The ingredients and instructions are on the recipe card.
  • Lemon Juice: This mixes with the strawberries and doesn’t just add flavor but keeps it fresh.

Mango Sorbet

  • Frozen Mango: You can buy this in a bag at your local grocery store.
  • Simple Syrup: Made from sugar and water, this is what will sweeten up the sorbet.
  • Lemon Juice: Add some brightness to the lemon flavor.

Lemon Sorbet

  • Simple Syrup: You probably can tell by now that simple syrup is a must when making sorbet!
  • Lemon Juice: You will use a lot of lemon juice to achieve a good flavor. Don’t be afraid. It’s the perfect amount for this homemade sorbet!
  • Lemon Zest: You get that fresh lemon taste from lemon zest.

Simple Syrup

  • Granulated Sugar: This will act as the sweetener for the homemade sorbet.
  • Water: The water is mixed in with the sugar. Once blended with the fruit, this is what gives the homemade sorbet a creamy texture.
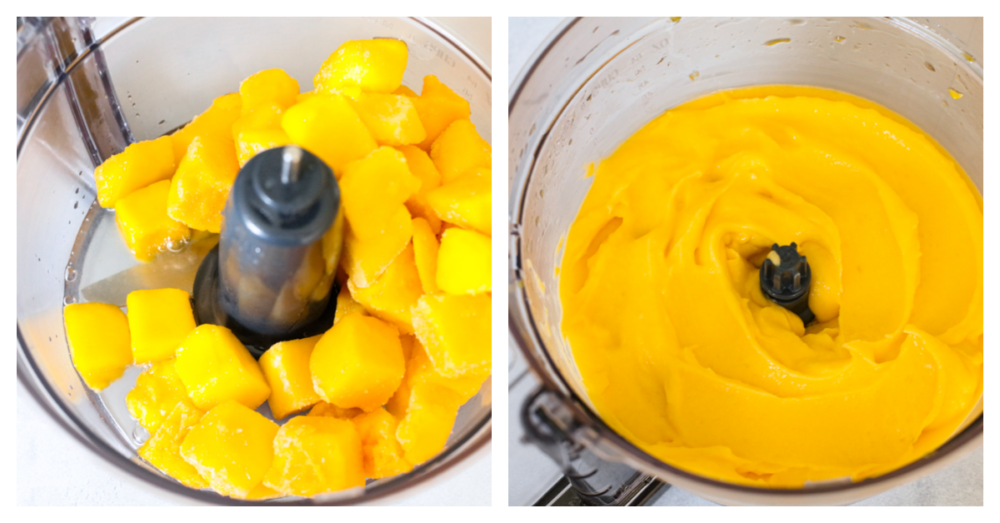
2 pictures of frozen mangos being pulsed in a blender.

How to Make Homemade Sorbet

Get ready to see just how easy this homemade sorbet is to make. Not only is it delicious, but it makes SO much! And has such a better taste than anything that you could get at the store or a restaurant. After all, fresh is best!

Simple Syrup

  1. Boil: Bring the water and sugar to a gentle boil in a medium saucepan. Reduce heat and simmer for 1-2 minutes until all the sugar has dissolved.
  2. Cool: Turn off the heat and let it cool completely. Store in an airtight container in the fridge until ready to prepare your homemade sorbets or for up to 1 month.
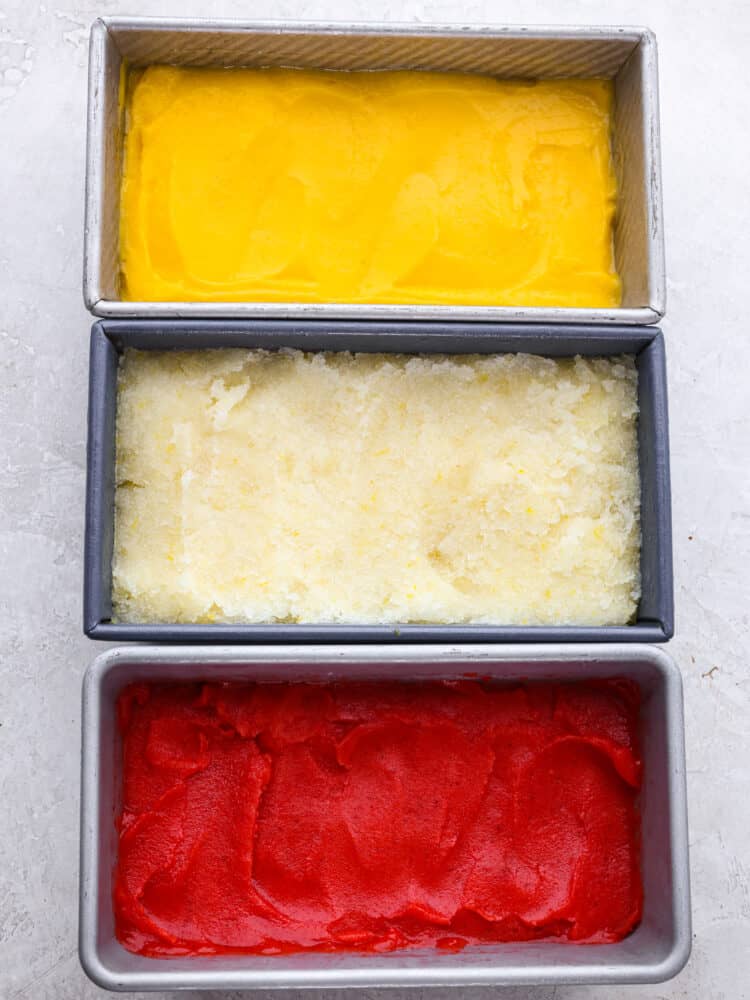
3 different flavors of homemade sorbet frozen in bread tins.

Strawberry Sorbet

  1. Pulse: Place the frozen strawberries, simple syrup, and lemon juice in a blender or food processor. Pulse to crush the fruit into pieces. Mix on high until smooth.
  2. Adjust with Lemon Juice: Taste and add more lemon juice or simple syrup as needed to adjust to your personal preference.
  3. Freeze: Transfer to a freezer-safe container (I prefer a 9×5 bread pan), cover, and freeze for 2-3 hours.
  4. Soften and Serve: When ready to serve, let sit at room temperature for 5-10 minutes to soften before scooping.

Mango Sorbet

  1. Pulse: Place the frozen mangos, simple syrup, and lemon juice in a blender or food processor. Pulse to crush the fruit into pieces. Mix on high until smooth.
  2. Adjust with Lemon Juice: Taste and add more lemon juice or simple syrup as needed to adjust to your personal preference.
  3. Freeze: Transfer to a freezer-safe container (I prefer a 9×5 bread pan), cover, and freeze for 2-3 hours.
  4. Soften and Serve: When ready to serve, let sit at room temperature for 5-10 minutes to soften before scooping.

Lemon Sorbet

  1. Whisk: Add the simple syrup, lemon juice, and lemon zest to a bowl and whisk together.
  2. Freeze: Transfer to a freezer-safe container (I prefer a 9×5 bread pan), cover, and freeze for 5-6 hours, removing it from the freezer and stirring with a fork every thirty minutes for the first 3 hours to help give the sorbet a lighter texture.
  3. Soften and Serve: When ready to serve, let sit at room temperature for 5-10 minutes to soften before scooping.
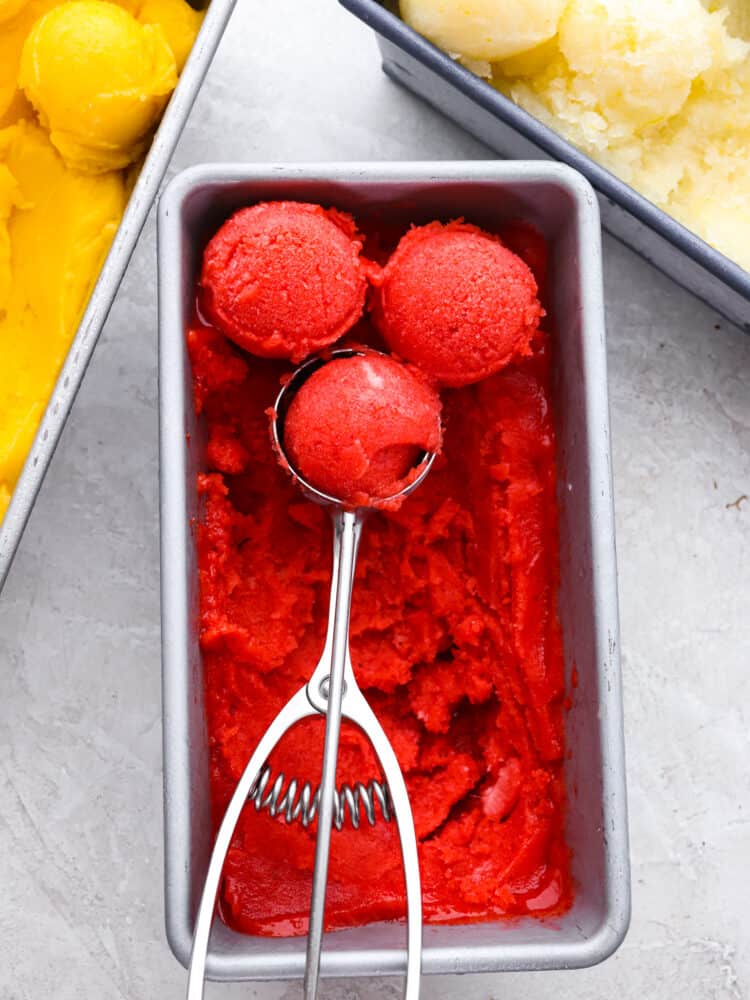
The top vew of strawberry sorbet in a bread pan with a scoop scooping out the sorbet.

Variations

This homemade sorbet is delicious and easy! There are a few things that you may want to try to make it turn out perfectly for you!

  • Change up the flavor: The fruit in this recipe can be replaced with whatever frozen fruit you want to use. I love any kind of berries (but especially raspberries), lime, peach, or even watermelon! The amount of simple syrup and lemon juice may need to be adjusted to make up for different fruit’s sweetness or tartness. 
  • Fresh fruit MUST be frozen before using: When using fresh fruit, place sliced fruit on a parchment-lined baking sheet and freeze overnight before using in this recipe. Reduce the simple syrup to ¼-⅓ cup.
  • Try different citrus: The lemon sorbet can be adjusted for any other citrus, though sweeter citrus (like oranges) will require more juice and less simple syrup to avoid being too sweet. 
  • Don’t leave out the simple syrup: The simple syrup can be reduced in any recipe to cut the sweetness, but avoid eliminating it completely. The simple syrup has a lower freezing point than water or fruit, which helps the sorbet have a soft, silky smooth texture when you are ready to scoop it. 
  • Make the syrup ahead of time: The simple syrup can be made in smaller or larger batches, with equal parts water and sugar. It can be stored for up to a month in the fridge. 
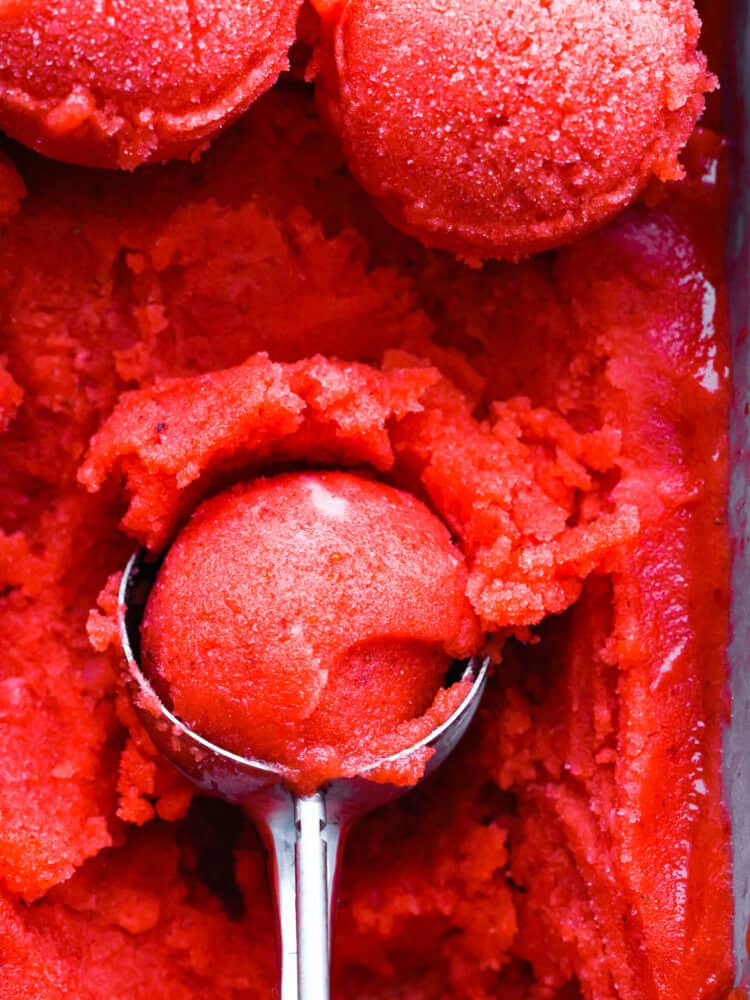
A closup of the strawberry sorbet in a scoop.

How to Store Leftover Homemade Sorbet

You can easily store any leftover sorbet and enjoy it all month long! Keep your homemade sorbet in the freezer in an airtight container. Make sure that you are putting it on a shelf in the freezer and not the door. If you store it in the door, then it can get ice crystals because the temperature there is not consistent (because it gets opened and closed often). Your sorbet will last in your freezer for about one month.

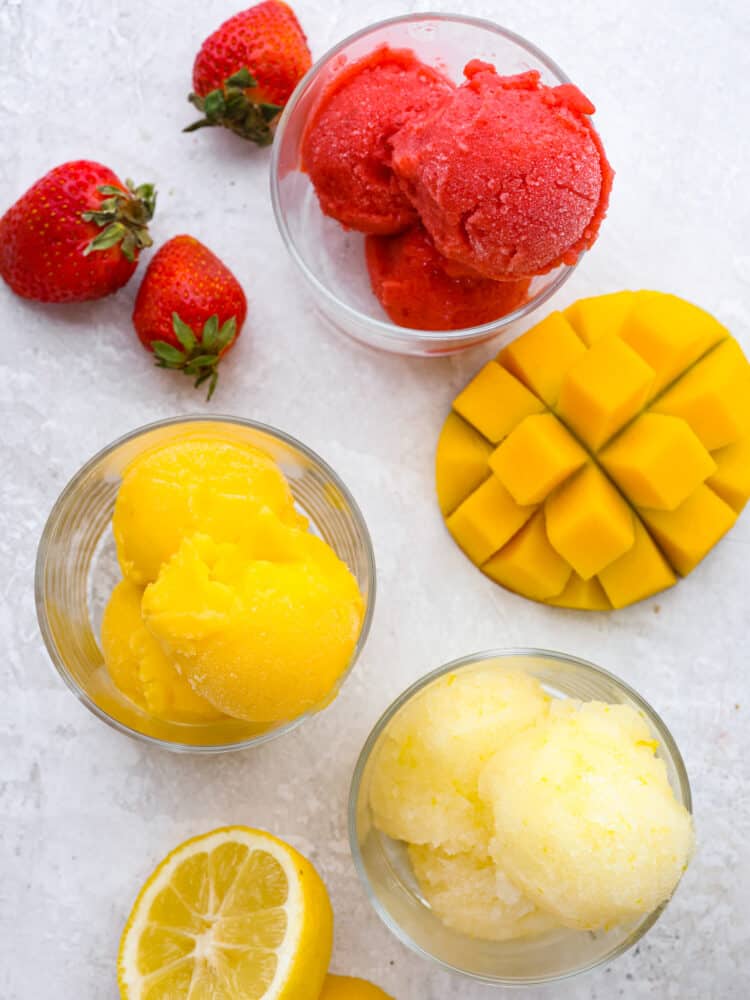
The topview of strawberry sorbet, lemon sorbet and mango sorbet scooped in glass cups.
Print

Homemade Sorbet

Get ready for the most refreshing homemade sorbet that you have ever had with this perfect recipe! Silky smooth, packed full of flavor, and a delightful dessert for any occasion, this will knock your socks off! 
Prep Time 15 minutes
Chill Time 6 hours
Total Time 6 hours 15 minutes
Servings 5 Servings Per Flavor
Calories 337kcal
Author Alyssa Rivers

Ingredients

Strawberry Sorbet

  • 16 ounces frozen strawberries
  • ½ cup simple syrup
  • 2 tablespoons lemon juice

Mango Sorbet

  • 16 ounces frozen mango
  • ½ cup simple syrup
  • 1 tablespoon lemon juice

Lemon Sorbet

  • 2 cups simple syrup
  • 2 cups lemon juice
  • 2 tablespoons lemon zest

Simple Syrup

  • 2 ⅓ cups granulated sugar
  • 2 ⅓ cups water

Instructions

Simple Syrup

  • Bring the water and sugar to a gentle boil in a medium saucepan. Reduce heat and simmer for 1-2 minutes, until all the sugar has dissolved.
  • Turn off the heat and let cool completely. Store in an airtight container in the fridge until ready to prepare your sorbets, or up to 1 month.

Strawberry Sorbet

  • Place the frozen strawberries, simple syrup, and lemon juice in a blender or food processor. Pulse to crush the fruit into pieces. Mix on high until smooth.
  • Taste and add more lemon juice or simple syrup as needed to adjust to your personal preference.
  • Transfer to a freezer-safe container (I prefer a 9×5 bread pan), cover and freeze for 2-3 hours.
  • When ready to serve, let sit at room temperature for 5-10 minutes to soften before scooping.

Mango Sorbet

  • Place the frozen mangos, simple syrup, and lemon juice in a blender or food processor. Pulse to crush the fruit into pieces. Mix on high until smooth.
  • Taste and add more lemon juice or simple syrup as needed to adjust to your personal preference.
  • Transfer to a freezer-safe container (I prefer a 9×5 bread pan), cover and freeze for 2-3 hours.
  • When ready to serve, let sit at room temperature for 5-10 minutes to soften before scooping.

Lemon Sorbet

  • Add the simple syrup, lemon juice, and lemon zest to a bowl and whisk together.
  • Transfer to a freezer-safe container (I prefer a 9×5 bread pan), cover and freeze for 5-6 hours, removing it from the freezer and stirring with a fork every thirty minutes for the first 3 hours to help give the sorbet a lighter texture.
  • When ready to serve, let sit at room temperature for 5-10 minutes to soften before scooping.

Nutrition

Calories: 337kcal | Carbohydrates: 90g | Protein: 1g | Fat: 0.4g | Saturated Fat: 0.05g | Polyunsaturated Fat: 0.1g | Monounsaturated Fat: 0.1g | Sodium: 42mg | Potassium: 178mg | Fiber: 1g | Sugar: 87g | Vitamin A: 333IU | Vitamin C: 44mg | Calcium: 22mg | Iron: 3mg


source https://therecipecritic.com/homemade-sorbet/
Share:

Chicken Souvlaki

Making homemade chicken souvlaki is the best way to bring the flavors of Greek street food straight to your kitchen! These chicken skewers are juicy and coated with an amazing herb marinade.

Chicken skewers are the best summer snack! They’re easy to put together and everybody loves them! To take your summer barbecues to the next level, try yakitori, Thai chicken skewers, or these grilled Hawaiian teriyaki chicken skewers!

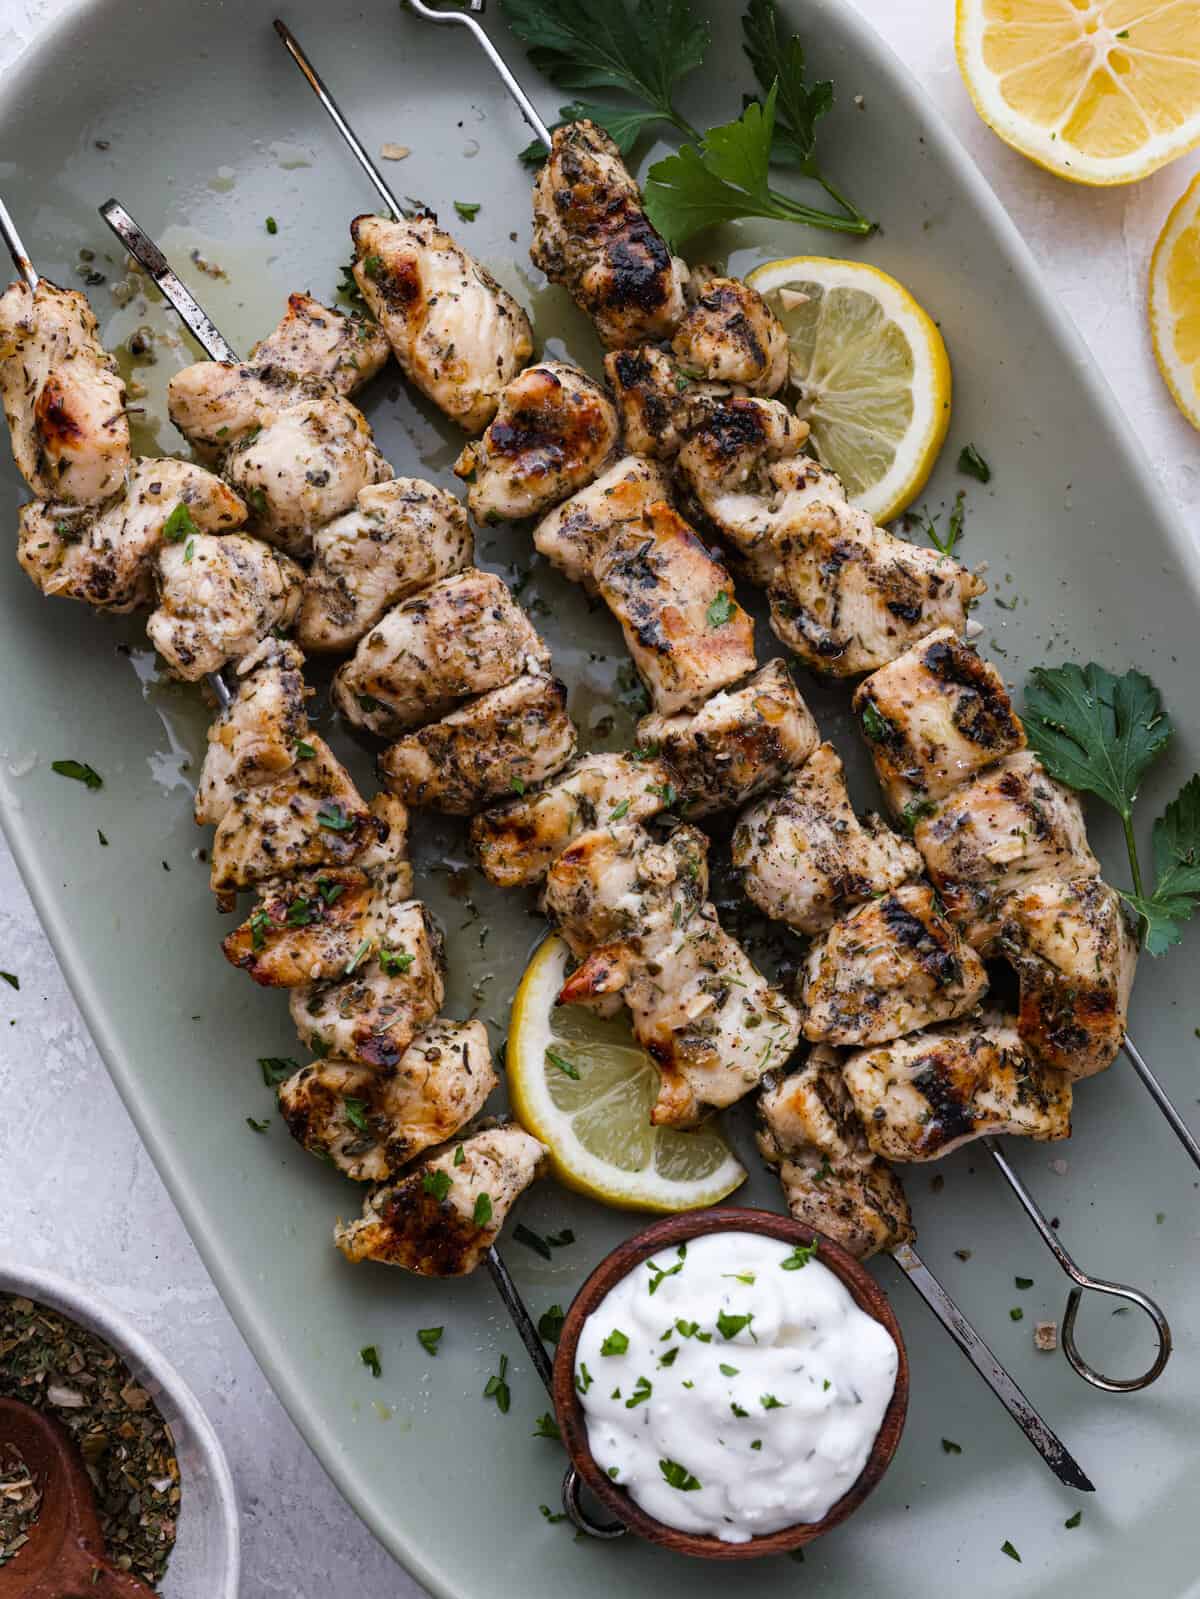
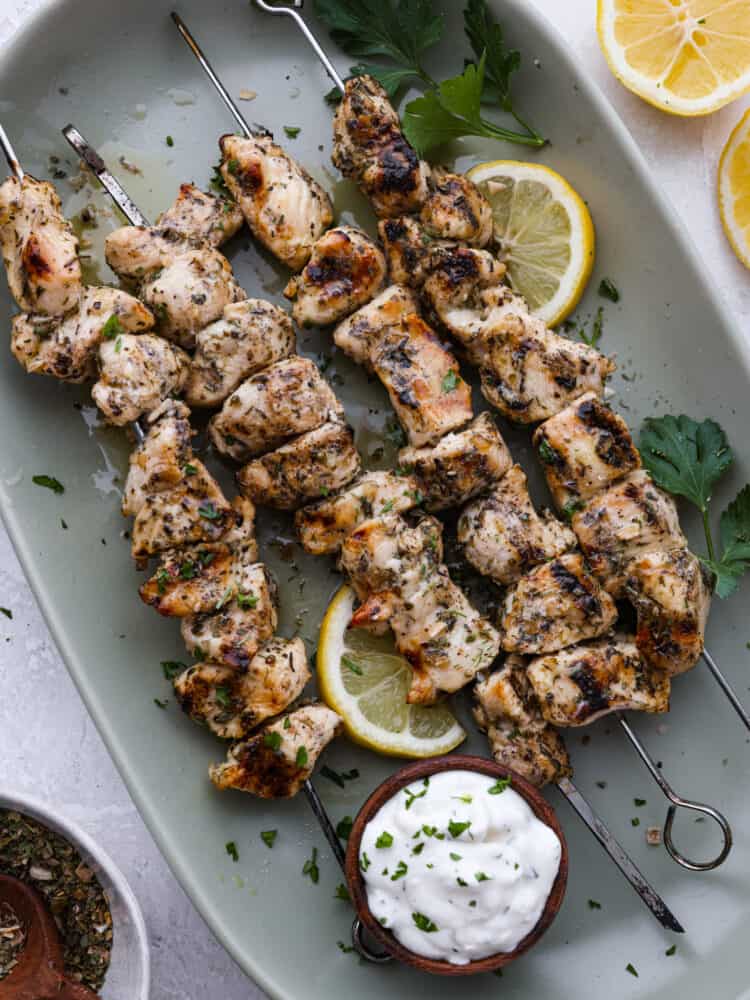
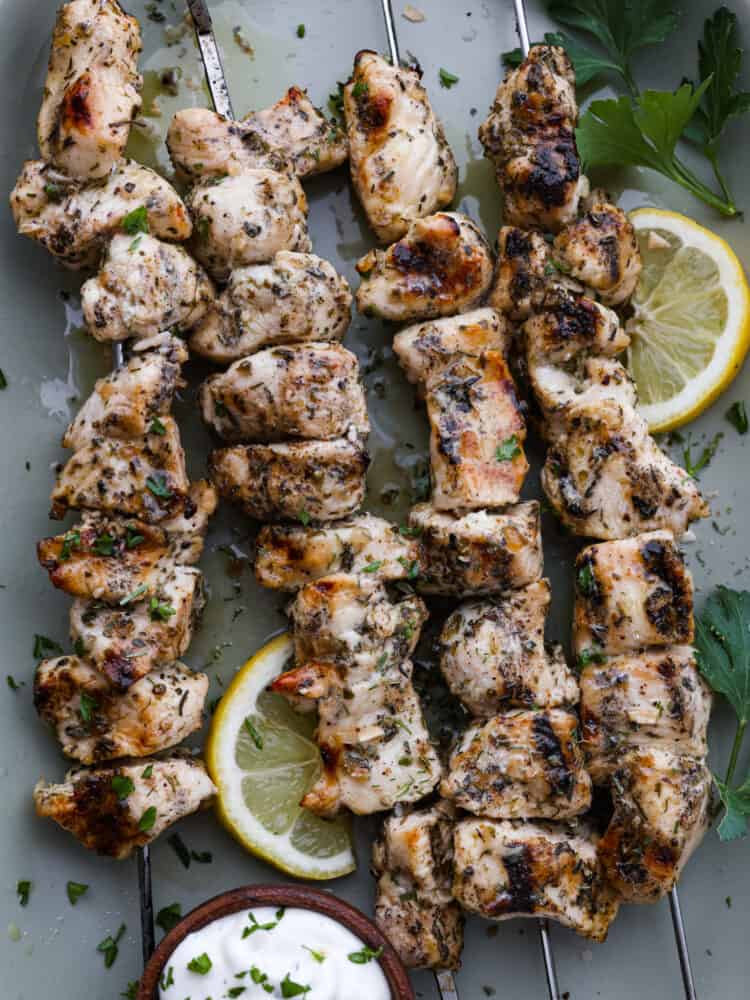
Top-down view of chicken souvlaki in a white dish, garnished with lemons.

Amazing Homemade Chicken Souvlaki

Souvlaki is a popular Greek street food consisting of chicken, beef, or lamb that is grilled and skewered. (Souvlaki translates to ‘small skewer!’) Today we’re making chicken souvlaki- tender pieces of chicken marinated with garlic and herbs and grilled to perfection! Chicken souvlaki is a summer staple and you’re going to love having them around to munch on! This has been a favorite at my family’s summer barbecues and I can’t wait for you to try them!

Perfect for all of you busy moms out there, these skewers are super easy to make! You only need a handful of simple ingredients to make them! They turn out so juicy and amazing every time, this recipe is foolproof. You can eat your chicken on a skewer or serve it on naan or pita bread! It’s delicious both ways! No matter how you choose to enjoy your souvlaki, I promise it’s going to be a hit at your next get-together.

Ingredients You’ll Need

No fancy ingredient list here! These delicious chicken skewers come together easily with pantry staples. Measurements for each ingredient can be found below in the recipe card.

  • Boneless Chicken Breasts: You’ll want these to be cut into 1-inch chunks.
  • Garlic: Minced garlic adds the best savory flavor to these skewers!
  • Olive Oil: Helps all of the delicious seasonings coat the chicken perfectly. I used extra-virgin olive oil!
  • Lemon Juice: Fresh is best!
  • Greek Seasoning: This is a blend of simple herbs that you probably already have in your pantry. Find my full recipe for Greek seasoning here!

How to Make Chicken Souvlaki

This recipe does need plenty of time to marinate, but it cooks up in minutes! I like to let my chicken marinate overnight so it’s ready to go the next day (and also packed with flavor!)

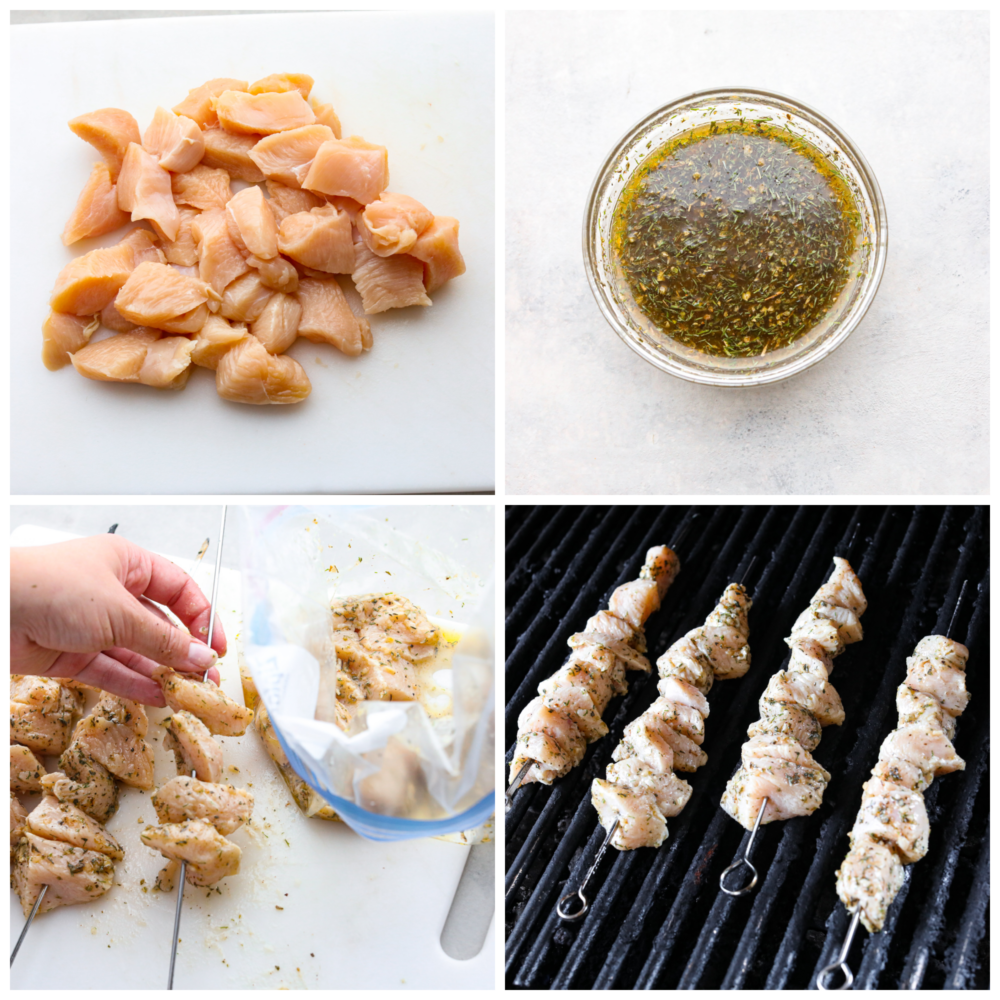
  1. Chicken Marinade: For the marinade, combine the olive oil, garlic, lemon juice, and Greek seasoning in a small bowl. Whisk marinade ingredients together to combine.
  2. Marinate: Place the chicken and marinade in a sealable plastic bag and shake to ensure the marinade is covering the chicken. Marinate in the refrigerator for at least 2 hours or overnight.
  3. Add to Skewers: Thread chicken onto skewers and throw away the remaining marinade. Grill on an outdoor grill or grill pan for about 5 minutes on each side. Grill until thoroughly cooked to 165° Farhenheit. Serve warm!
  4. Serve: Serve chicken souvlaki with a side of tzatziki sauce for dipping, with a delicious Greek salad, or as the meat in a gyro.
4-photo collage of chicken skewers being assembled and marinated.

Tips for Chicken Souvlaki

Here are a few extra ways to perfect your chicken souvlaki! You’re going to want them at every family barbecue.

  • Prep Skewers:  If you don’t have metal skewers, wooden skewers work as well! Soaking the wooden skewers helps to prevent the wood from getting charred and black. Place them in a large baking dish or roasting pan and cover them with water by at least ½ inch. Soak the skewers for about an hour. Make sure to dry them off before skewering on the meat.
  • Use a Meat Thermometer: The best way to make sure you don’t overcook your chicken is by checking the internal temperature. Once internal temperatures reach 165 degrees Fahrenheit, take your chicken off the grill. If you cook it any more than that, it may become dry.
  • Let Your Chicken Rest: The key to juicy chicken is to let it sit for a few minutes after you remove it from the grill. This allows all of the delicious juices to reabsorb.
Closeup of 4 chicken skewers.

Storing Leftovers

You can store your leftover chicken souvlaki for up to 4 days in an airtight container in the fridge. When you reheat it, make sure internal temperatures reach 165 degrees Fahrenheit before serving. This chicken is great for eating as-is, serving over rice, or adding to salads or wraps!

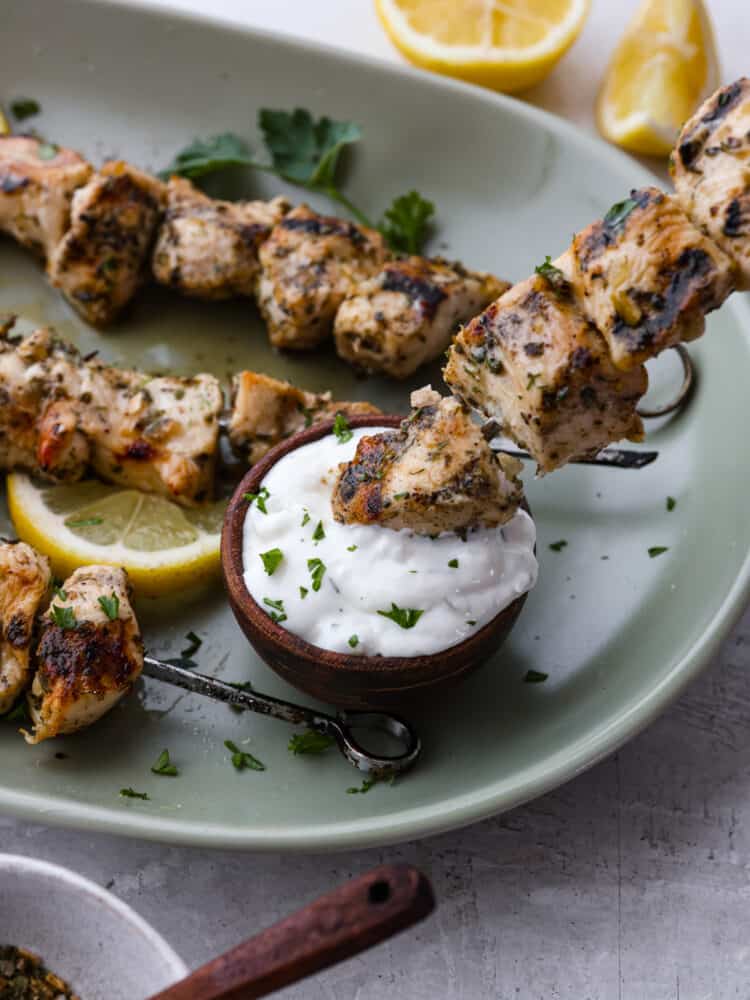
Closeup of chicken souvlaki being dipped in sauce.
Print

Chicken Souvlaki

Making homemade chicken souvlaki is the best way to bring the flavors of Greek street food straight to your kitchen! These chicken skewers are juicy and coated with an amazing herb marinade.
Course Dinner
Cuisine Greek
Keyword gluten free, Healthy
Prep Time 10 minutes
Cook Time 10 minutes
Marinate Time 2 hours
Total Time 2 hours 20 minutes
Servings 6
Calories 198kcal
Author Alyssa Rivers

Ingredients

  • 1 1/2 lbs. boneless skinless chicken breast, cut into 1" chunks
  • 2 teaspoons garlic, minced
  • 3 tablespoons extra virgin olive oil
  • 1 lemon, juiced (2 tablespoons)
  • 2 tablespoons Greek seasoning

Instructions

  • For the marinade, combine the olive oil, garlic, lemon juice, and Greek seasoning in a small bowl. Whisk together to combine.
  • Place the chicken and marinade in a sealable plastic bag and shake to ensure the marinade is covering chicken. Marinate in the refrigerator for at least 2 hours or overnight.
  • Thread chicken onto skewers and throw away the remaining marinade. Grill on an outdoor grill or grill pan for about 5 minutes on each side. Grill until thoroughly cooked to 165° Farhenheit. Serve warm!
  • Serve chicken souvlaki with a side of tzatziki sauce for dipping, with a delicious Greek salad, or as the meat in a gyro.

Nutrition

Calories: 198kcal | Carbohydrates: 2g | Protein: 24g | Fat: 10g | Saturated Fat: 2g | Polyunsaturated Fat: 1g | Monounsaturated Fat: 6g | Trans Fat: 0.01g | Cholesterol: 73mg | Sodium: 132mg | Potassium: 448mg | Fiber: 1g | Sugar: 0.5g | Vitamin A: 38IU | Vitamin C: 11mg | Calcium: 12mg | Iron: 1mg


source https://therecipecritic.com/chicken-souvlaki/
Share:

Popular

Archive

Slider Tag

Facebook

Header Ads

Recent in Food

Blog Archive

Recent Posts

Unordered List

  • Lorem ipsum dolor sit amet, consectetuer adipiscing elit.
  • Aliquam tincidunt mauris eu risus.
  • Vestibulum auctor dapibus neque.

Pages

Theme Support

Need our help to upload or customize this blogger template? Contact me with details about the theme customization you need.