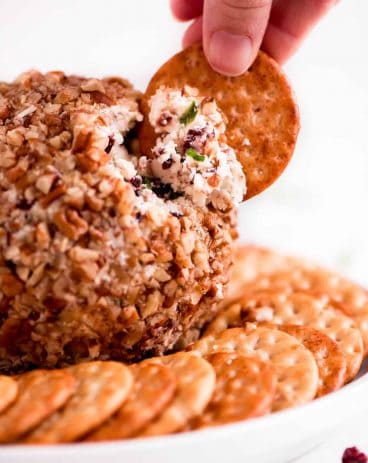
Jalapeño Bacon Cheese Ball

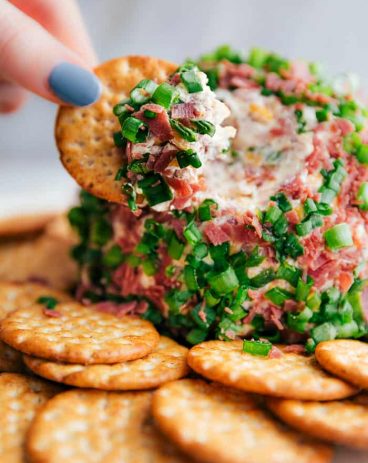
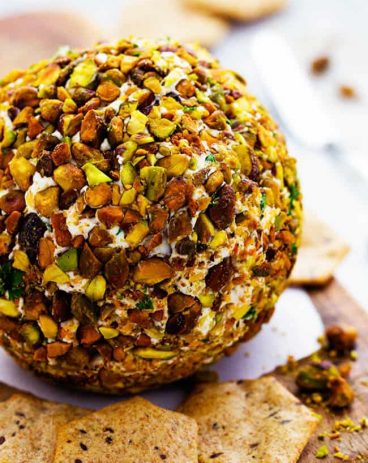
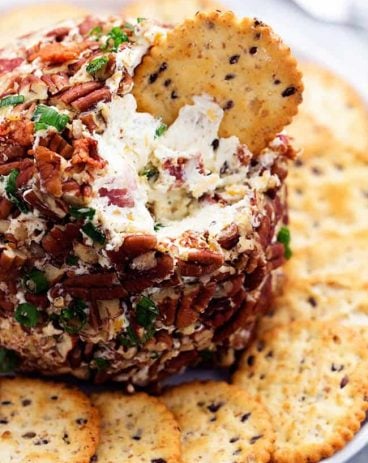
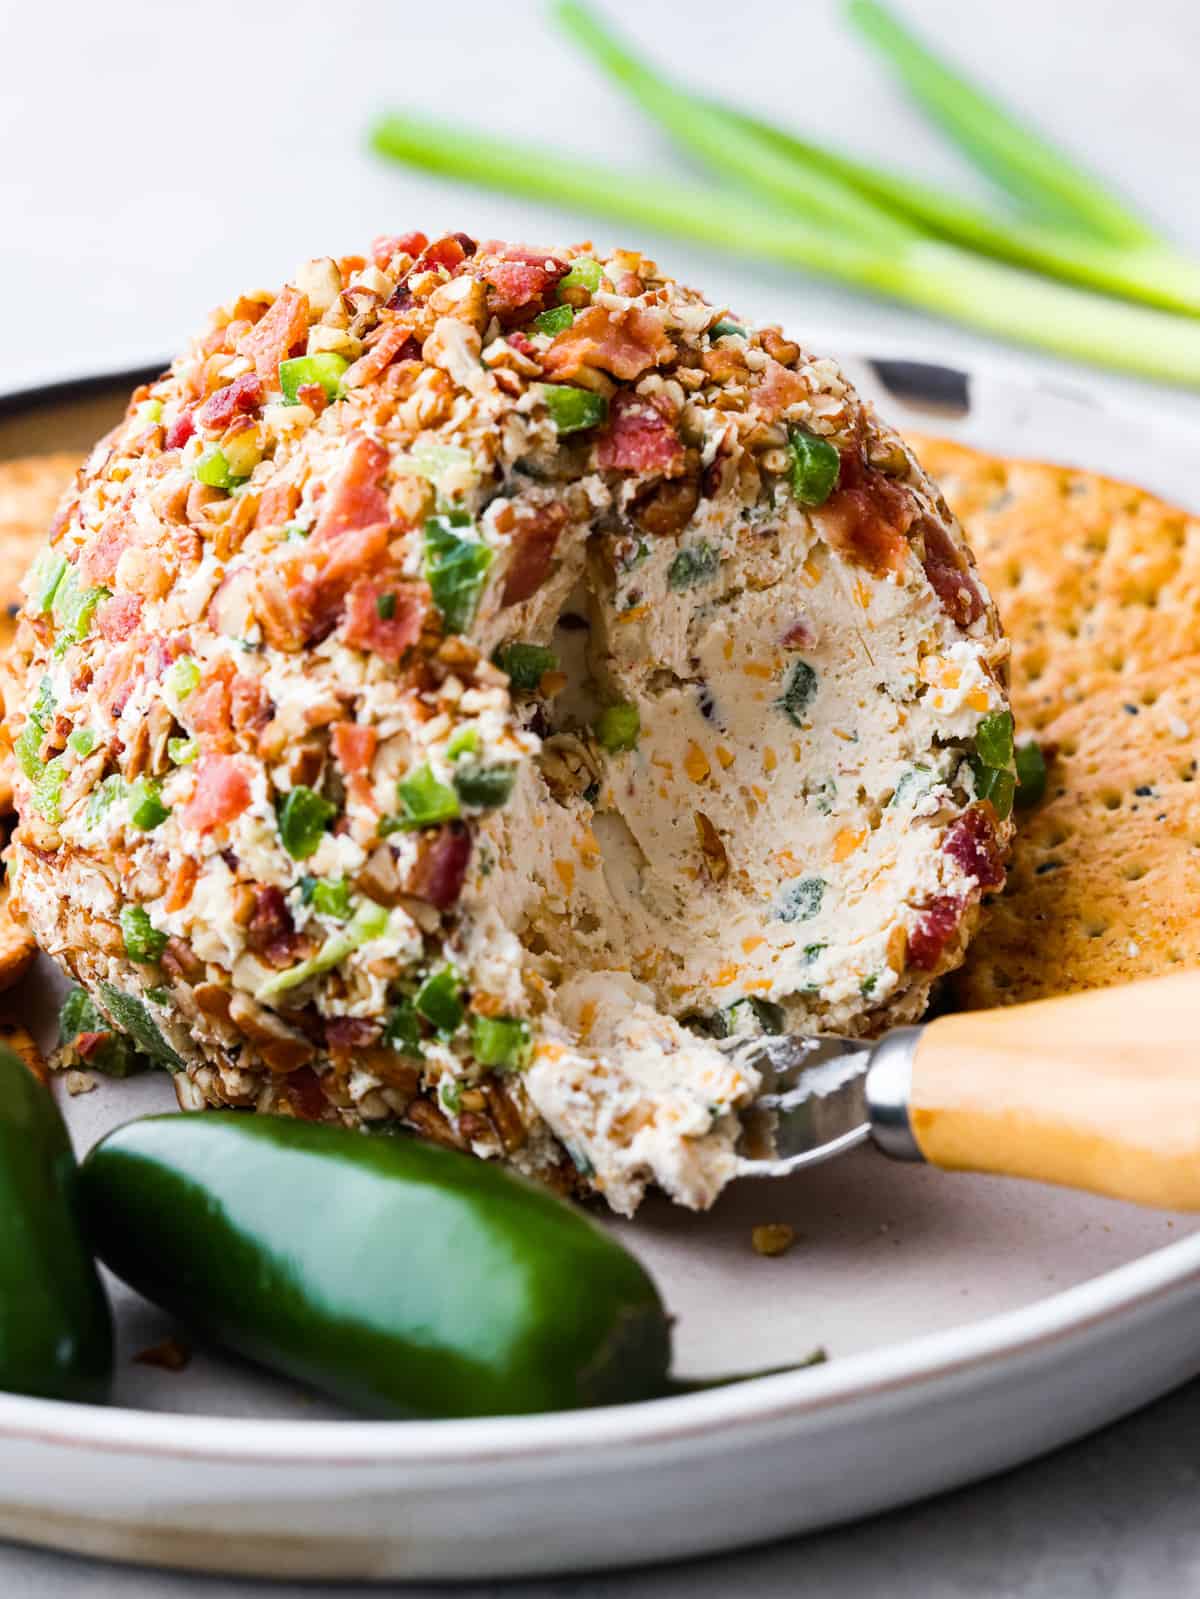
This jalapeno bacon cheese ball is perfectly creamy, rolled in crunchy bacon, and topped off with green onions and salty pecans. It’s the perfect holiday appetizer and filled with SO much flavor!

This cheese ball has the perfect combination of creaminess and spice. A few more yummy recipes to try are these bacon jalapeno poppers, cheeseburger stuffed jalapeno poppers, or jalapeno popper dip. They’re cheesy and delicious with the best amount of heat!
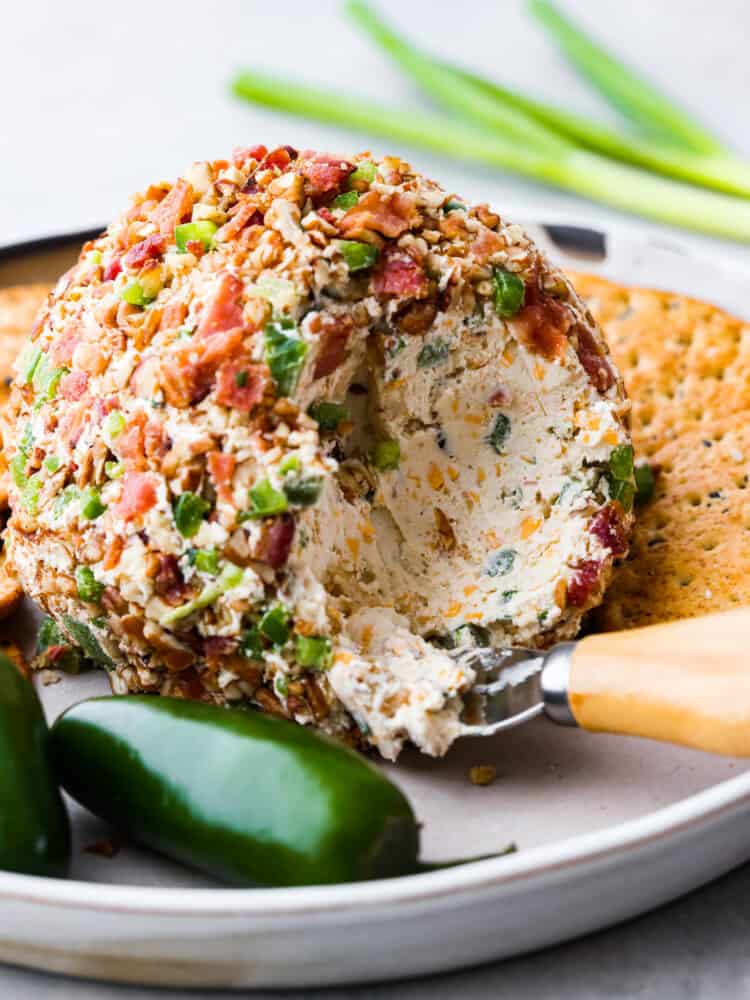
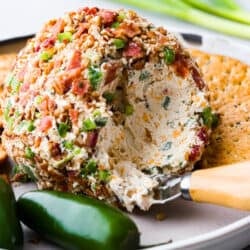
Hero image of a jalapeno bacon cheese ball.

Jalapeno Bacon Cheese Ball

There’s a reason cheese balls are always a hit at any party. They’re creamy, soft, perfectly dippable, and have the best flavor! Jalapeno poppers are one of my all-time favorite appetizers, so naturally, I had to try it in cheese ball form. Let me tell you, it does not disappoint!

Even if you’re not a huge fan of spice, you’ll love this recipe! The jalapenos give it just the right amount of kick. The cream cheese also helps to cool down the jalapeños. Trust me, one taste of this jalapeno bacon cheese ball and you’ll be hooked. This is a true holiday appetizer that is perfect for your holiday parties this season! Everyone is going to go crazy over it.

Ingredients Needed for a Jalapeno Cheese Ball

This jalapeno bacon cheeseball is hands-down one of the best appetizers I have ever had! This cheese ball is everything good about jalapeno poppers in one easy-to-make recipe. You won’t be able to get enough! Oh but let’s not forget the bacon! Everything’s better with bacon and this cheese ball is full of it, inside and out! This is the ultimate cheese ball and I know it will be a hit wherever you take it! Note: exact measurements can be found below in the recipe card.

  • Cream Cheese: Make sure your cream cheese is softened so it mixes together nicely with the other ingredients.
  • Jalapeños: I chopped mine into small pieces and removed any seeds to keep them from being too hot.
  • Cheddar Cheese: You can’t go wrong with shredded cheddar! You can also use shredded Monterey Jack, Colby Jack, or Mexican blend cheese for this recipe.
  • Bacon: I like to use pre-cooked bacon for easy prep.
  • Green Onions: Chopped green onions add the perfect pop of savory flavor to this jalapeno bacon cheese ball.
  • Seasoning Salt: To pack each bite with flavor! Use prepackaged seasoning salt or make your own blend using my quick and easy recipe here.
  • Garlic: Minced garlic adds the perfect savory flavor to the cheese ball.
  • Worcestershire Sauce: Adds an extra pop of flavor.
  • Cumin: Adds a little earthy spice.
  • Pecans: You’ll want these to be coarsely chopped so they coat the outside of the cheese ball evenly.

How to Make a Jalapeño and Bacon Cheese Ball

A delicious cheese ball packed with bacon and jalapeños. It doesn’t get any better than that! And did I mention that it comes together in a snap? 15 minutes and just a few simple steps of mixing and shaping will give you this knockout appetizer.

  1. Combine Ingredients: In a medium bowl, stir together cream cheese, half of the jalapeños, shredded cheddar cheese, half of the bacon, green onions, seasoning salt, minced garlic, Worcestershire sauce, and cumin until fully incorporated.
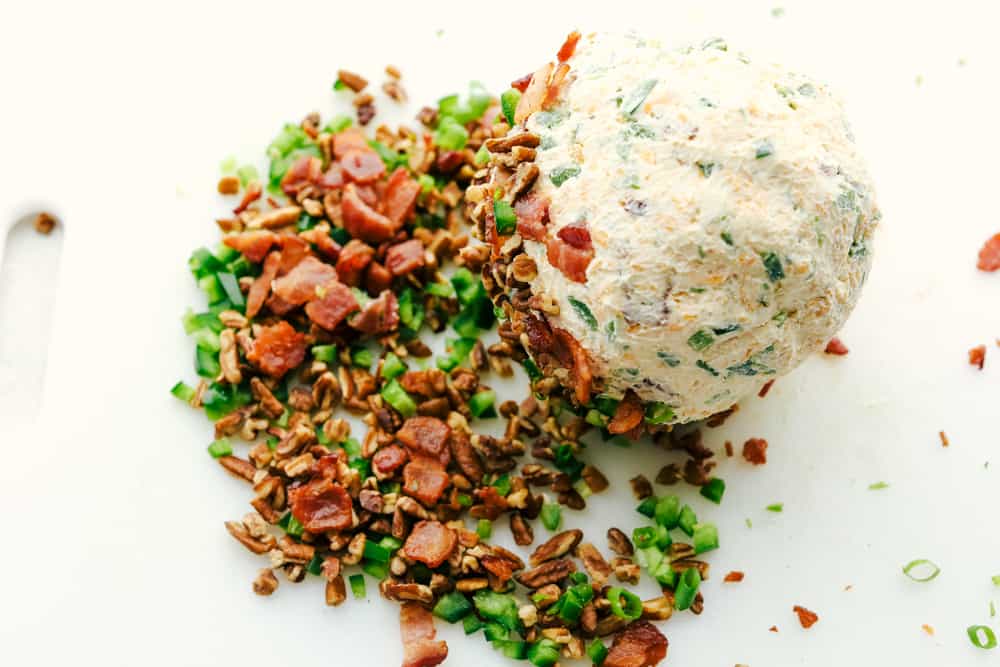
  2. Coat: On a large plate, combine the other half of the bacon, jalapeños, and pecans. Then shape the cream cheese mixture into a ball and roll it onto the plate to coat.
  3. Chill and Serve: Cover with saran wrap and chill for an hour before serving. Store leftovers in the fridge for up to 3 days.

Forming Your Cheese Ball

When rolling cheese balls, I find it easiest to transfer the mixture onto a section of Saran Wrap. Then pull the corners together and twist them to easily form a ball with minimal mess. Roll your cheese ball on the counter to help form the shape. Then finish shaping it with your hands. To remove the cheese ball, you can either cut the wrap at the base of the twist, or simply untwist it and transfer to a serving dish.
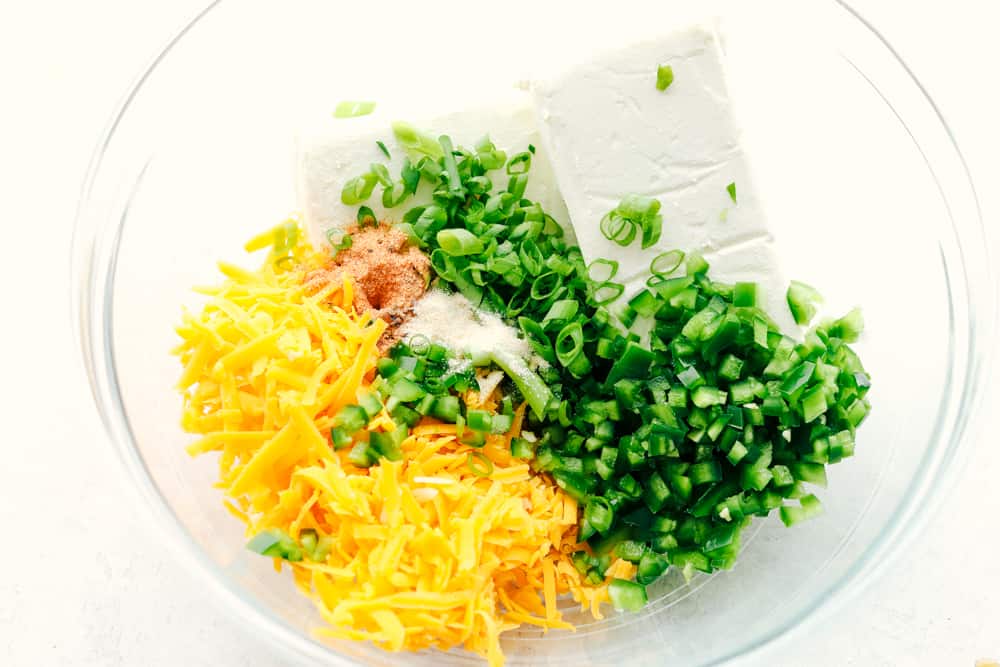
Cheese ball ingredients being added to a glass bowl.

Tips for Making the Perfect Cheese Ball

As simple as this recipe may be, here are a few tips and tricks to hone your cheese ball-making skills. Once your friends and family get a taste, they will want to know what your secret is.

  • Use Softened Cream Cheese: Before you make your cheese ball, leave your cream cheese on the counter to soften. This will usually take about one hour.
  • More Mix-Ins: Feel free to add in more of your favorite mix-ins! A few of my favorites are walnuts, sliced almonds, crushed crackers, Chex mix, candied pecans, and other cheese variations. (Shredded pepper jack is great for adding more kick!)
  • Use Freshly Grated Cheese: When shredding cheese make sure to not use pre-shredded cheese. Pre-shredded cheese doesn’t stick well to things. Freshly grated cheese will also have better flavor.
  • Adjust Recipe: Be sure to double to recipe for a larger party or make multiple smaller cheese balls to go around the table. (Cheese ball bites are also a great option for finger food!)
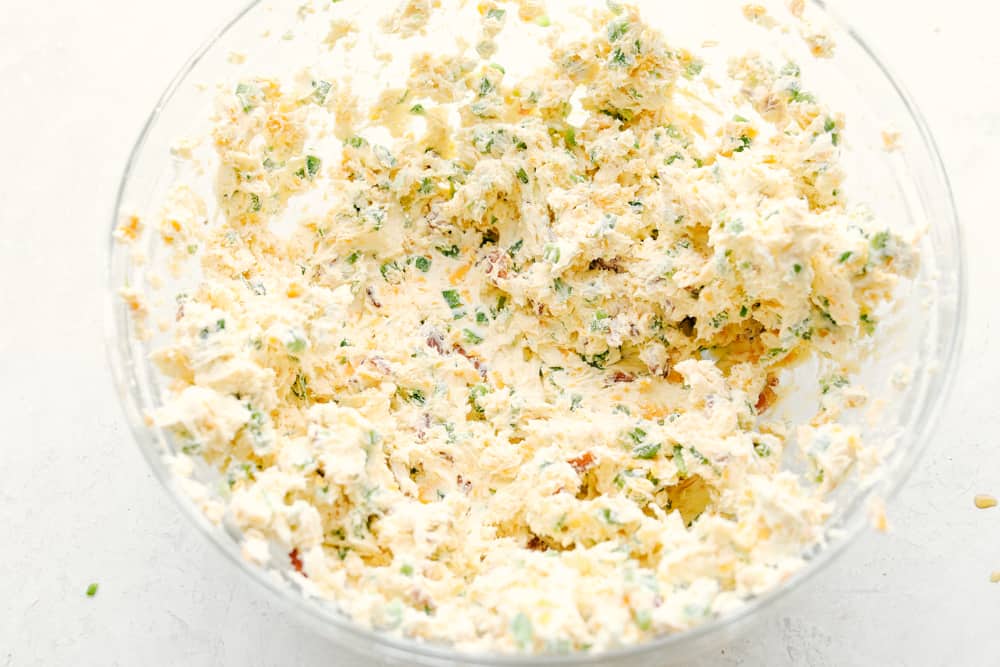
Stirring up the ingredients into a luscious mixture.

What to Serve With Your Cheese Ball

Vegetables, crackers, and bread are my go-to dipping snacks. They add extra flavor and the perfect texture when dipping into this jalapeño bacon cheese ball. Here are a few ideas to get you started!

  • Sliced Bell Peppers: Great for adding color to your serving tray! They taste great, too.
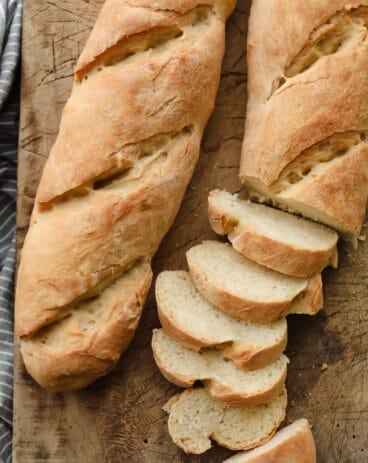
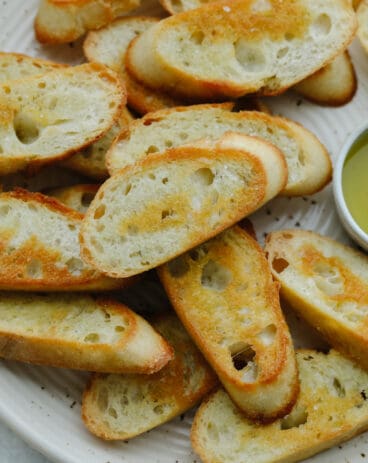
  • Bread: Usually a harder bread that is sliced and chunked. Try crostini!
  • Carrots: Baby carrots are the perfect size and shape for dipping.
  • Crackers: I always go for salty, buttery crackers like Ritz.
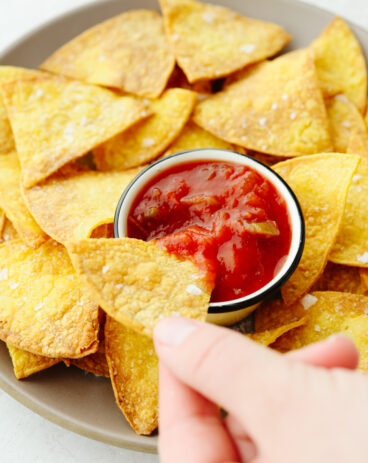
  • Pita Chips: These have the BEST crunch and are extra thick so you can load up each chip with plenty of dip!
  • Pretzels: Go with the bigger, flatter ones that are easier to dip.
Rolling the cheese ball in the bacon, pecans, peppers, and onions.

Storing Leftovers

This jalapeno bacon cheese ball always gets devoured in what feels like seconds at my house. Leftovers are never a thing! (I wish they were, this would make the best snack for Netflix marathons!) If you’re lucky enough to have some of your cheese ball left over, here’s how to keep it tasting fresh.

  • In the Refrigerator: Store your cheese ball in an airtight container or wrapped in plastic wrap for 3-4 days. Allow to come to room temperature before serving so it’s nice and soft!
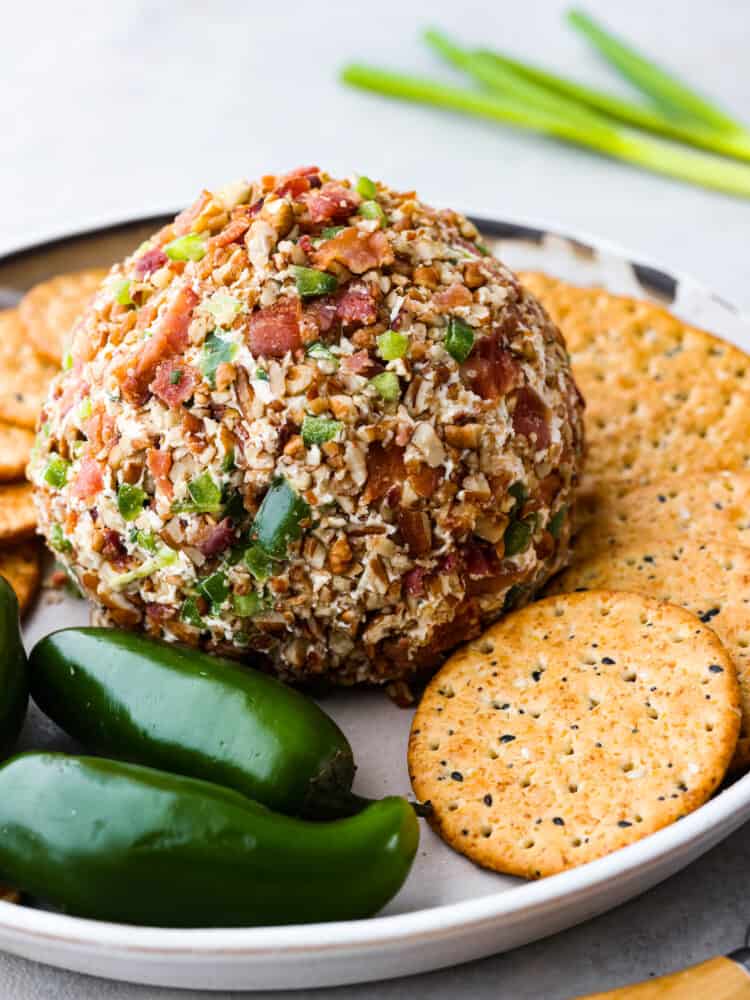
A whole cheese ball served on a white tray with crackers and whole jalapenos for decoration.

Can You Freeze a Jalapeno Bacon Cheese Ball?

Yes! It makes it easy to plan ahead for the holidays or other occasions. To prepare it for the freezer, make the cheese ball and wrap it tightly in plastic wrap, then place it in a freezer-safe bag. Store the coating separately. Allow to thaw in the fridge for a few hours before serving.
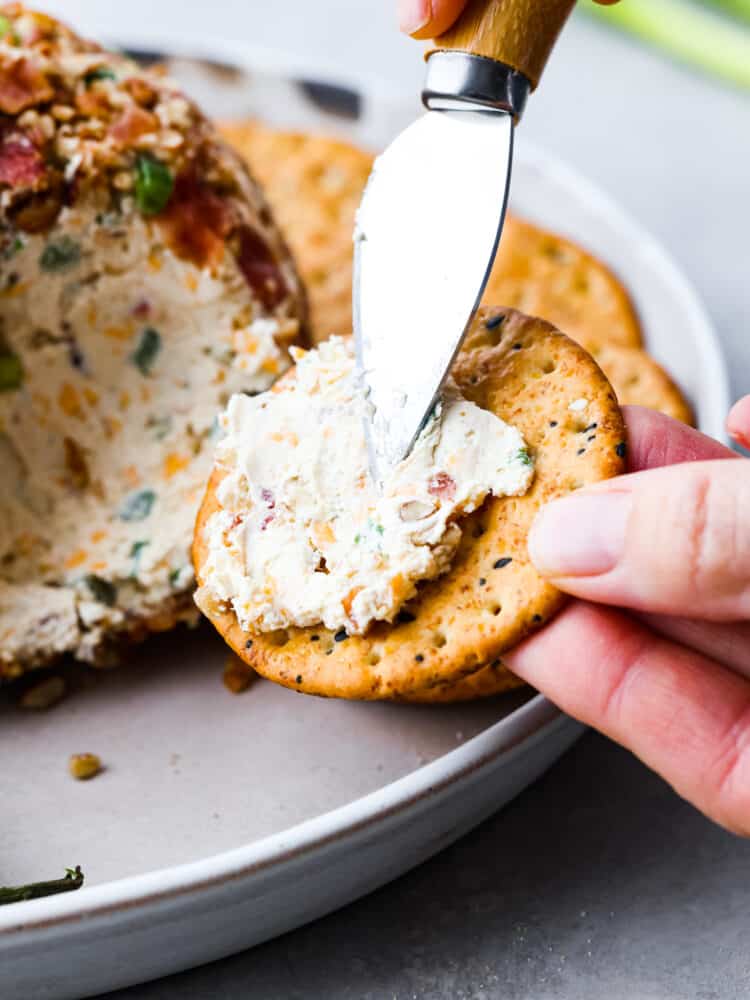
Spreading cheese onto a cracker.
Print

Jalapeño Bacon Cheeseball

This jalapeno bacon cheese ball is perfectly creamy, rolled in crunchy bacon, and topped off with green onions and salty pecans. It's the perfect holiday appetizer and filled with SO much flavor!
Course Appetizer, Snack
Cuisine American
Keyword cheeseball, cheeseball recipe, how to make a cheeseball, jalapeno bacon cheeseball, jalapeno bacon cheeseball recipe
Prep Time 15 minutes
Total Time 15 minutes
Servings 12 people
Calories 131kcal
Author Alyssa Rivers

Ingredients

  • 2 (8 ounce) packages cream cheese softened
  • 3 jalapeños seeded and finely chopped, divided
  • 1 cup shredded cheddar cheese
  • 8 slices of bacon cooked and chopped, divided
  • 1/4 cup green onions chopped
  • 1 teaspoon seasoning salt
  • 1 teaspoon minced garlic
  • 1 teaspoon Worcestershire sauce
  • 1/4 teaspoon cumin
  • 1/2 cup pecans coarsely chopped

Instructions

  • In a medium-sized bowl, stir together cream cheese, half of the jalapeños, shredded cheddar cheese, half of the bacon, green onions, seasoning salt, minced garlic, Worcestershire sauce, and cumin until fully incorporated.
  • On a large plate combine other half of the bacon, jalapeños, and pecans. Shape the cream cheese mixture into a ball and roll it onto the plate to coat well.
  • Cover with saran wrap and chill for an hour before serving. Store leftovers in the fridge for up to 3 days.

Video

Notes

Updated December 29, 2022
Originally posted on December 8, 2014

Nutrition

Calories: 131kcal | Carbohydrates: 2g | Protein: 5g | Fat: 12g | Saturated Fat: 4g | Cholesterol: 20mg | Sodium: 355mg | Potassium: 74mg | Fiber: 1g | Sugar: 1g | Vitamin A: 158IU | Vitamin C: 5mg | Calcium: 72mg | Iron: 1mg


source https://therecipecritic.com/jalapeno-bacon-cheeseball/
Share:

Jelly Roll Cake

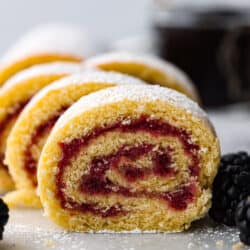
Jelly roll cake is a classic dessert that you need to make at least once! The chiffon cake is rolled with a delicious sweet jelly inside, and all of the flavors scream holiday cheer. You are going to love this easy-to-make dessert that looks stunning on the dinner table!

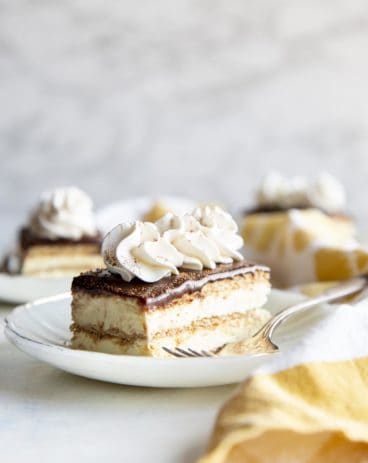
I can never pass up a soft and moist cake! Especially one with LOTS of frosting. If you love cake, you’ve got to try this Better Than Anything Cake, this unique Oatmeal Cake, and this rich and delicious Eclair Cake.

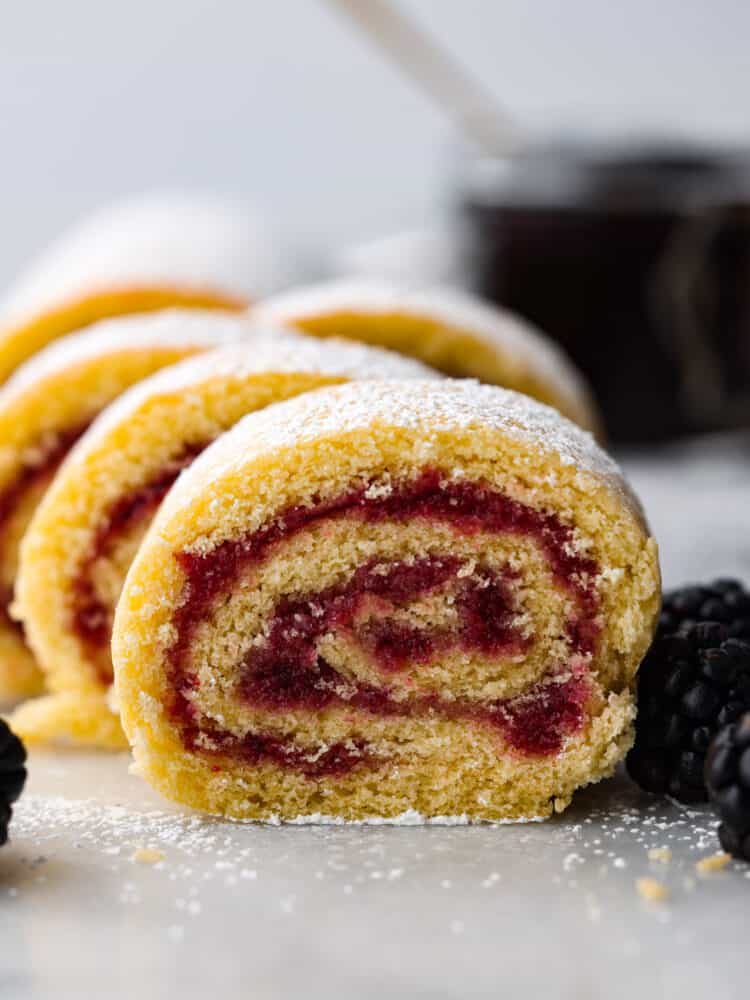
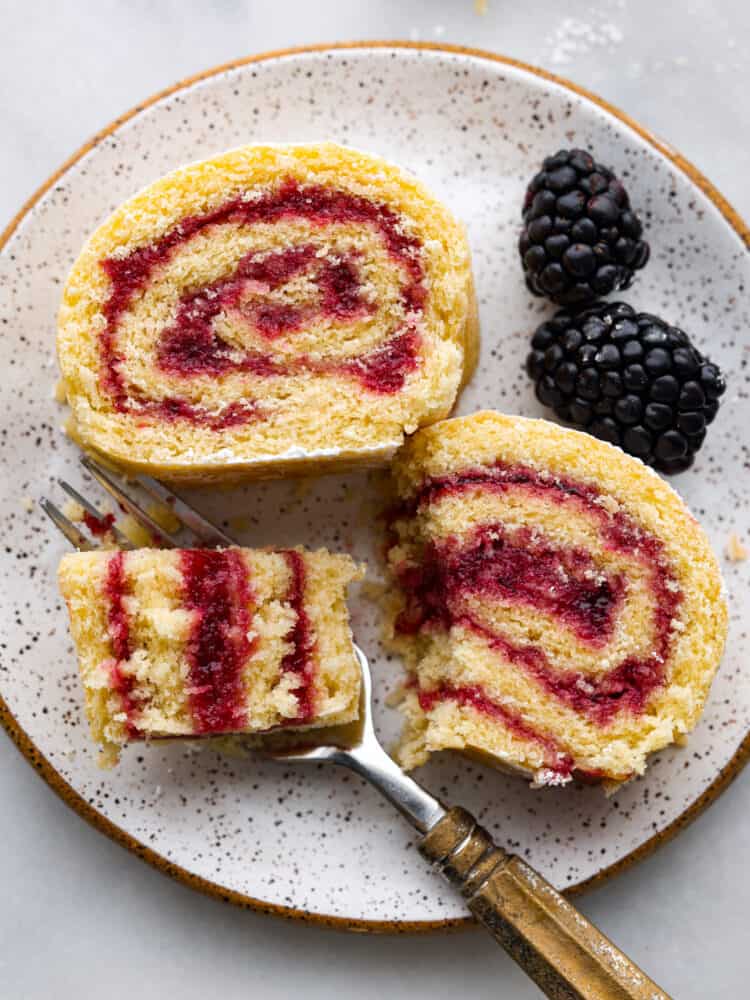
Jelly roll cake cut up and assembled on a plate.

Jelly Roll Cake

If you have never tried a jelly roll cake, you are in for a treat! I got tired of seeing them on baking shows and not being able to taste them! They always looked so soft, fluffy, and full of flavor. And let me tell you, the finished product does NOT disappoint. It’s just as scrumptious as I imagined, and the flavor combinations are endless.

I am a big fan of cakes with fruity flavors, like this Chantilly Berry Cake and this Strawberry Poke Cake. I would never say no to a rich chocolate cake, but this jelly roll cake is so refreshing and light! It’s a chiffon cake which means it’s made with vegetable oil which makes it easier to beat air into the batter. This makes the cake really light and fluffy, perfect for rolling into a beautiful log! Don’t be intimidated by rolling it up, I’ll share all my tips below so you’ll get it perfect every time!

Ingredients

I mentioned earlier that you will use vegetable oil in this jelly roll cake. The better quality ingredients you use, the better your cake will taste! Especially since this cake is only a few simple ingredients. I added almond extract, but if you don’t like it you could use another flavor, or leave it out all together. You can find exact measurements below in the recipe card.

  • Eggs: I always use large grade A eggs in my recipes.
  • Granulated Sugar: Your pantry sugar will work great.
  • Vegetable Oil: This is important because it helps the cake get nice and airy. You will need to use vegetable oil to get the cake the right texture to roll.
  • Water: I know, just trust me. Use water!
  • Vanilla: Vanilla extract adds a really nice flavor and helps to bring out all of the other flavors in the cake.
  • Almond Extract: I really like almond extract so I added it here. You can leave it out or add another extract instead.
  • All-Purpose Flour: It’s just easiest to work with for the texture of the cake you want.
  • Baking Powder: This helps the cake to rise, you need this!
  • Salt: Salt brings out all of the really delicious flavors in this cake.
  • Powdered Sugar: This is for dusting the top. It’s optional!
  • Jelly or Jam: I used homemade blackberry jam, and it was INCREDIBLE! You could use a strawberry jam, or peach jam would be amazing. I think you should use your favorite jam because it is going to taste exactly the way you like it.
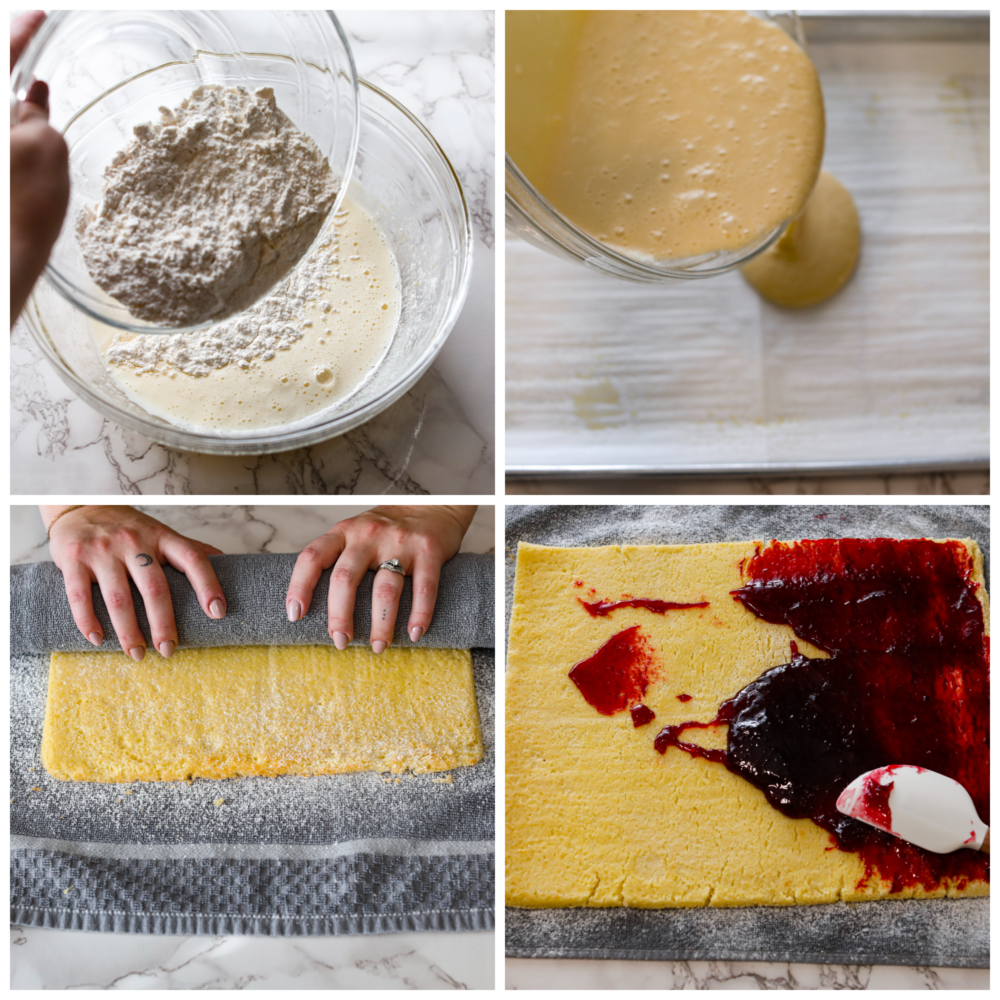
Process photos showing the batter being made, poured onto a pan, rolled into a towel, and then jelly spread on the inside.

Jelly Roll Cake Recipe

I used to think a jelly roll cake was impossible to get right, because I saw a lot of people mess up on television. It’s actually easier than I thought, and I had a lot of fun making it! The key is the right texture of sponge cake so that you can easily roll it up, and making it the right thickness so that you get delicious jelly in every bite.

Prepare Jelly Roll Cake Batter

  1. Prep: Preheat your oven to 375℉ and line a half baking sheet (18”X13”X1”) with parchment paper and spray generously with nonstick baking spray.
  2. Beat: In a medium bowl, with a hand mixer, beat your eggs until they are thickened, about 5 minutes. Gradually beat in your sugar. Once sugar is well combined, add in your oil, water, vanilla, and almond extract. Mix well.
  3. Sift: In a separate bowl, sift together your flour, baking powder, and salt. On the lowest speed of your hand mixer, gradually mix the dry ingredients into the wet ingredients. Beat until the batter is smooth.

Bake and Roll

  1. Bake: Pour the batter into your prepared pan, spread evenly, filling each corner. Bake until a toothpick inserted into the center comes out clean, 12-15 minutes. While cake is baking, prepare a clean towel on a flat surface dusted with powdered sugar.
  2. Cool and Trim: Once your cake is ready, allow it to cool slightly, about 5 minutes. Loosen the cake from the sides of the pan and turn over onto your towel. carefully remove the parchment paper and trim the edges so you have clean straight sides.
  3. Roll: While your cake is still very warm, roll the cake and towel, width wise, into a log. Allow the log to cool for a while, about 20-30 minutes.
  4. Add Jam: Carefully unroll your log and remove the towel and prepare your jelly by mixing it with a fork to make it easier to spread. Spread the jelly or jam evenly onto the inside of the unrolled log, and gently roll back into a log, keeping the end tucked slightly under the log.
  5. Garnish: Sprinkle with more powdered sugar and serve.
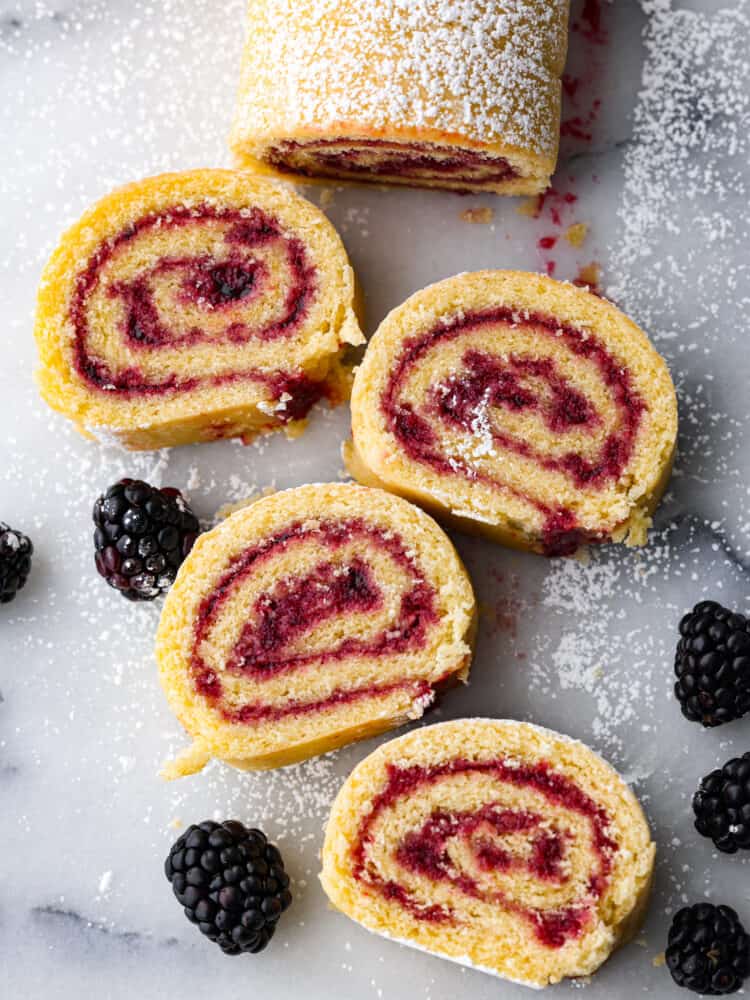
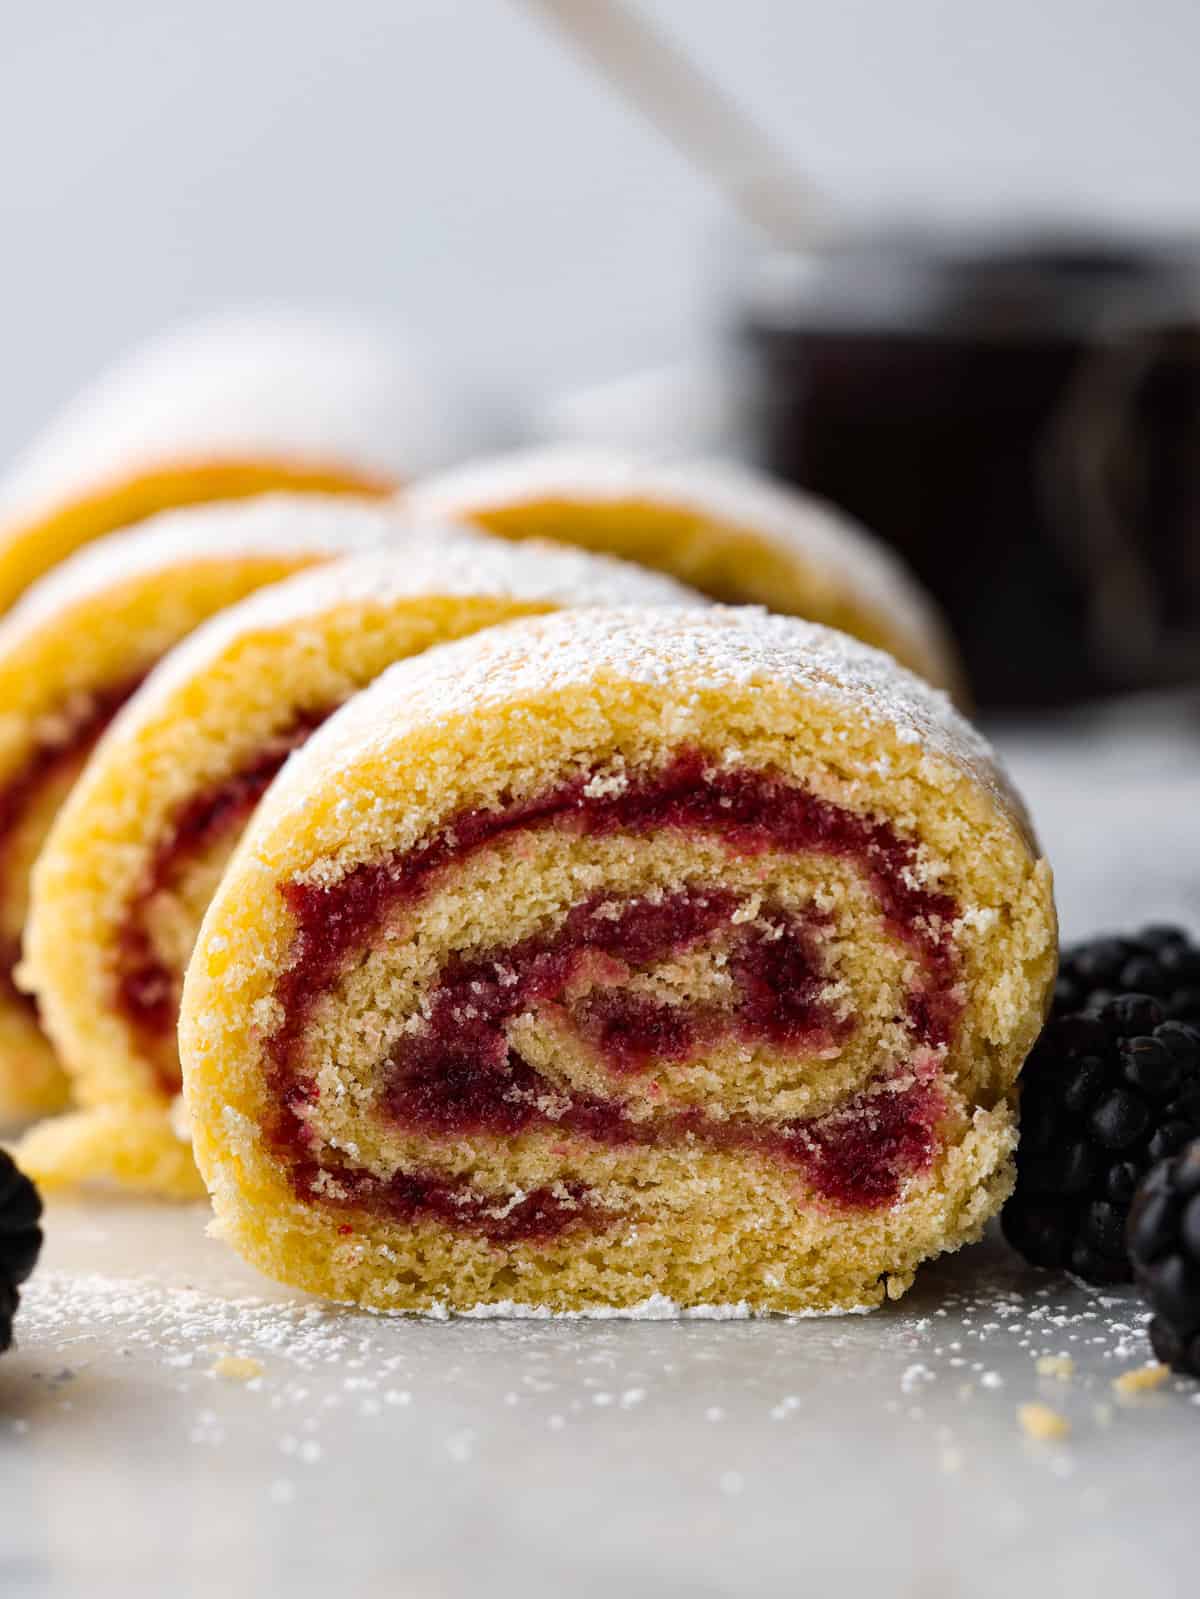
Jelly roll cake cut up an laid out on the counter with powdered sugar sprinkled on top.

Tips for Making Jelly Roll Cake

I’m about to blow you away with how easy this cake is to make. It’s also really pretty, and I know your guests will be so impressed! You don’t have to tell them how easy it is, it will be our little secret. Here are a few tips to make this jelly roll cake.

  • Sift Dry Ingredients: I won’t lie, I usually skip this step in baking. I know, it’s horrible of me. The reason you REALLY should in this recipe is because sifting your flour will make it lighter and fluffier. This is key to the jelly roll cake being able to roll up. So just do it, you’ll be glad you did!
  • Rolling the Cake: Be sure to roll your log while the cake is still warm to avoid cracking. Allowing it to cool in the log shape will help you when your jelly is spread and you roll it into its final form.
  • About the Jelly: You want a generous amount of jelly spread evenly across the cake, but be careful not to use too much or your cake will slip on the inside and become misshapen. I find that jam or jelly work the same, so don’t stress out about which one is better to use. You want to be able to taste it, but not too much that you can’t keep your log rolled up nice and tight.
Pieces of cake on a plate with blackberries next to it.

Storing Leftovers

Jelly roll cake is a great make ahead dish because it keeps really well. I like to make it the day before so it has time to cool and get all of those lovely flavors nice and strong. Here is how you should store your jelly roll cake.

  • On the Counter: You can keep your jelly roll cake on the counter in an airtight container for about 3 days, probably longer but it may begin to dry out.
  • In the Refrigerator: Storing your cake in an airtight container in the refrigerator will keep it fresh for about a week.
Print

Jelly Roll cake

Jelly roll cake is a classic dessert that you need to make at least once! The chiffon cake is rolled with a delicious sweet jelly inside, and all of the flavors scream holiday cheer. You are going to love this easy-to-make dessert that looks stunning on the dinner table!
Course Dessert
Cuisine European
Keyword jelly roll cake
Prep Time 30 minutes
Cook Time 15 minutes
cooling time 30 minutes
Total Time 1 hour 15 minutes
Servings 8 people
Calories 405kcal
Author Alyssa Rivers

Ingredients

  • 3 large eggs
  • 1 cup granulated sugar
  • ¾ cup vegetable oil
  • ¼ cup water
  • 1 teaspoon vanilla
  • 1 teaspoon almond extract
  • 1 ½ cup all purpose flour
  • 1 teaspoon baking powder
  • ½ teaspoon salt
  • Powdered sugar for dusting
  • ⅔ – 1 cup jelly or jam I used homemade blackberry jam

Instructions

  • Preheat your oven to 375℉ and line a half baking sheet (18”X13”X1”) with parchment paper and spray generously with nonstick baking spray.
  • In a medium bowl, with a hand mixer, beat your eggs until they are thickened, about 5 minutes. Gradually beat in your sugar. Once sugar is well combined, add in your oil, water, vanilla, and almond extract. Mix well.
  • In a separate bowl, sift together your flour, baking powder, and salt. On the lowest speed of your hand mixer, gradually mix the dry ingredients into the wet ingredients. Beat until the batter is smooth.
  • Pour the batter into your prepared pan, spread evenly, filling each corner. Bake until a toothpick inserted into the center comes out clean, 12-15 minutes. While cake is baking, prepare a clean towel on a flat surface dusted with powdered sugar.
  • Once your cake is ready, allow it to cool slightly, about 5 minutes. Loosen the cake from the sides of the pan and turn over onto your towel. carefully remove the parchment paper and trim the edges so you have clean straight sides.
  • While your cake is still very warm, roll the cake and towel, width wise, into a log. Allow the log to cool for a while, about 20-30 minutes.
  • Carefully unroll your log and remove the towel and prepare your jelly by mixing it with a fork to make it easier to spread. Spread the jelly or jam evenly onto the inside of the unrolled log, and gently roll back into a log, keeping the end tucked slightly under the log.
  • Sprinkle with more powdered sugar and serve.

Nutrition

Calories: 405kcal | Carbohydrates: 92g | Protein: 5g | Fat: 2g | Saturated Fat: 1g | Polyunsaturated Fat: 0.4g | Monounsaturated Fat: 1g | Trans Fat: 0.01g | Cholesterol: 61mg | Sodium: 193mg | Potassium: 155mg | Fiber: 1g | Sugar: 60g | Vitamin A: 89IU | Vitamin C: 6mg | Calcium: 49mg | Iron: 2mg


source https://therecipecritic.com/jelly-roll-cake/
Share:

Malva Pudding

Malva pudding is a delicious cake-like dessert with an amazing caramelized outer layer. It’s extra moist, soft, and bursting with apricot flavor.

Looking for more desserts that are amazingly soft and moist? Here are a few of my favorites: figgy pudding, pumpkin pudding cake, and sticky toffee pudding!

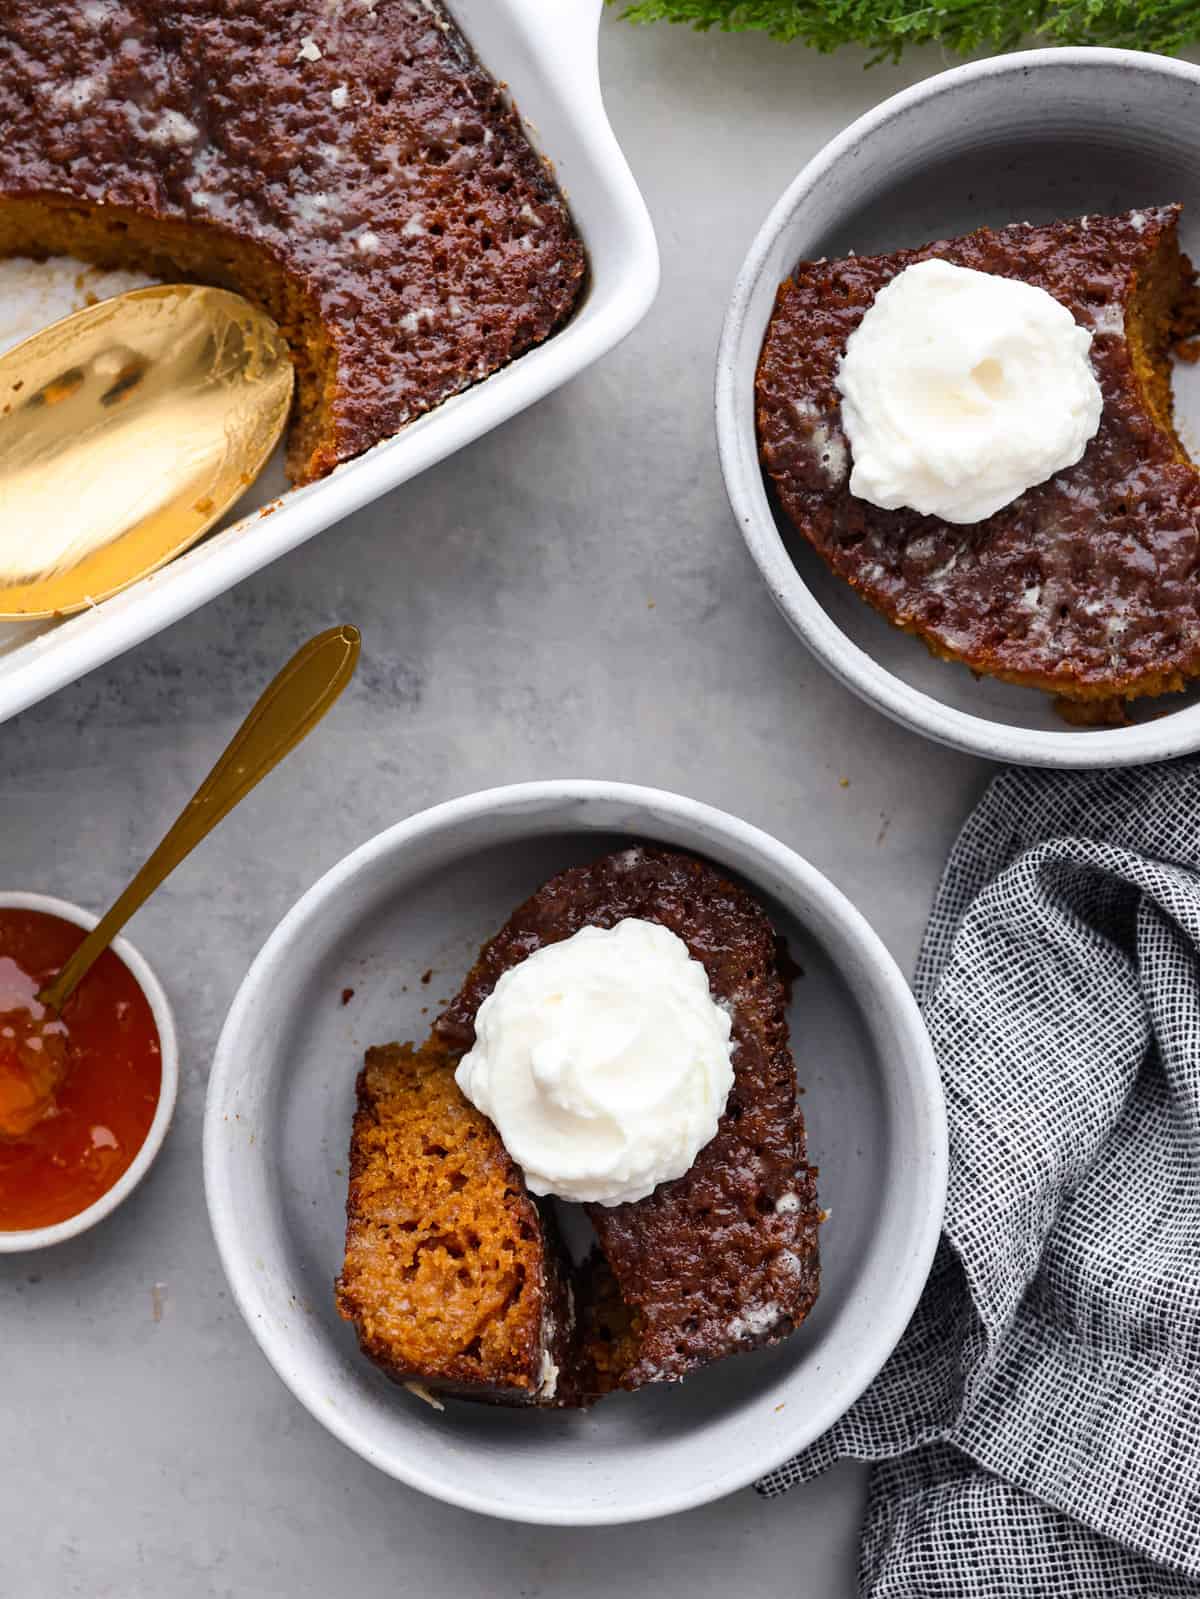
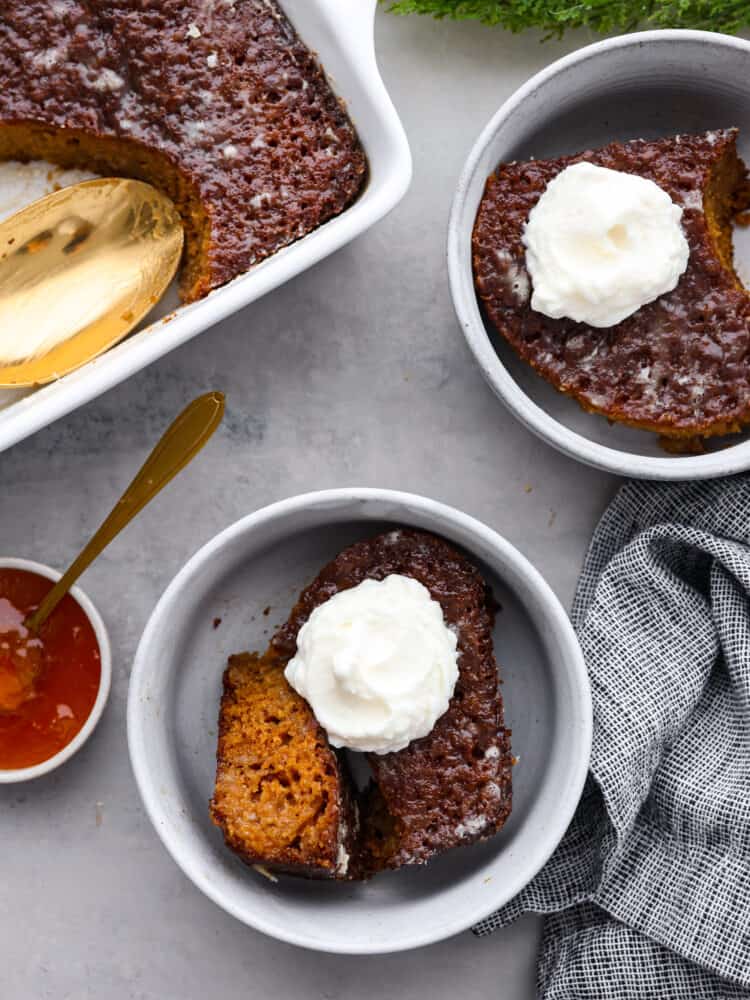
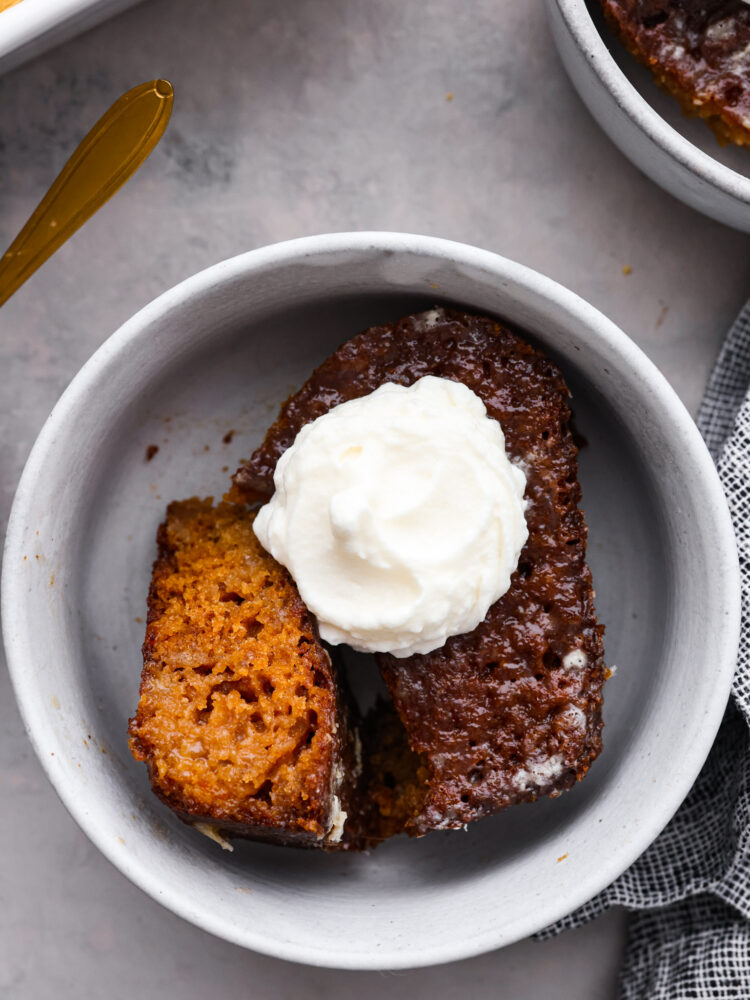
Top-down view of malva pudding served in 2 white bowls with a dollop of whipped cream on top.

Malva Pudding Cake

Never heard of Malva pudding before? Prepare to meet your new favorite dessert. This is a traditional South African dessert and is similar to bread pudding or tres leches. Essentially, it’s cake soaked in a decadent sauce made with heavy cream and evaporated milk. I mean, let’s be real here. Has there ever been a dessert made with evaporated milk that hasn’t been good? Because of its soft, pillowy texture, this dessert is called ‘malvapoeding’ in Afrikaans. Translated, this literally means ‘marshmallow pudding.’ There’s no better way to describe it!

Let’s talk about the cake itself, though. It is AMAZING. It’s buttery, soft, and gets its signature flavor from one key ingredient- apricot jam! The cake also gets the most amazing caramelized outer layer when it bakes. Once you top it off with the creamy glaze, it becomes an absolutely irresistible dessert. Your family is going to LOVE it! If you’ve been looking for new desserts to add to the lineup, malva pudding is definitely one to try.

Ingredients Needed

Malva pudding is a great dessert recipe to make on the fly because it uses a lot of pantry staples. Just make sure you have apricot jam on hand! This is what gives malva pudding its classic fruity flavor. Note: exact measurements can all be found below in the recipe card.

  • Sugar: Just regular white sugar here!
  • Large Eggs: A couple of large eggs will help to bind all of your ingredients together.
  • Apricot Jam: Not only does apricot jam add flavor, but it’s great for adding extra moisture as well!
  • White Vinegar: White vinegar will give your cake a nice, tender crumb and slight hint of tangy flavor.
  • Butter: I used unsalted, melted butter for the cake.
  • Milk: Makes the batter smooth and creamy! I recommend using whole milk because it will make your cake more moist and soft. The higher the fat content in your malva pudding, the more soft and tender it will be!
  • Flour: All-purpose flour works great here! Avoid using flours that have a high protein content.
  • Baking Soda: Helps the cake rise during the baking process.
  • Salt: Just a pinch will keep your pudding from tasting bland.

Cream Sauce

  • Heavy Cream and Evaporated Milk: This is the foundation of the cream sauce. These ingredients make the glaze silky-smooth and absolutely indulgent.
  • Powdered Sugar: Helps to create a glaze-like texture and adds sweetness as well.
  • Butter: I used unsalted.
  • Vanilla: I like to add in a little vanilla extract for a pop of flavor!

How to Make Malva Pudding

It’s actually super easy. You’re going to love it! If you can make a boxed cake mix, you can make malva pudding. It only takes a few steps of mixing and baking for it to come together perfectly! Both the cake and glaze are really simple to prepare.

  1. Preheat Oven, Prep Pan: Preheat your oven to 350° Fahrenheit, then spray an 8X8 cake pan with baking spray and set aside.
  2. Mix Sugar and Wet Ingredients: In a medium bowl using a hand mixer, beat together your sugar and eggs until light and lemon colored. Then add in your jam and mix until well combined. Add in your melted butter, vinegar, and milk, and mix for an additional 1-2 minutes.
  3. Combine With Dry Ingredients: In a separate bowl, sift together your flour, baking soda, and salt. Then add this flour mixture to your egg mixture and mix for 2-3 minutes, until well combined.
  4. Bake: Pour batter into the prepared baking dish and bake for 30-45 minutes, after the first 15 minutes cover your pudding with foil to keep it from getting too dark. The pudding should rise and become an even golden brown.

Making the Cream Sauce

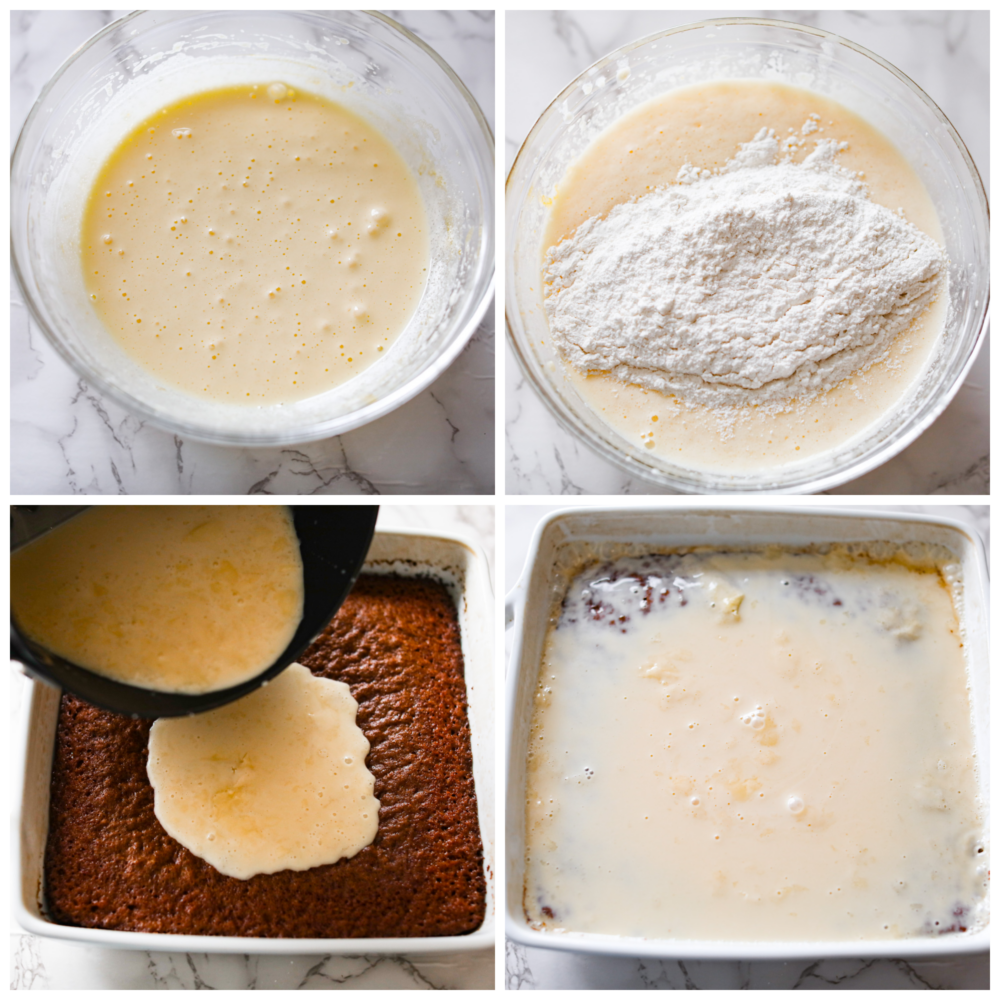
  1. Melt Ingredients Together: In a medium pot, combine your cream, milk, sugar, butter, and vanilla. On medium heat, melt the ingredients together, and whisk until it has all come together smoothly.
  2. Pour Over Cake: Once your pudding comes out of the oven, pour the cream sauce on evenly while it’s still hot.
  3. Soak: Let the pudding stand and soak the sauce in for at least 10 minutes before serving. Best served fresh and warm.
4-photo collage of cake and glaze being prepared.

How to Make the BEST Malva Pudding

Here are a few extra tips and tricks to help you perfect this tasty dessert from South Africa!

  • Don’t Overmix: When combining the wet and dry ingredients for the cake, only mix until smooth. If you overmix, this can cause the batter to deflate and sink when it’s baked.
  • Add Glaze While It’s Hot: Be sure to add the glaze to your cake while it’s hot. This way, it will absorb better and add moisture to your cake. If you let it cool too long, it may just sit on top of the cake like icing.
  • Make Individual Servings: Instead of making malva pudding in an 8×8 pan, you can also use small, oven-safe ramekins so everyone has an individual serving of this tasty treat! Because the dishes are smaller, you may need to knock a few minutes off the overall cooking time.
  • Serve With: Malva pudding is great on its own, but can also be served with whipped cream, vanilla ice cream, or a dollop of custard on top!
Closeup of malva pudding in a white bowl.

Storing Leftovers

Because of the milky glaze, you’ll want to keep any leftover malva pudding in the fridge for best results. This dish is best enjoyed fresh the day it’s made, but you can make it ahead of time and store in the fridge, covered, for up to a week.

  • In the Refrigerator: Store malva pudding in an airtight container or covered tightly with plastic wrap for up to 1 week.
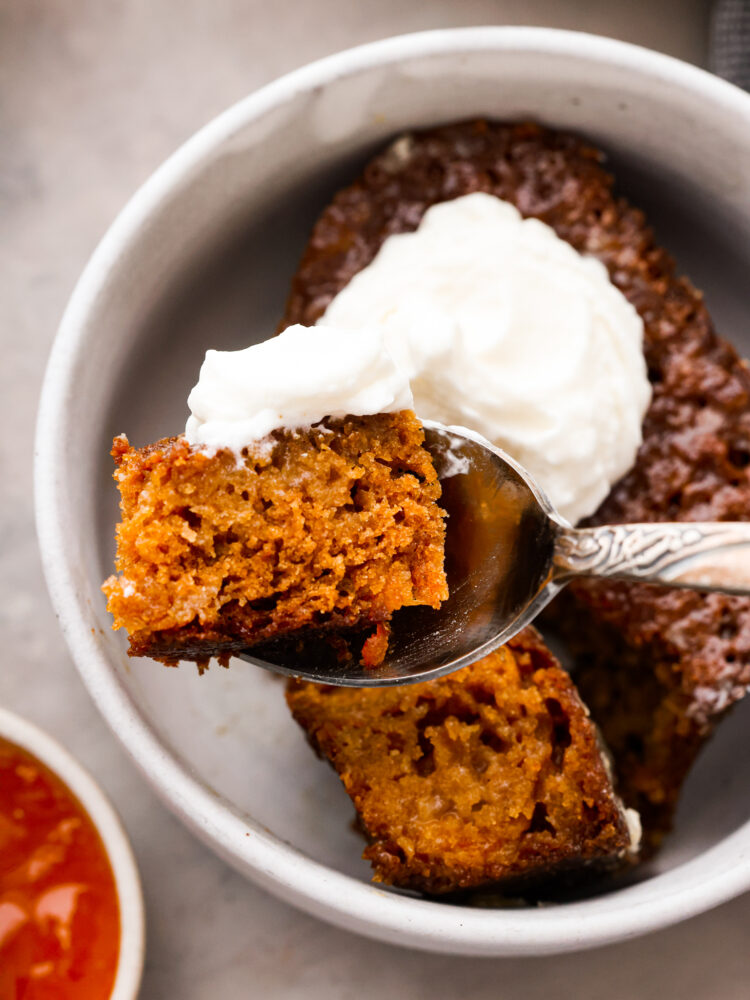
A bite of pudding and whipped cream in a silver spoon.
Print

Malva Pudding

Malva pudding is a delicious cake-like dessert with an amazing caramelized outer layer. It’s extra moist, soft, and bursting with apricot flavor.
Course Dessert
Cuisine South African
Keyword malva pudding, malva pudding recipe
Prep Time 20 minutes
Cook Time 45 minutes
Total Time 1 hour 5 minutes
Servings 6 People
Calories 537kcal
Author Alyssa Rivers

Ingredients

  • ¾ cup sugar
  • 2 large eggs
  • ¼ cup apricot jam
  • 1 teaspoon white vinegar
  • 2 tablespoons butter unsalted melted
  • ½ cup milk
  • 1 cup all purpose flour
  • 1 teaspoon baking soda
  • 1 teaspoon salt

Cream sauce

  • ½ cup heavy cream
  • ½ cup evaporated milk
  • ½ cup powdered sugar
  • ½ cup butter
  • 2 teaspoons vanilla

Instructions

  • Preheat your oven to 350° fahrenheit, spray an 8X8 cake pan with baking spray and set aside
  • In a medium bowl using a hand mixer, beat together your sugar and eggs until light and lemon colored. Add in your jam and mix until well combined. Add in your melted butter, vinegar, and milk, mix for an additional 1-2 minutes.
  • In a separate bowl, sift together your flour, baking soda, and salt. Add this mixture to your egg mixture and mix for 2-3 minutes, until well combined.
  • Pour your batter into the prepared baking dish and bake for 30-45 minutes, after the first 15 minutes cover your pudding with foil to keep it from getting too dark. Pudding should rise and become an even golden brown.

Cream Sauce

  • In a medium pot, combine your cream, milk, sugar, butter, and vanilla. On medium heat, melt the ingredients together, whisk until it has all come together smoothly.
  • Once your pudding comes out of the oven, pour the cream sauce on evenly while it’s still hot.
  • Let the pudding stand and soak the sauce in for at least 10 minutes before serving. Best served fresh and warm.

Notes

This dish is best enjoyed fresh the day it’s made, but you can make it ahead of time and store in the fridge, covered, for up to a week.

Nutrition

Calories: 537kcal | Carbohydrates: 61g | Protein: 7g | Fat: 30g | Saturated Fat: 19g | Polyunsaturated Fat: 1g | Monounsaturated Fat: 8g | Trans Fat: 1g | Cholesterol: 136mg | Sodium: 783mg | Potassium: 173mg | Fiber: 1g | Sugar: 43g | Vitamin A: 1064IU | Vitamin C: 1mg | Calcium: 114mg | Iron: 1mg


source https://therecipecritic.com/malva-pudding/
Share:

Popular

Archive

Slider Tag

Facebook

Header Ads

Recent in Food

Blog Archive

Recent Posts

Unordered List

  • Lorem ipsum dolor sit amet, consectetuer adipiscing elit.
  • Aliquam tincidunt mauris eu risus.
  • Vestibulum auctor dapibus neque.

Pages

Theme Support

Need our help to upload or customize this blogger template? Contact me with details about the theme customization you need.